Virtualisation Guide — Running MultiDisk FileBalancer on Windows
This guide walks you through running MultiDisk FileBalancer on Windows using a Debian Linux VM in VirtualBox. The program is Linux-only and does not run directly on Windows or via WSL.
Requirements
- A Windows PC
- VirtualBox (downloaded in this guide)
- The Debian ISO (downloaded in this guide)
- The MultiDisk FileBalancer program folder
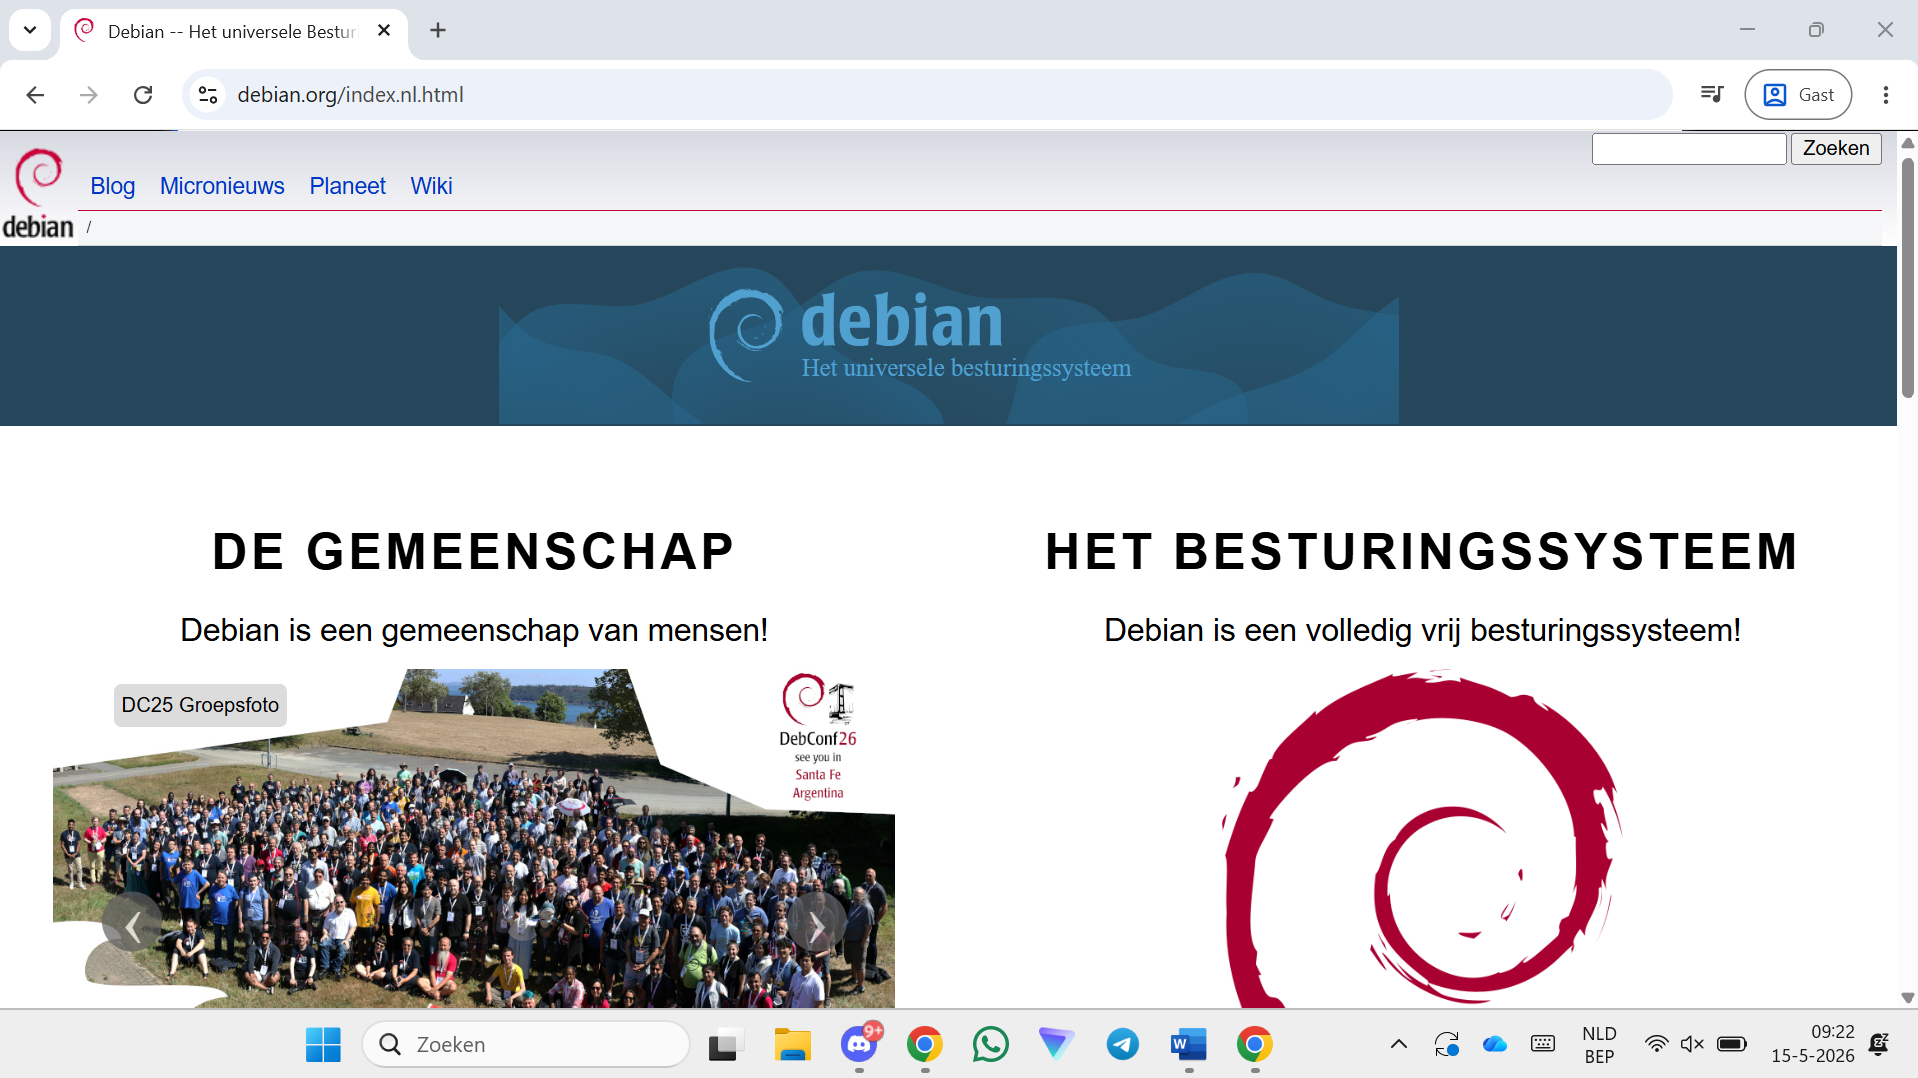
Step 1 — Go to debian.org
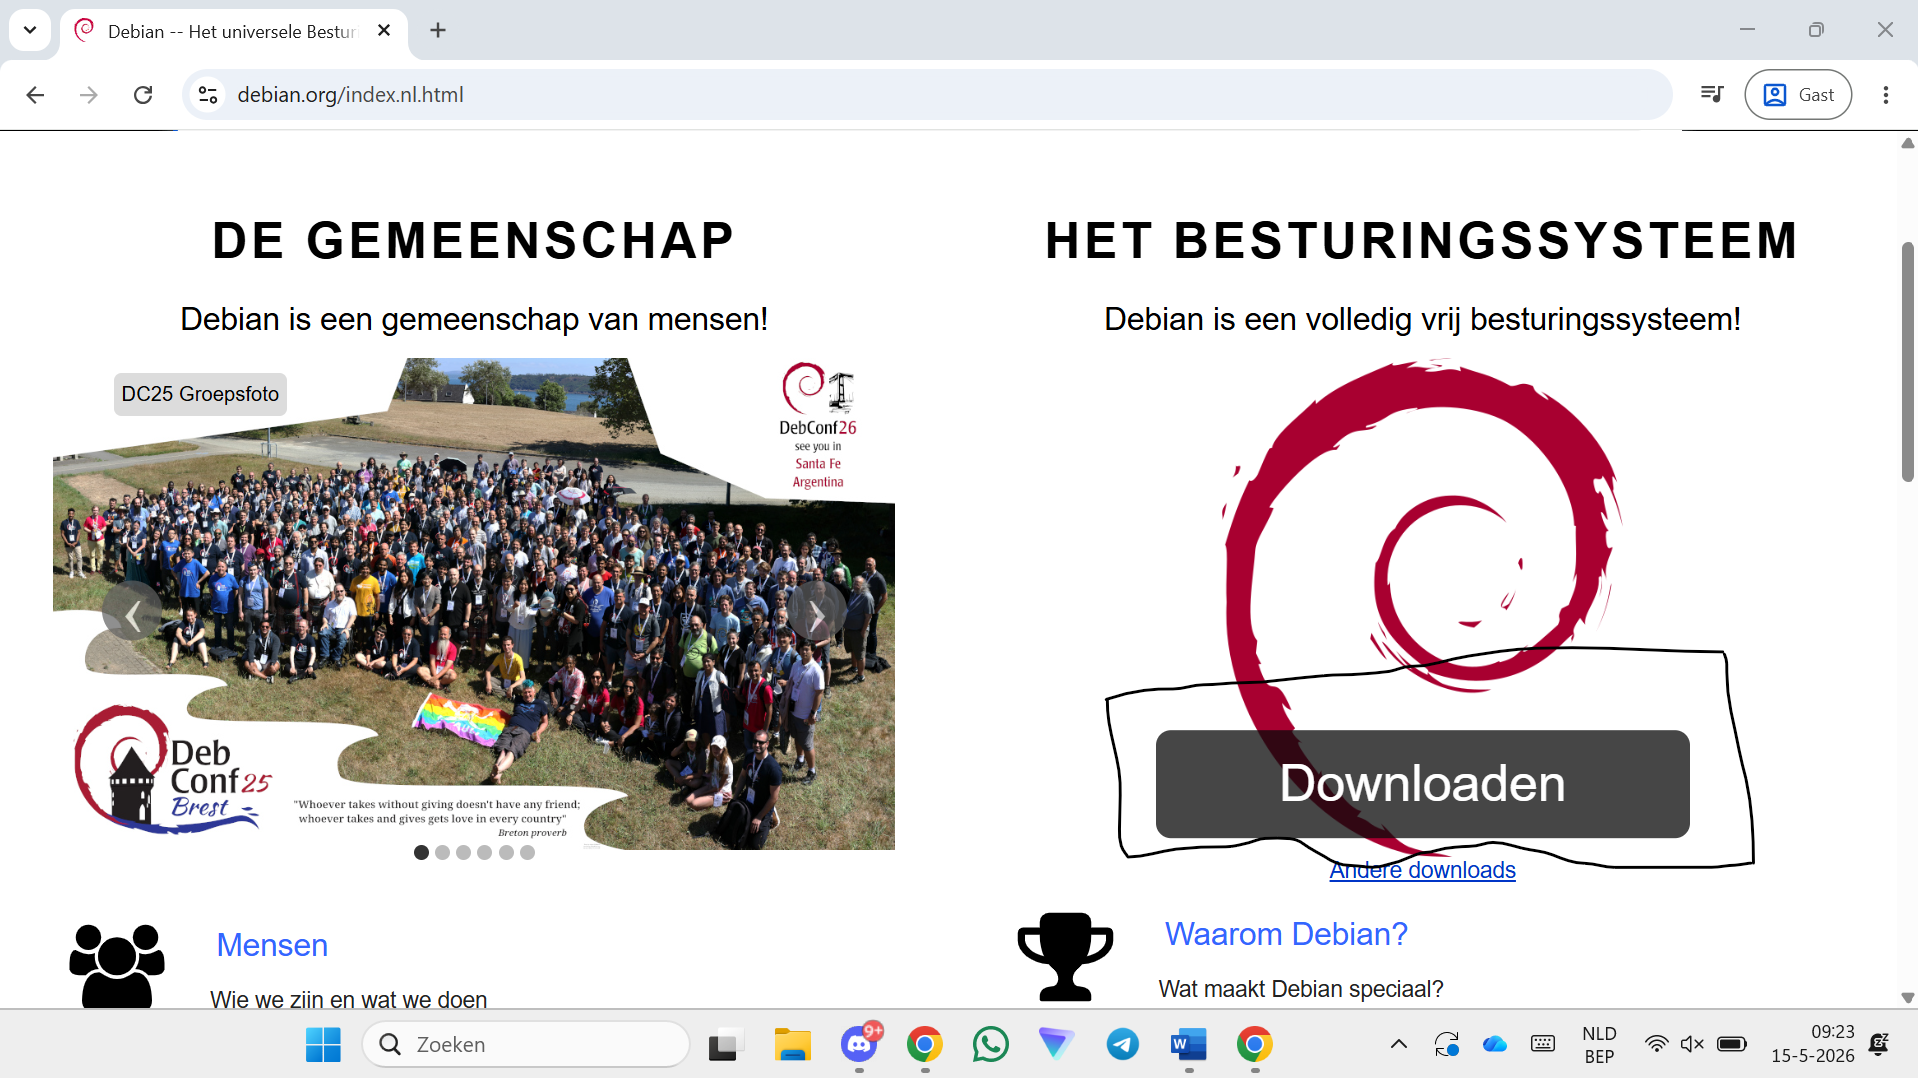
Step 2 — Scroll down and click on Download
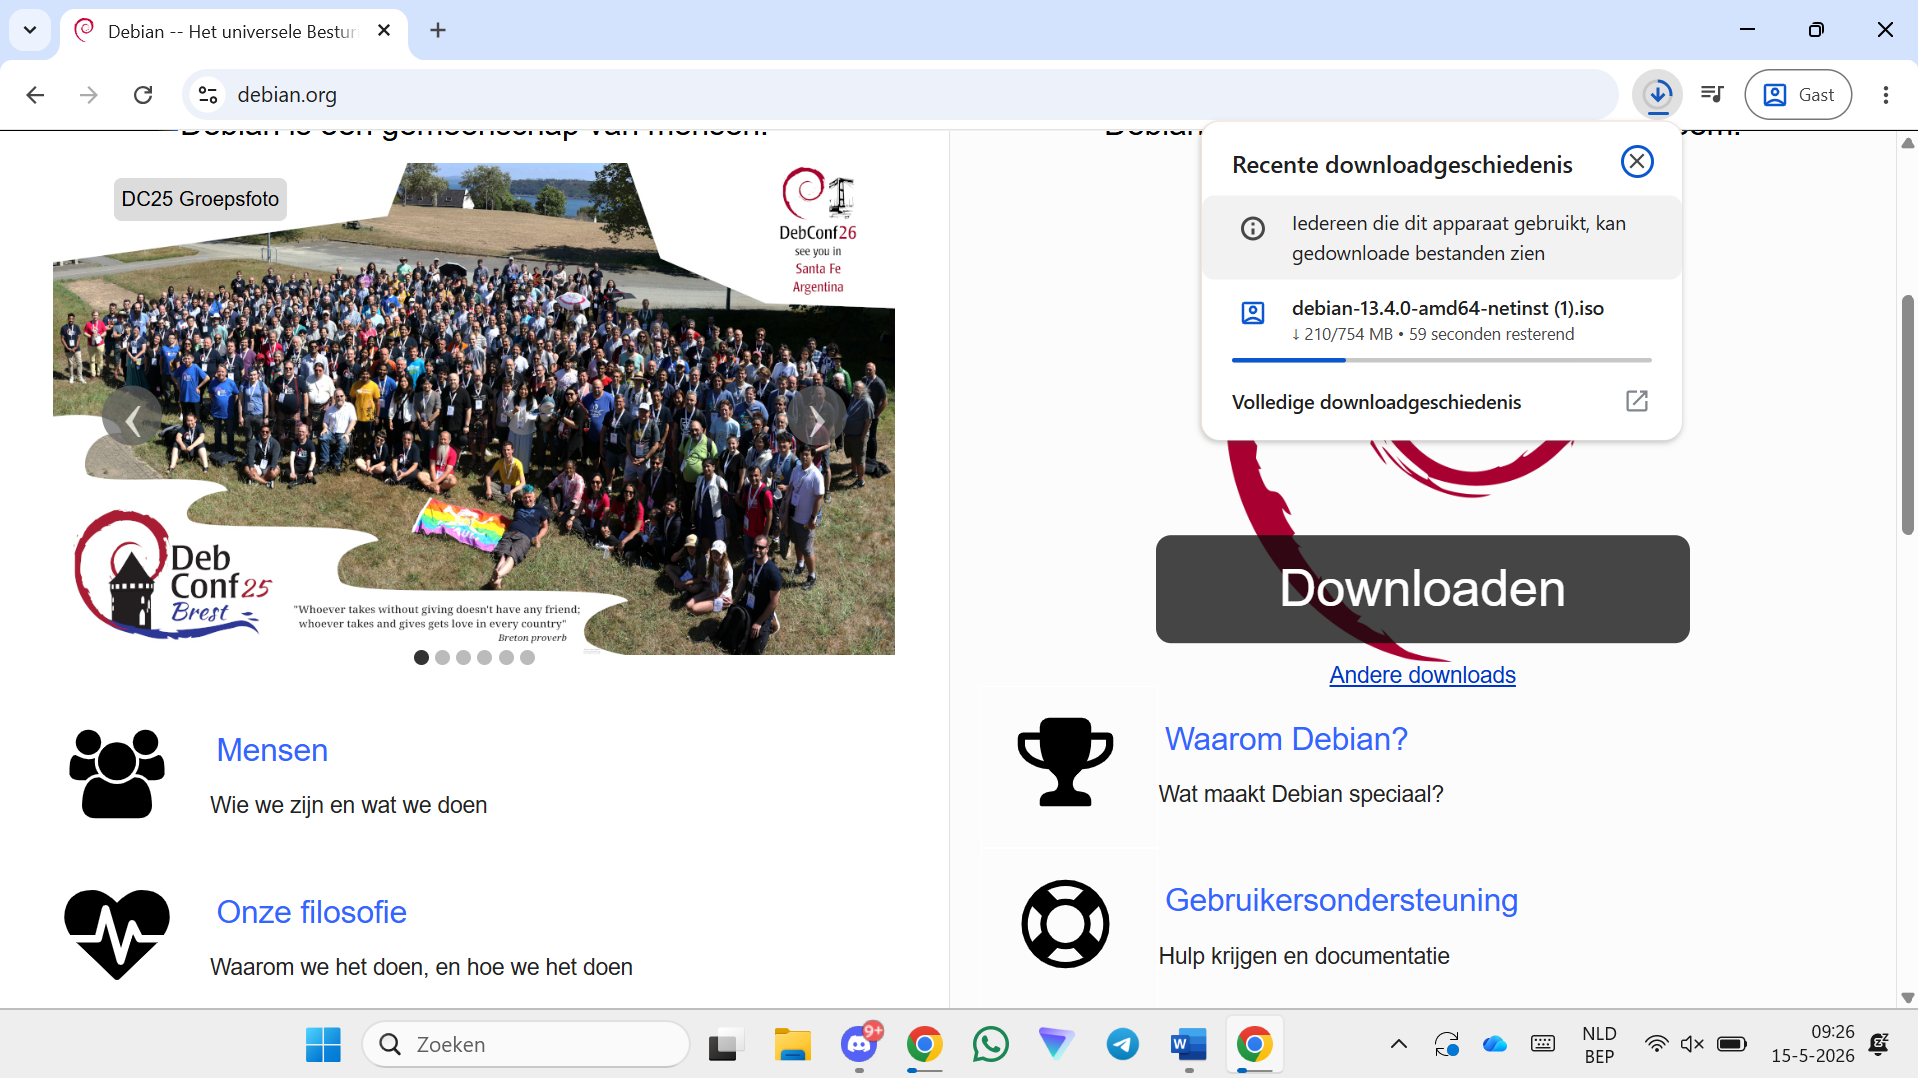
Step 3 — Wait until the download is ready
Step 4 — Go to virtualbox.org
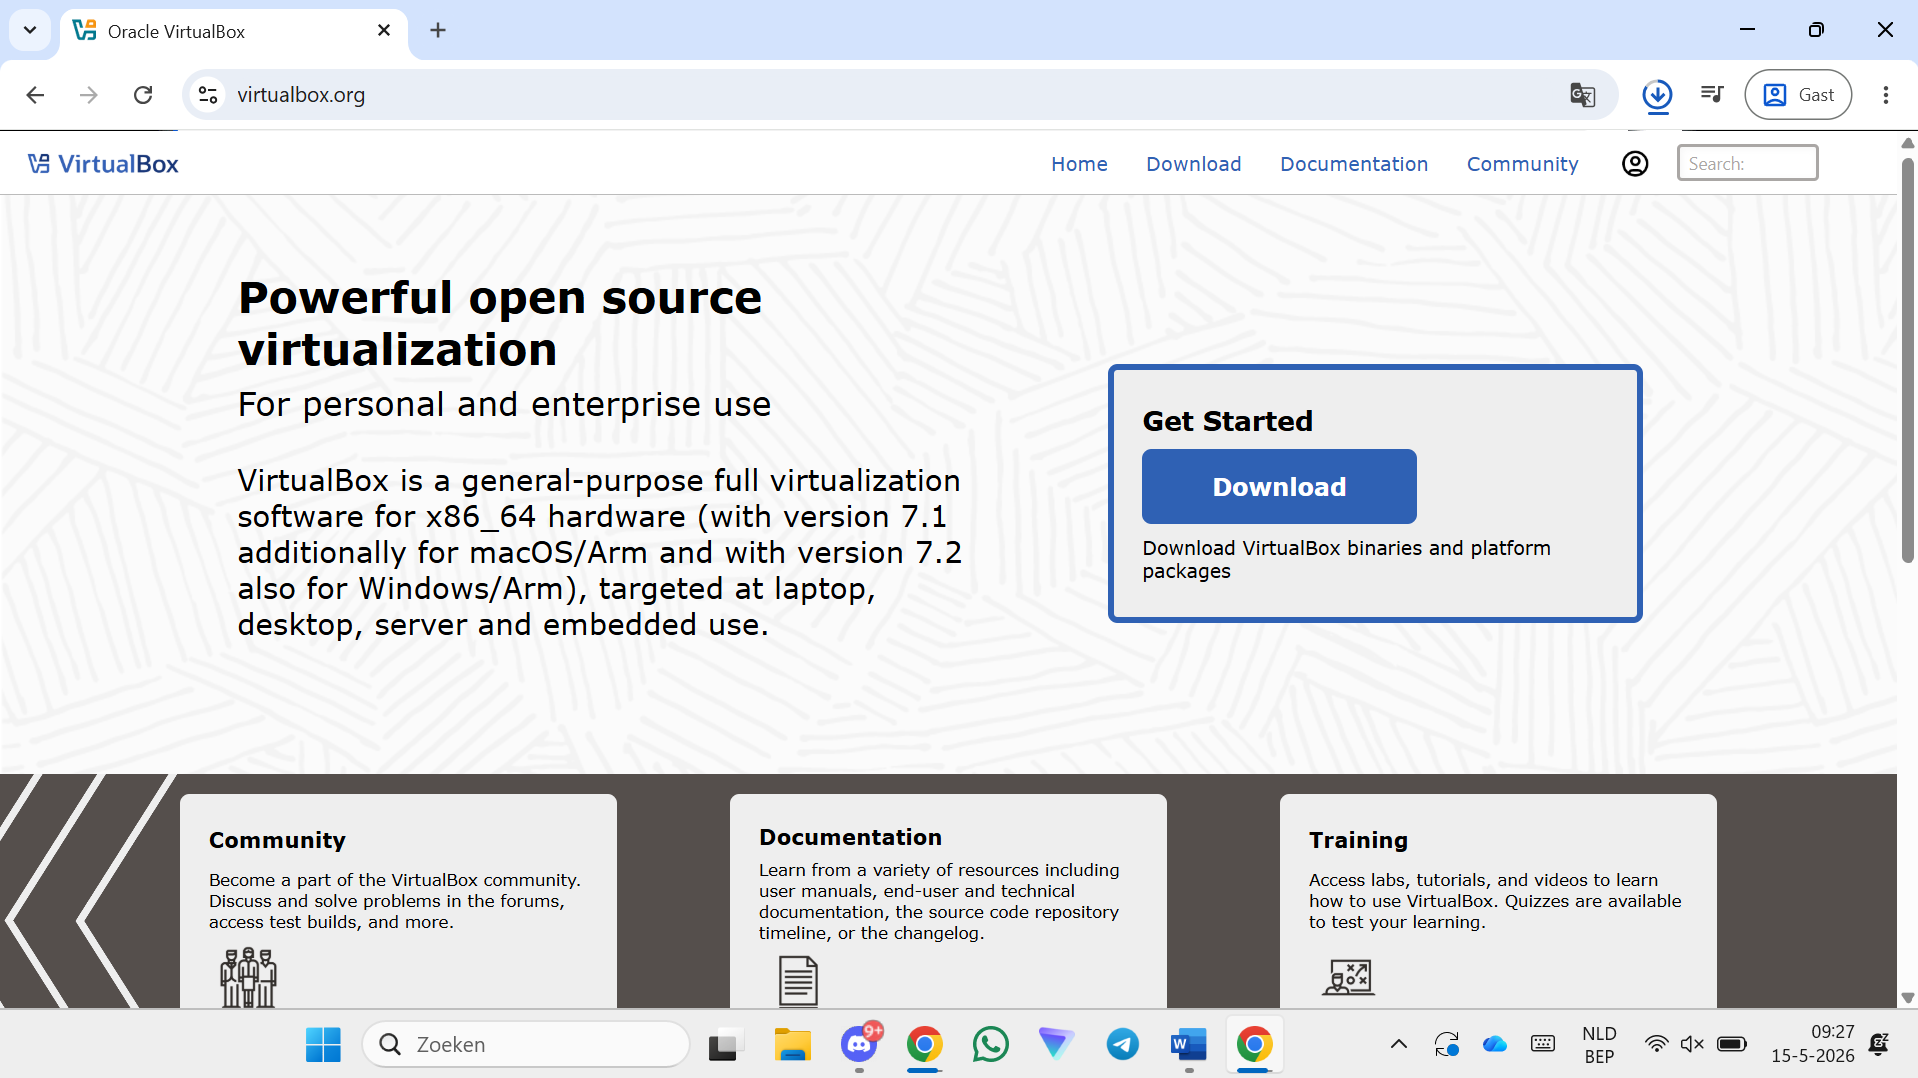
Step 5 — Click on Download
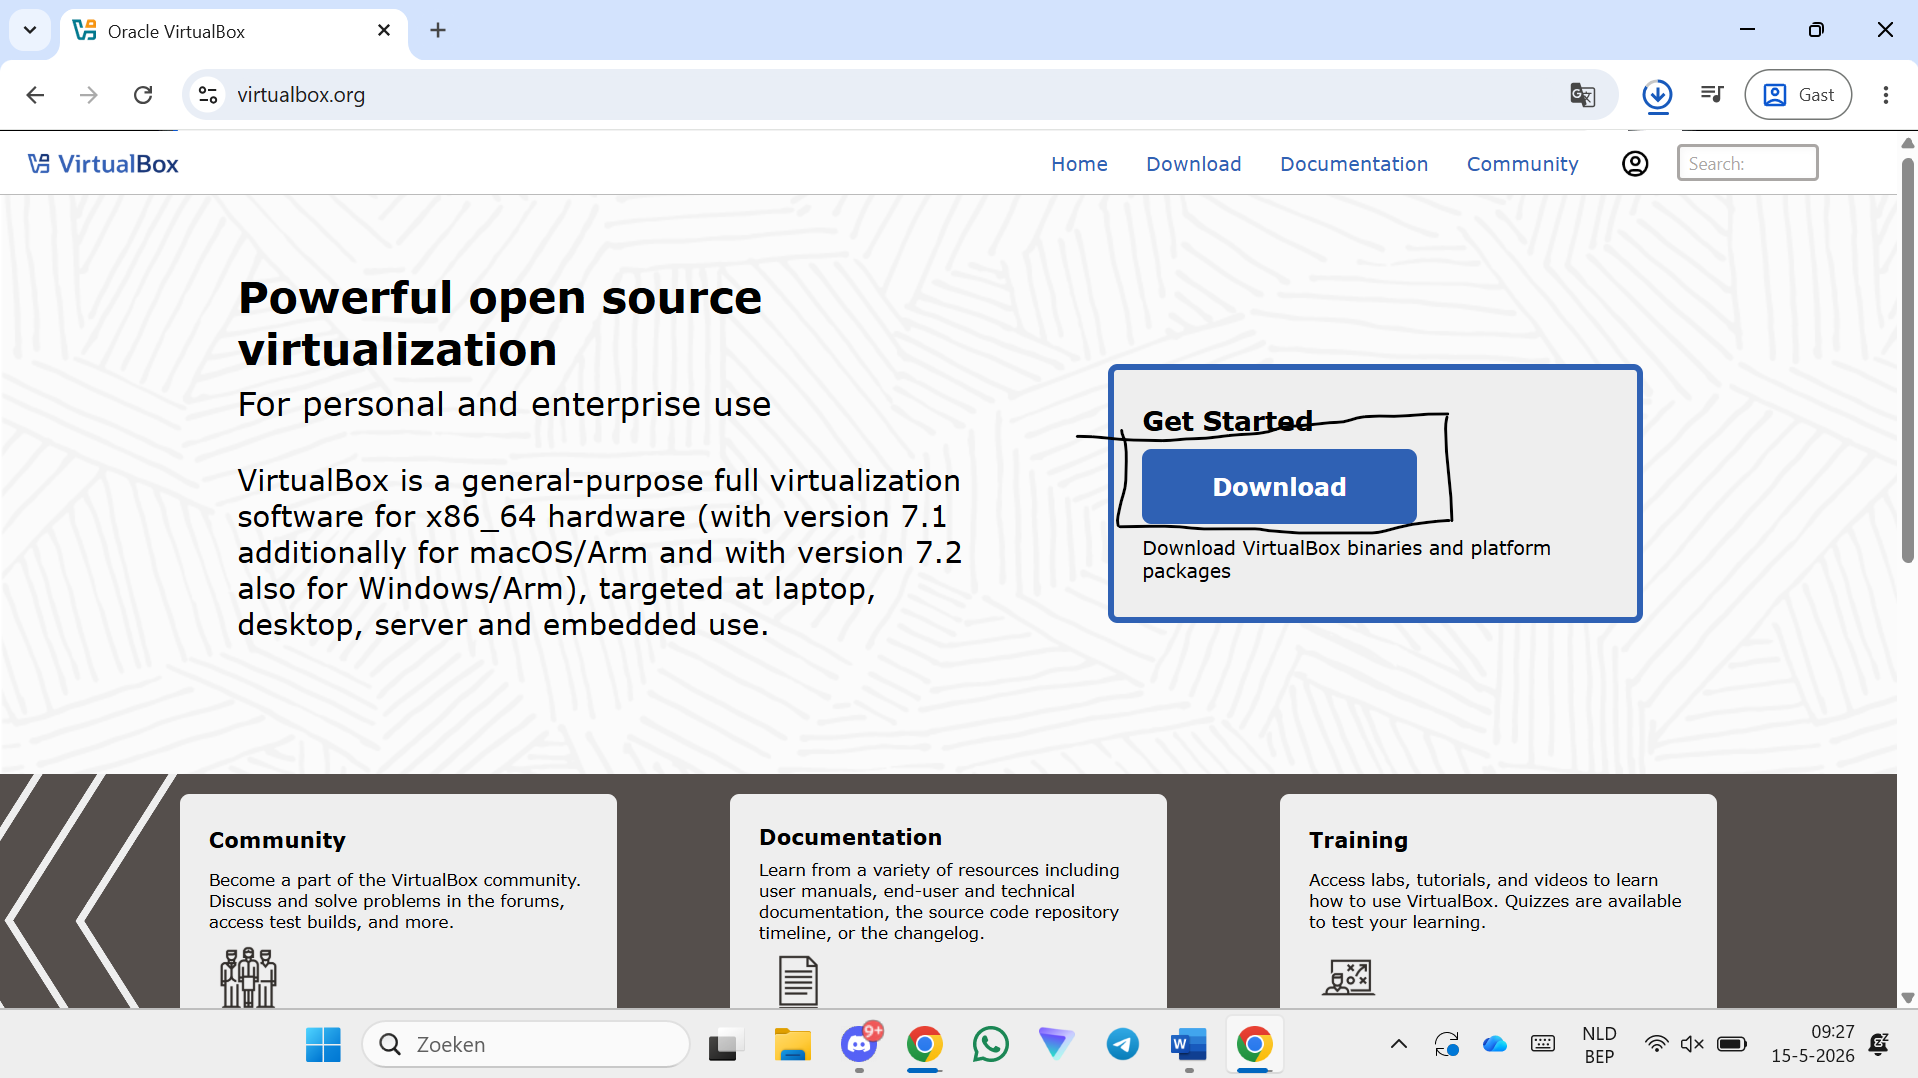
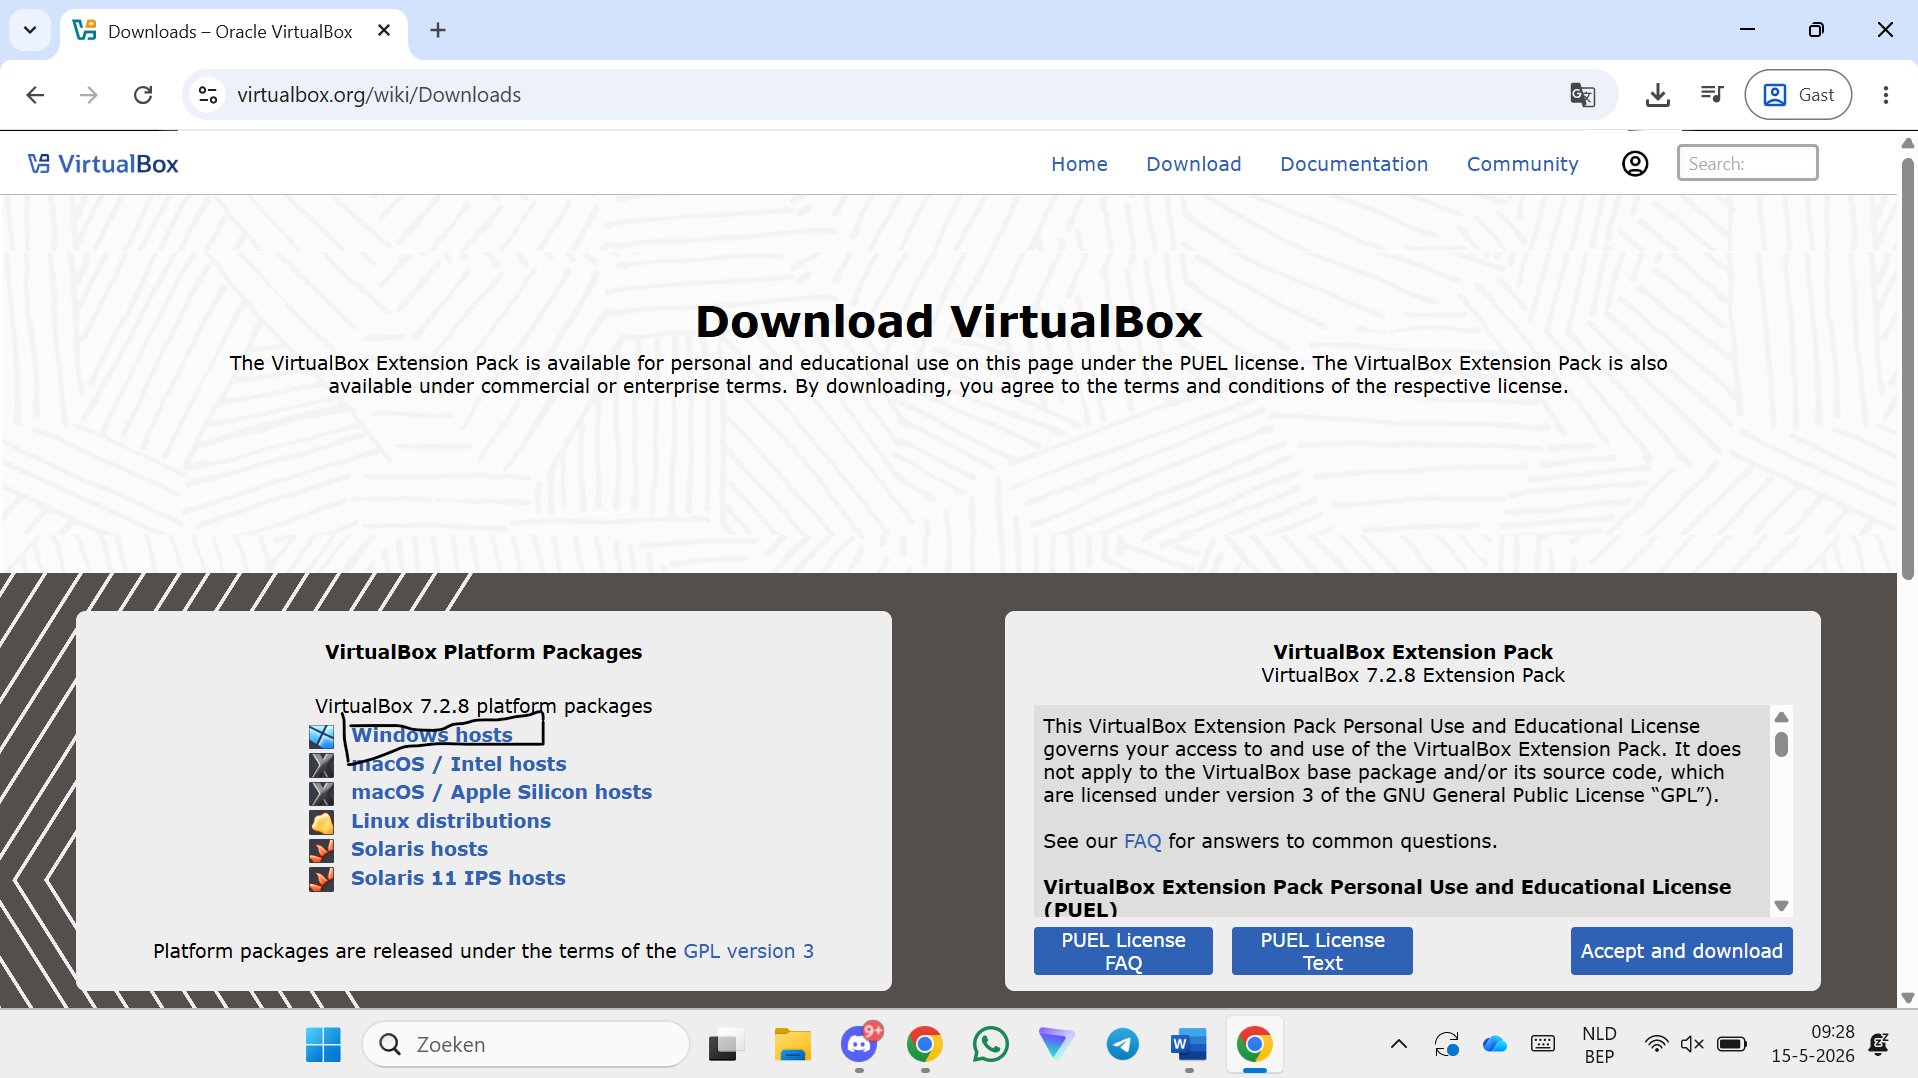
Step 6 — Click on Windows hosts
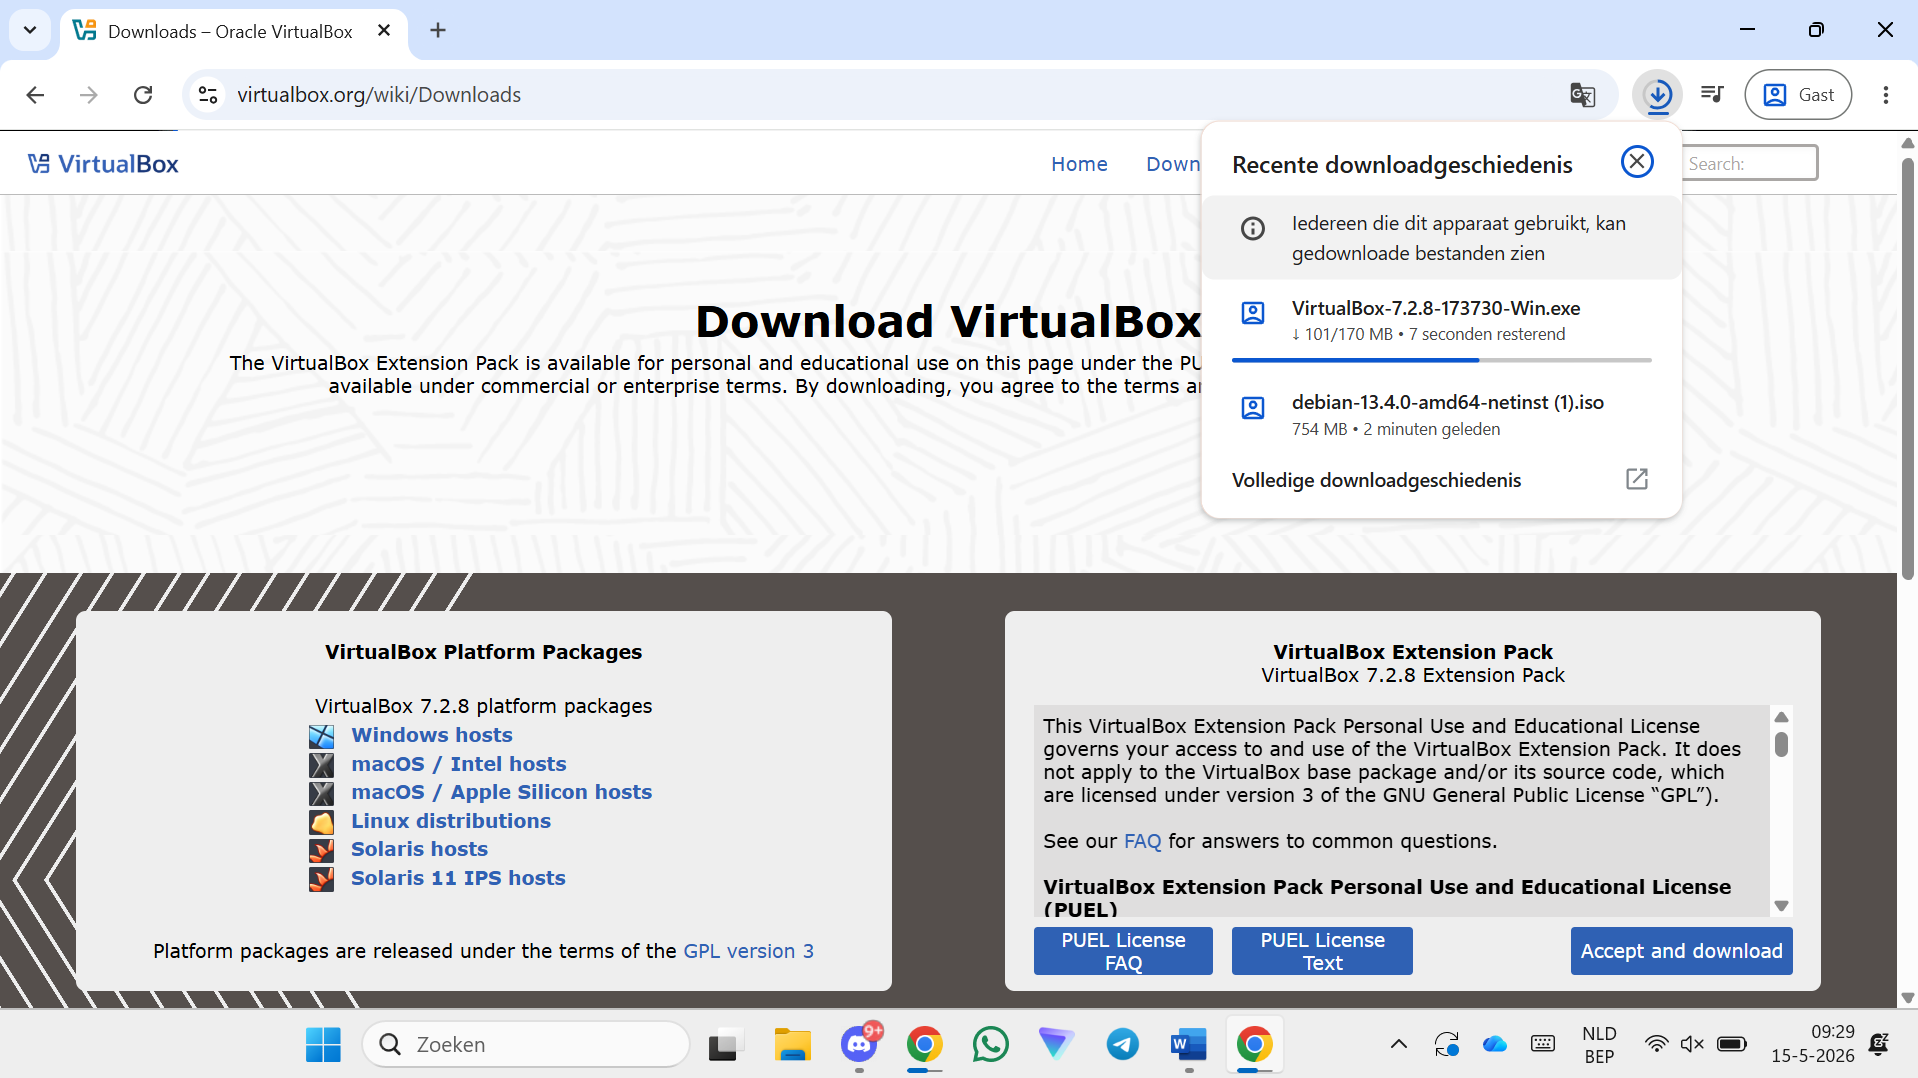
Step 7 — Wait until the download is ready
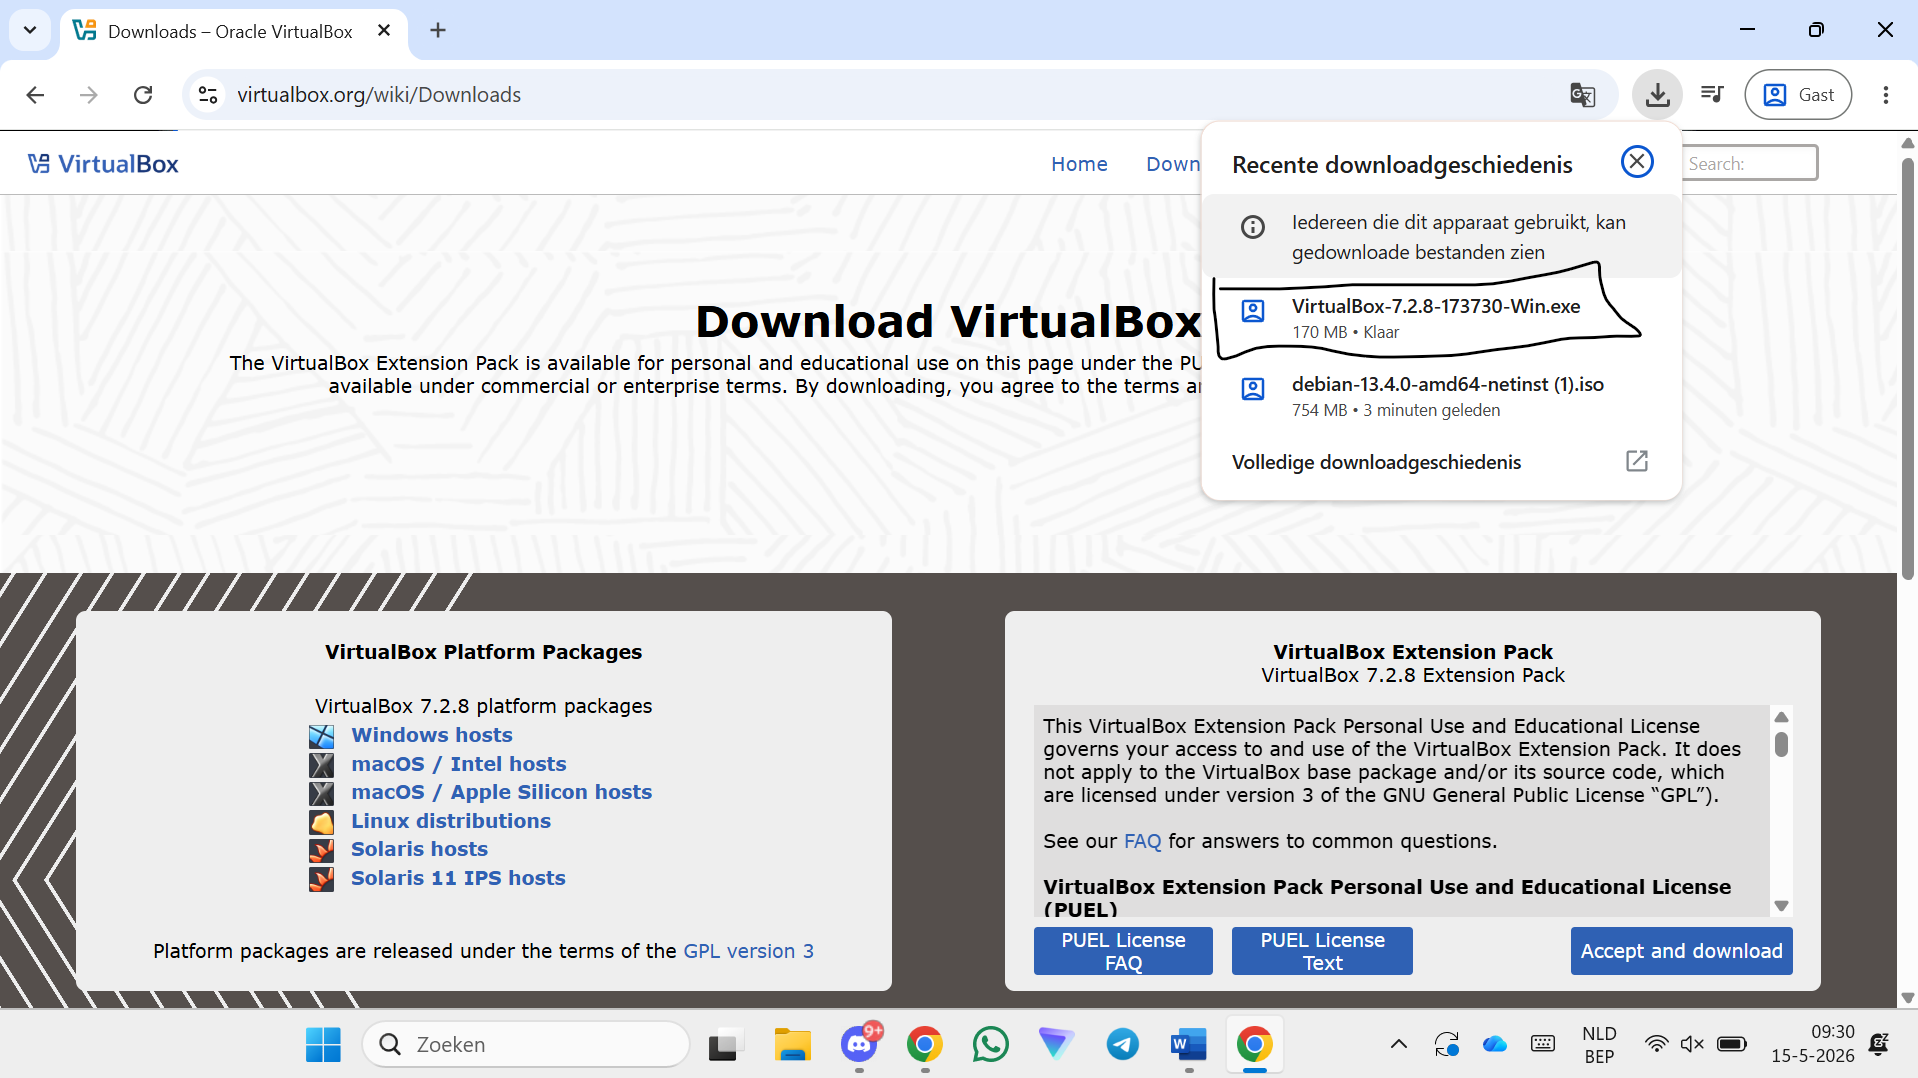
Step 8 — Click on the VirtualBox installer (.exe)
Step 9 — Click Next
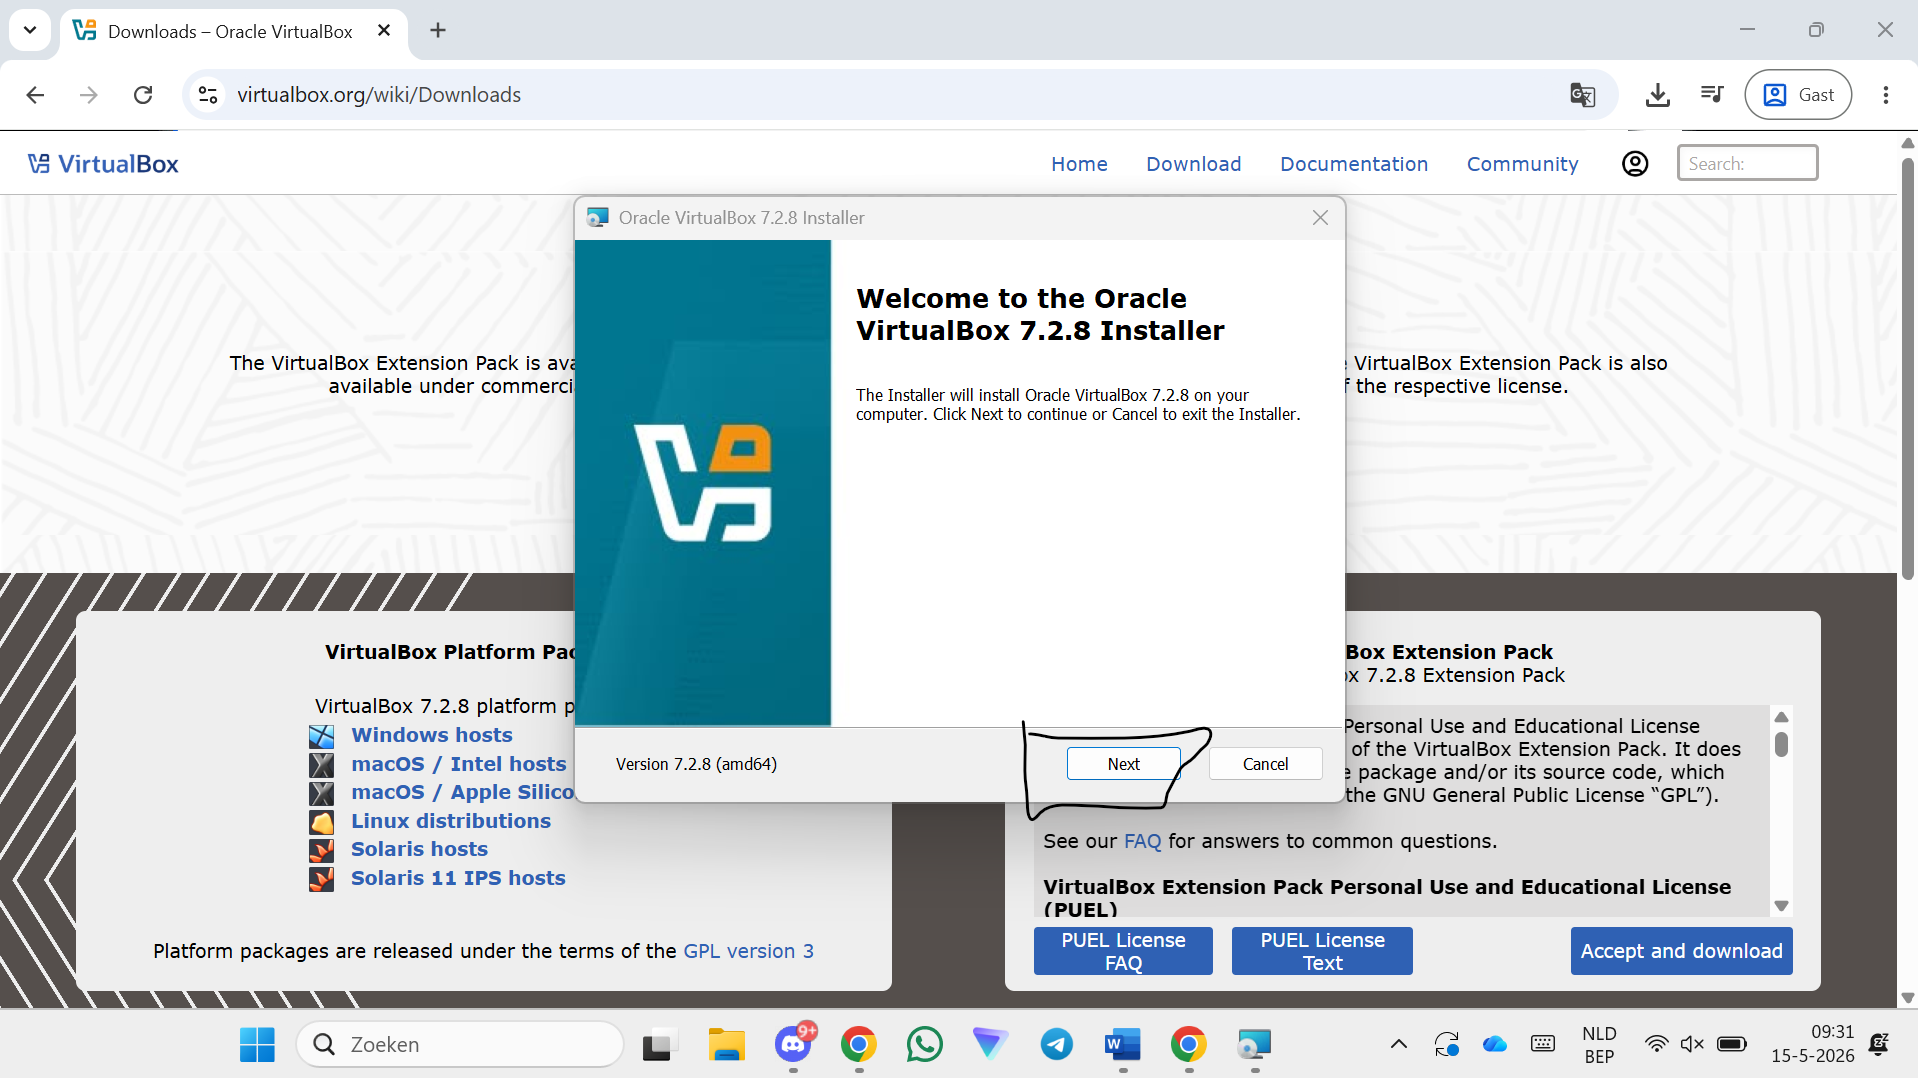
Step 10 — Click Next
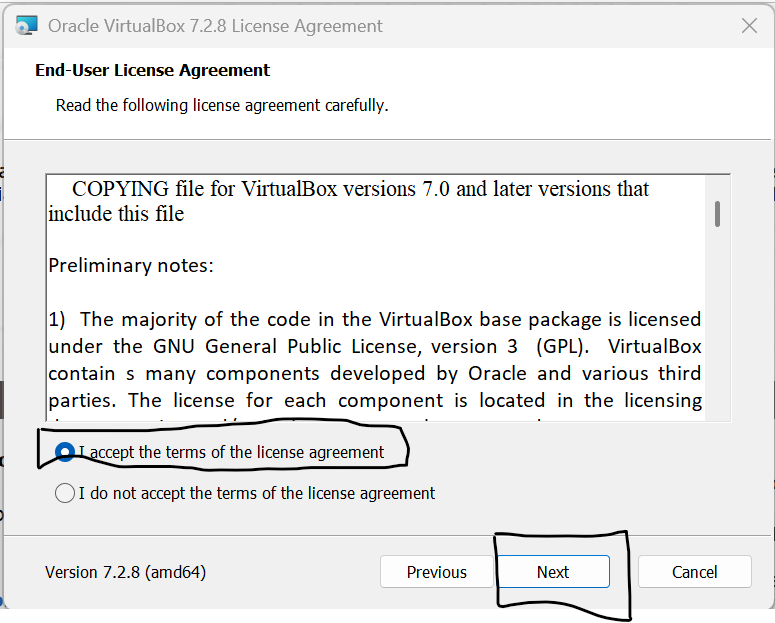
Step 11 — Click Next
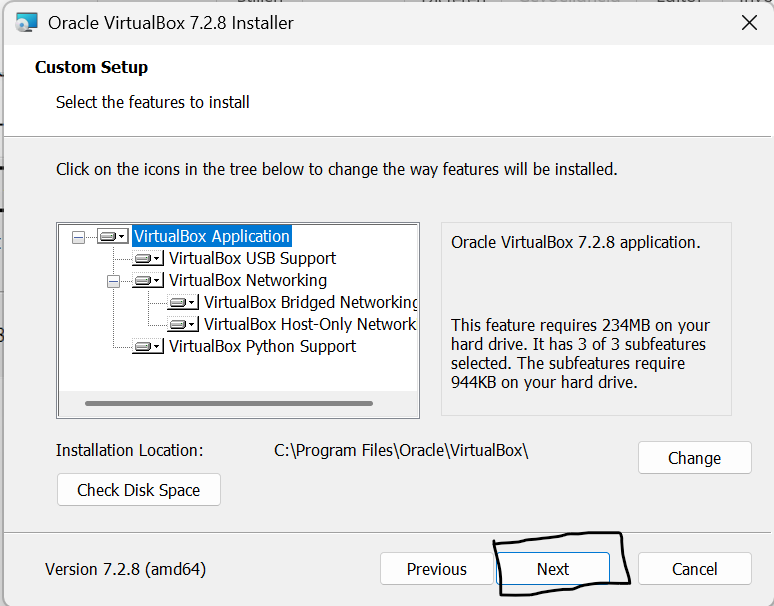
Step 12 — Click Yes
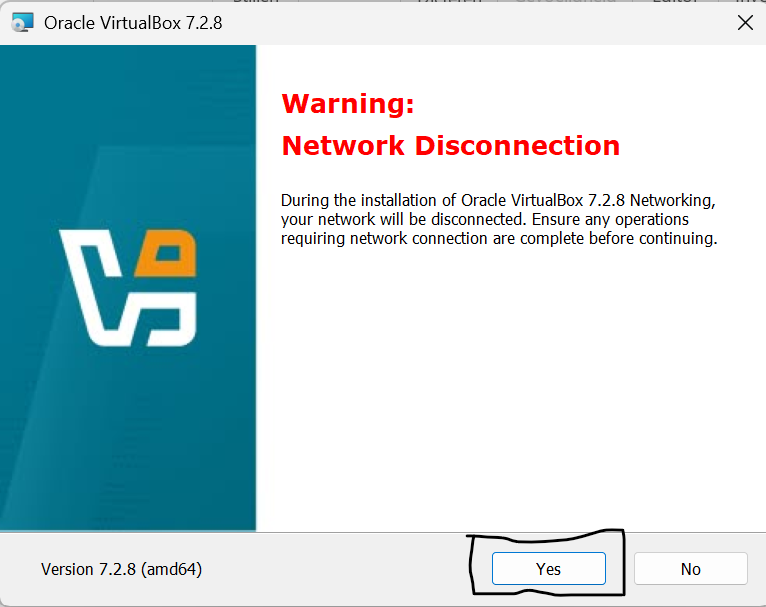
Step 13 — Click Yes
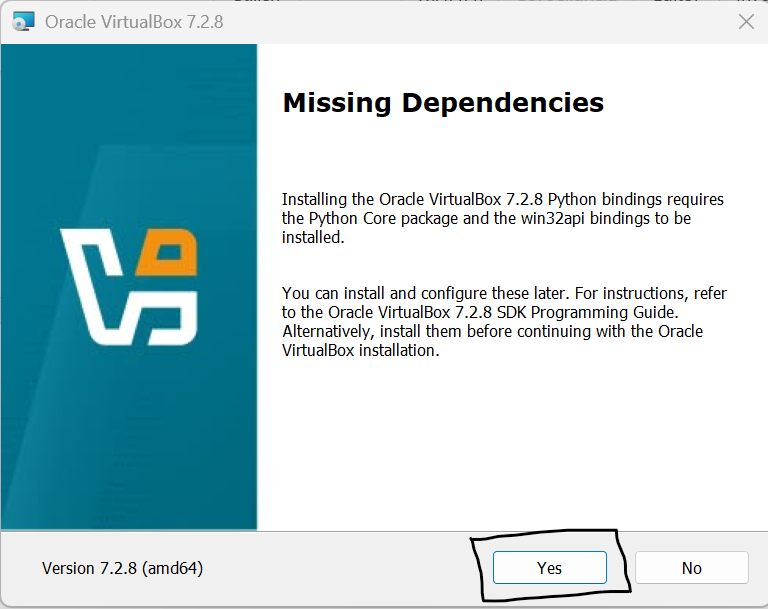
Step 14 — Click Next
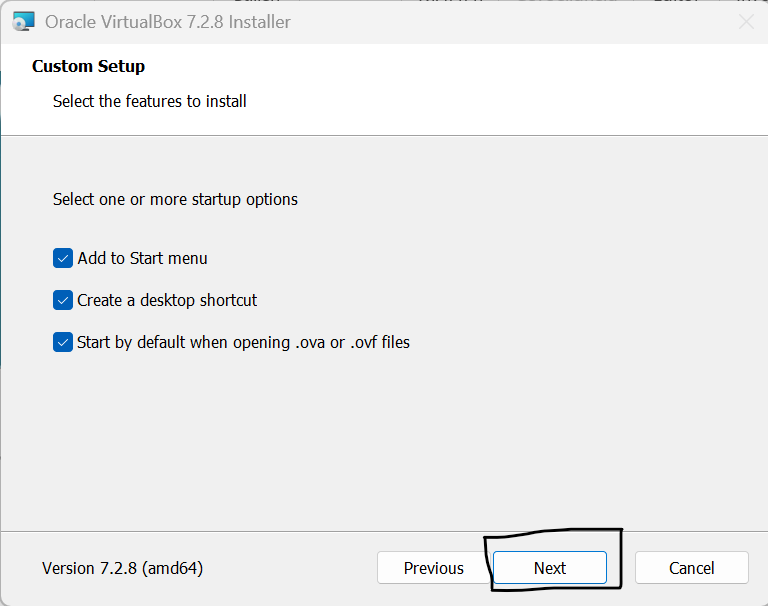
Step 15 — Click Next
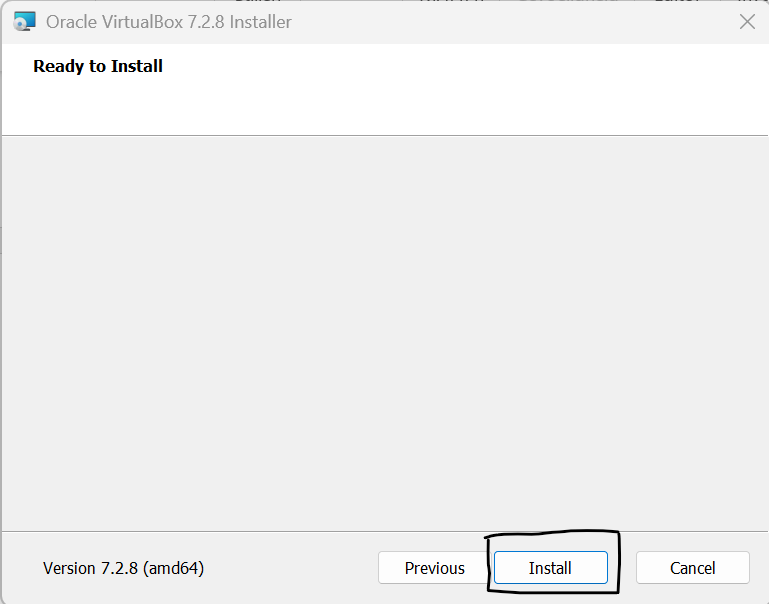
Step 16 — Click Install
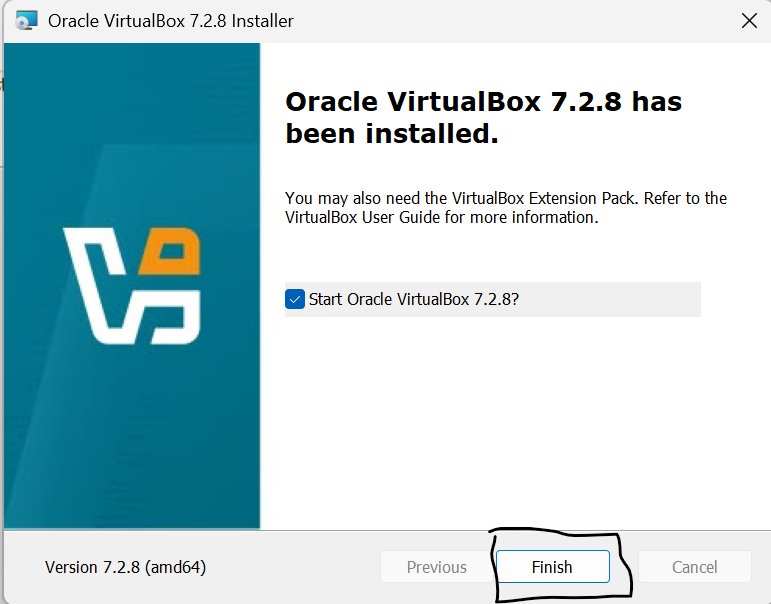
Step 17 — Click New to create a new VM
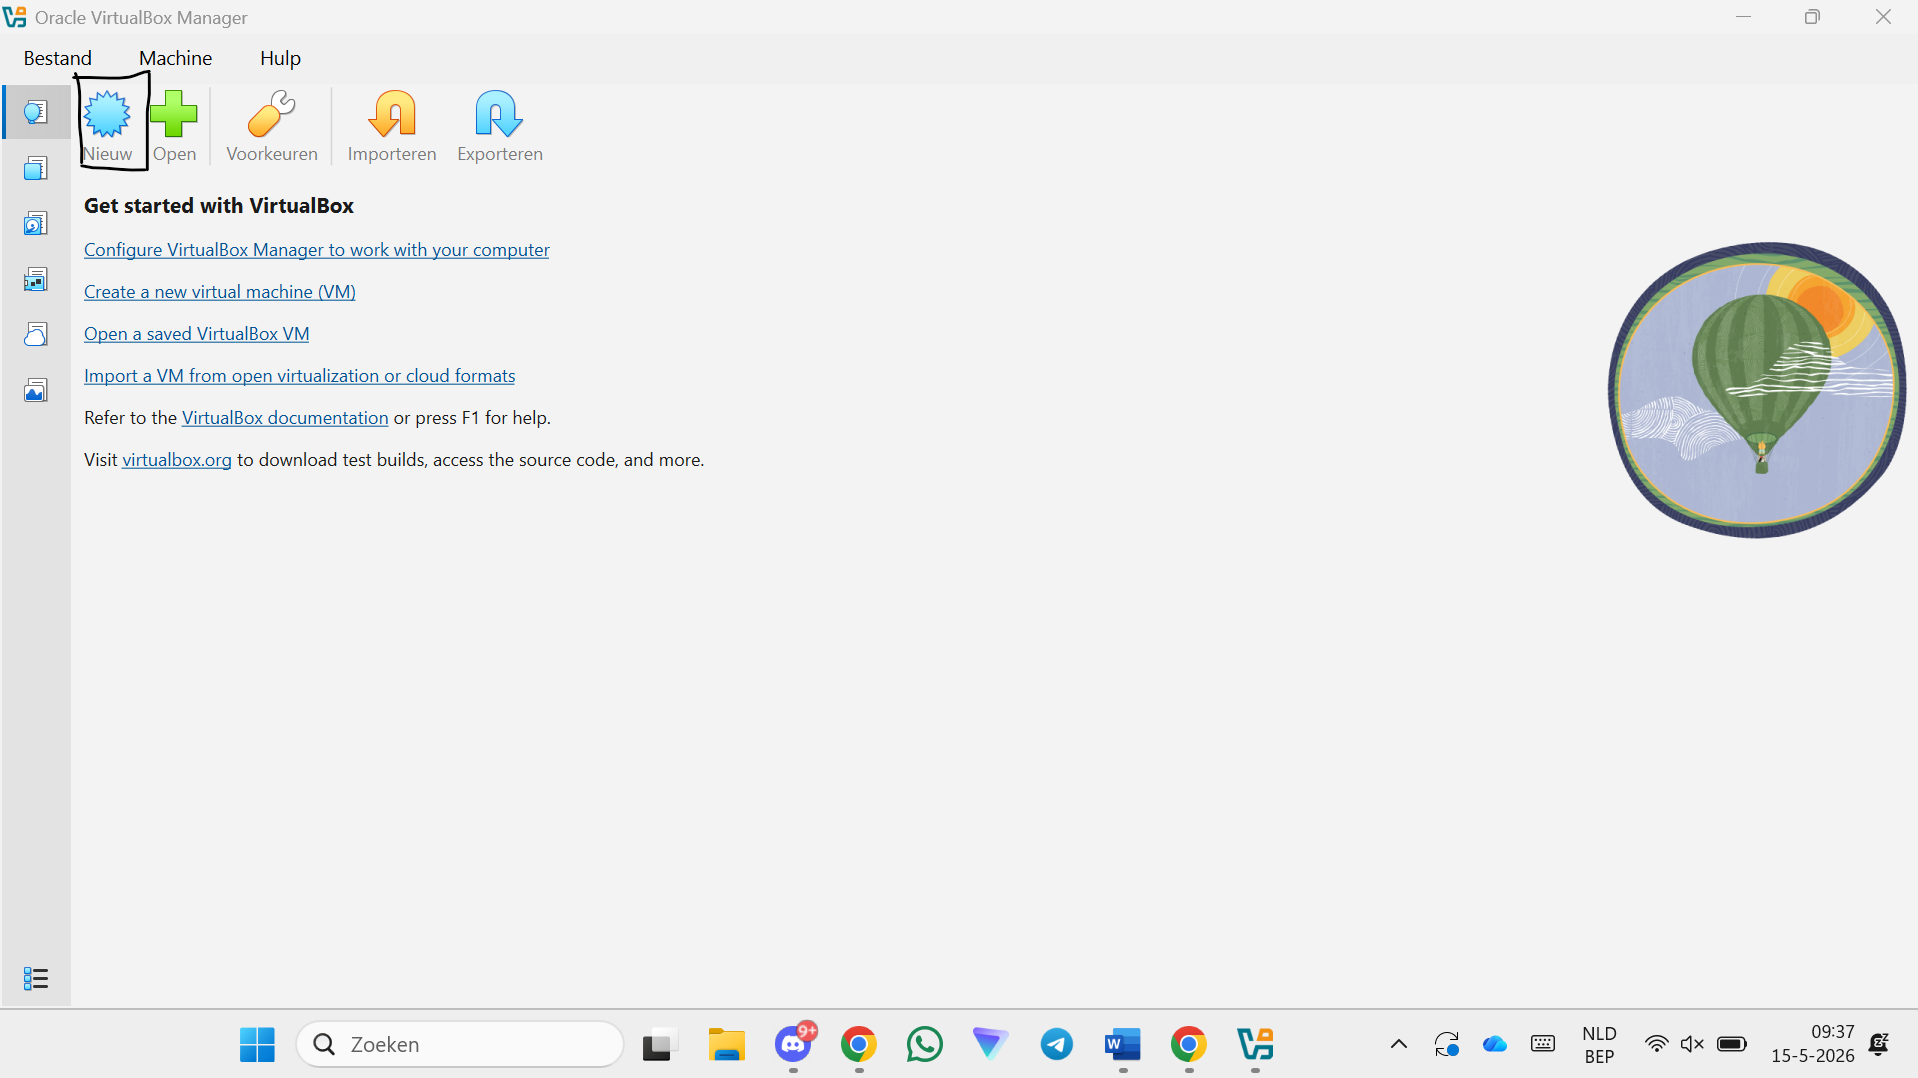
Step 18 — Give the VM a name
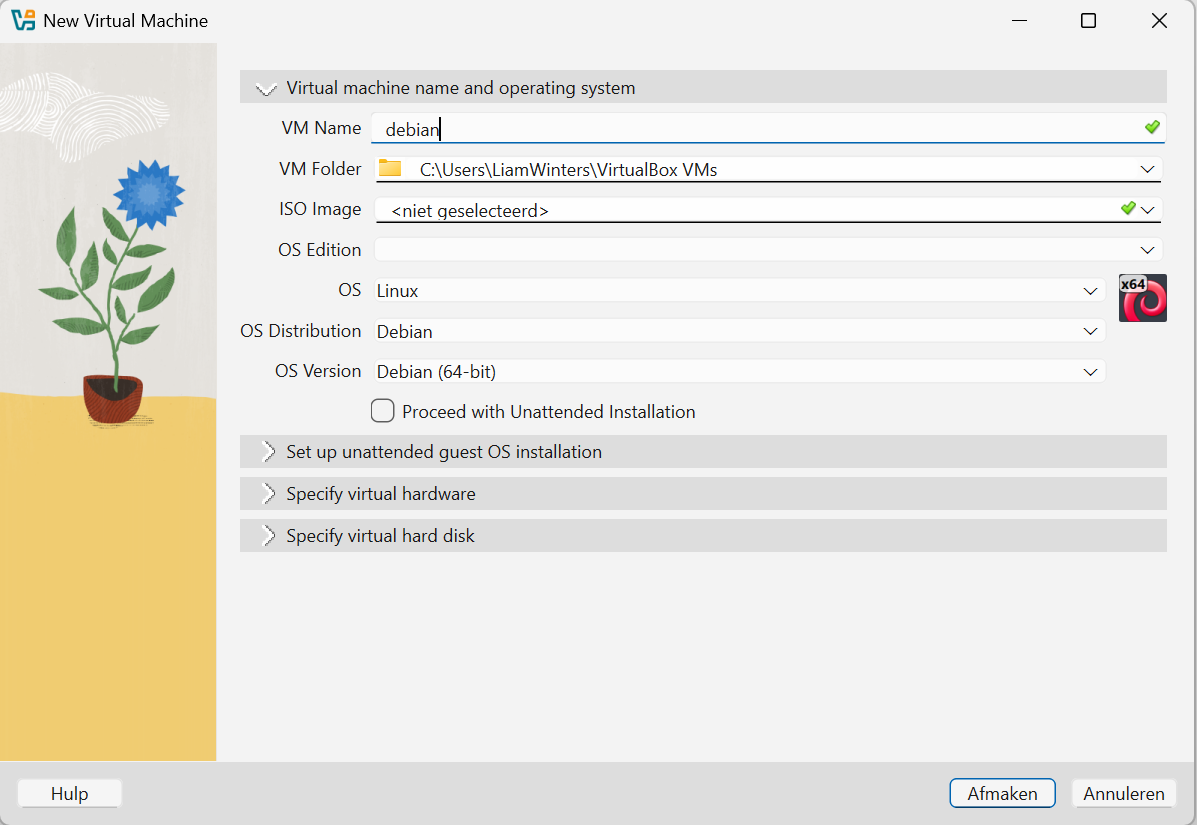
Step 19 — Click Other to select the ISO
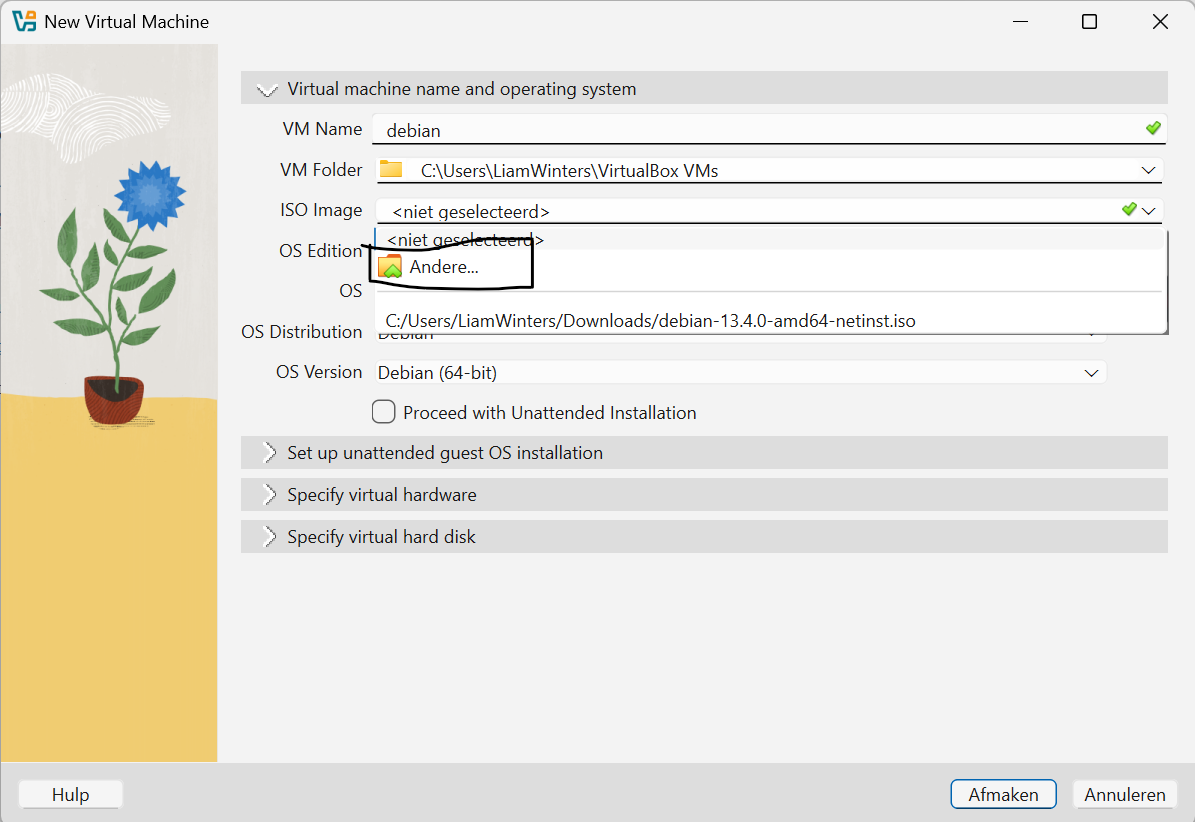
Step 20 — Select the Debian ISO and click Open
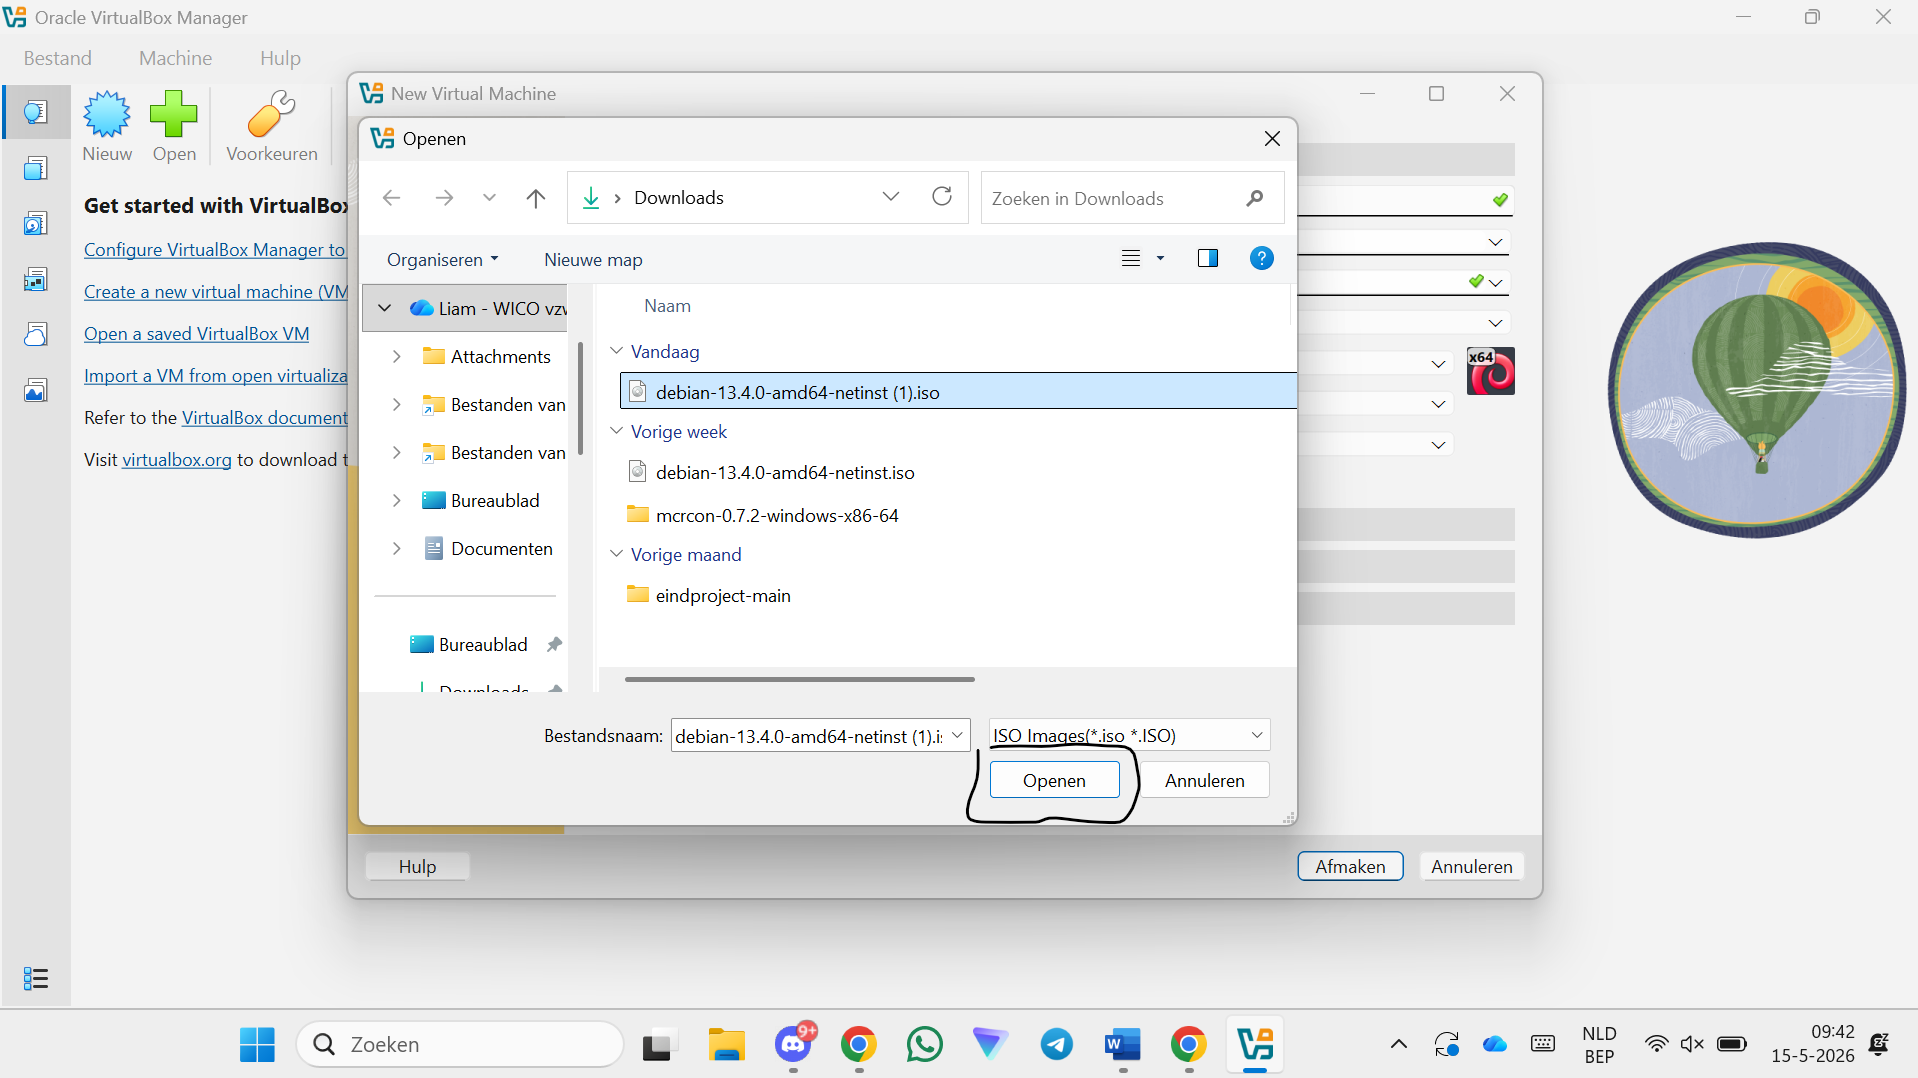
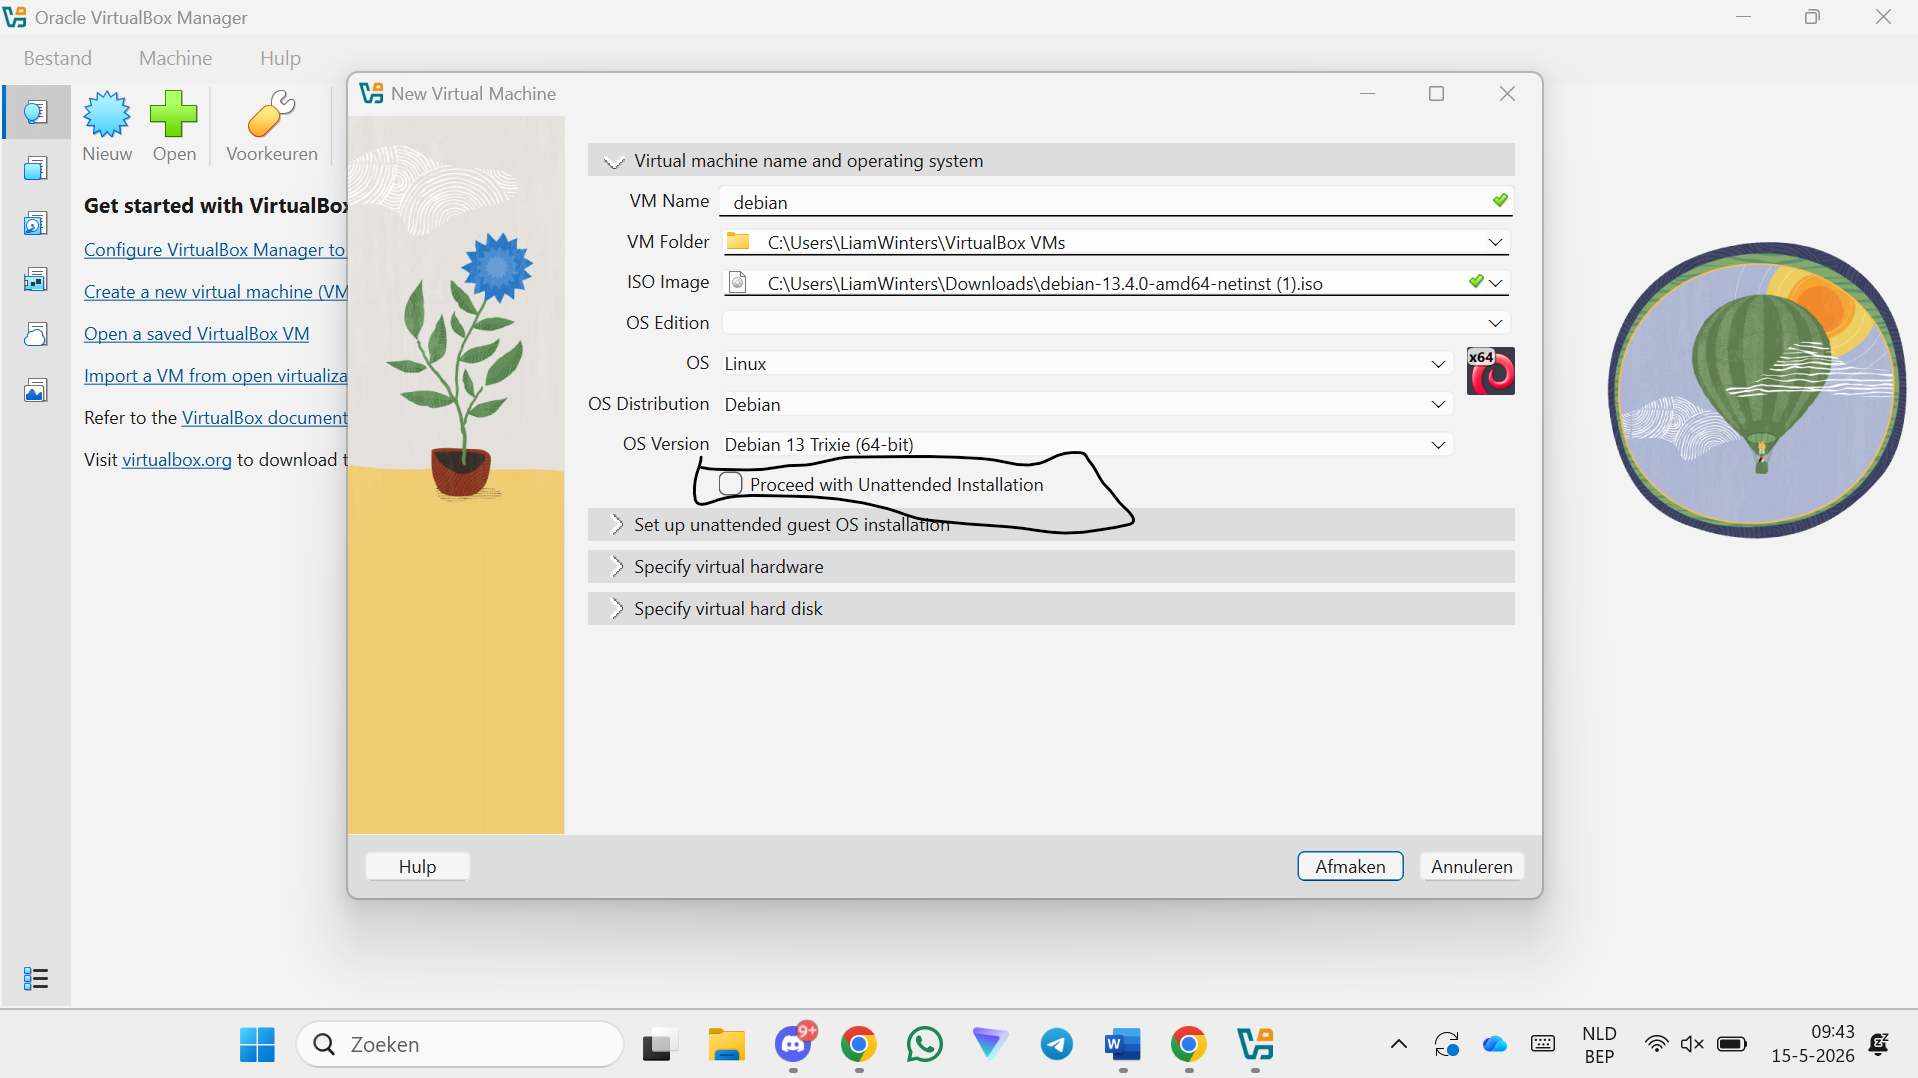
Step 21 — Uncheck "Skip Unattended Installation"
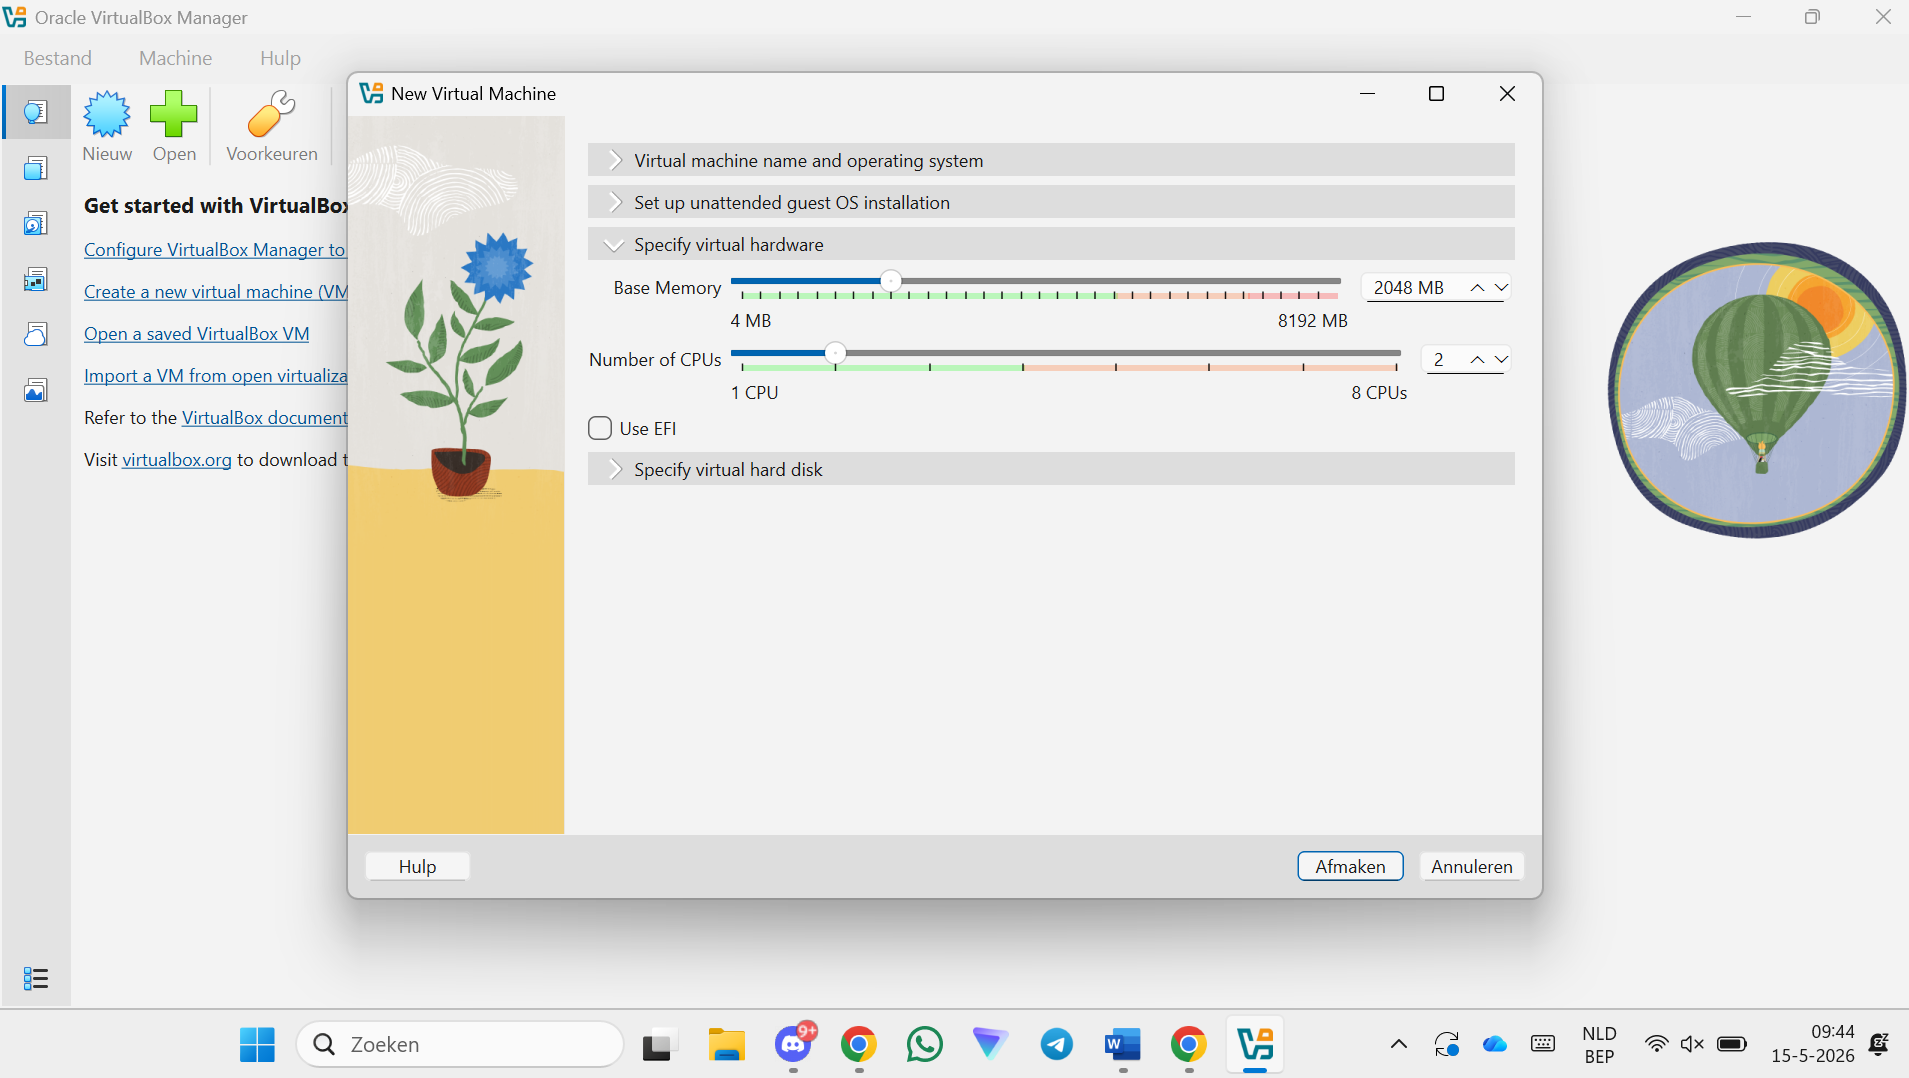
Step 22 — Give the VM some hardware (RAM and CPU)
Allocate at least 2 GB RAM and 2 CPU cores.
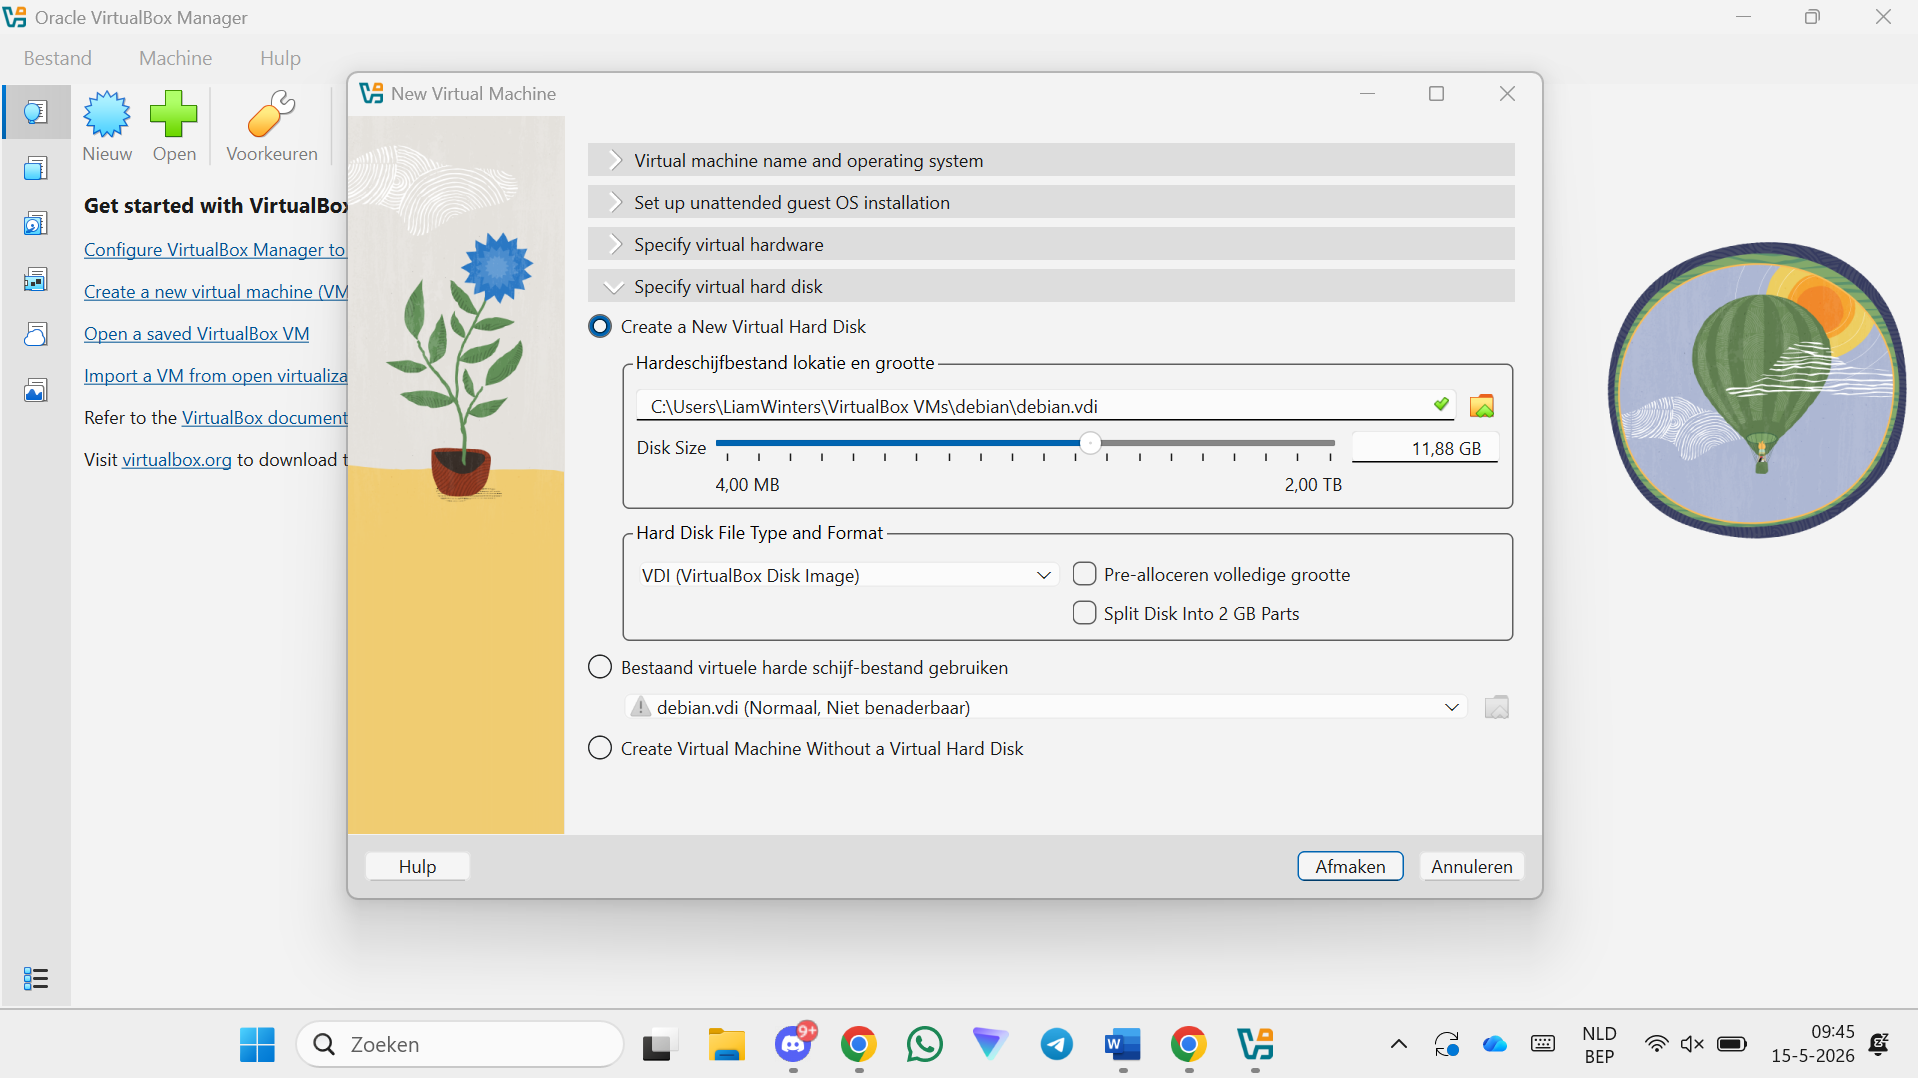
Step 23 — Give the VM some storage
Allocate at least 20 GB of disk space.
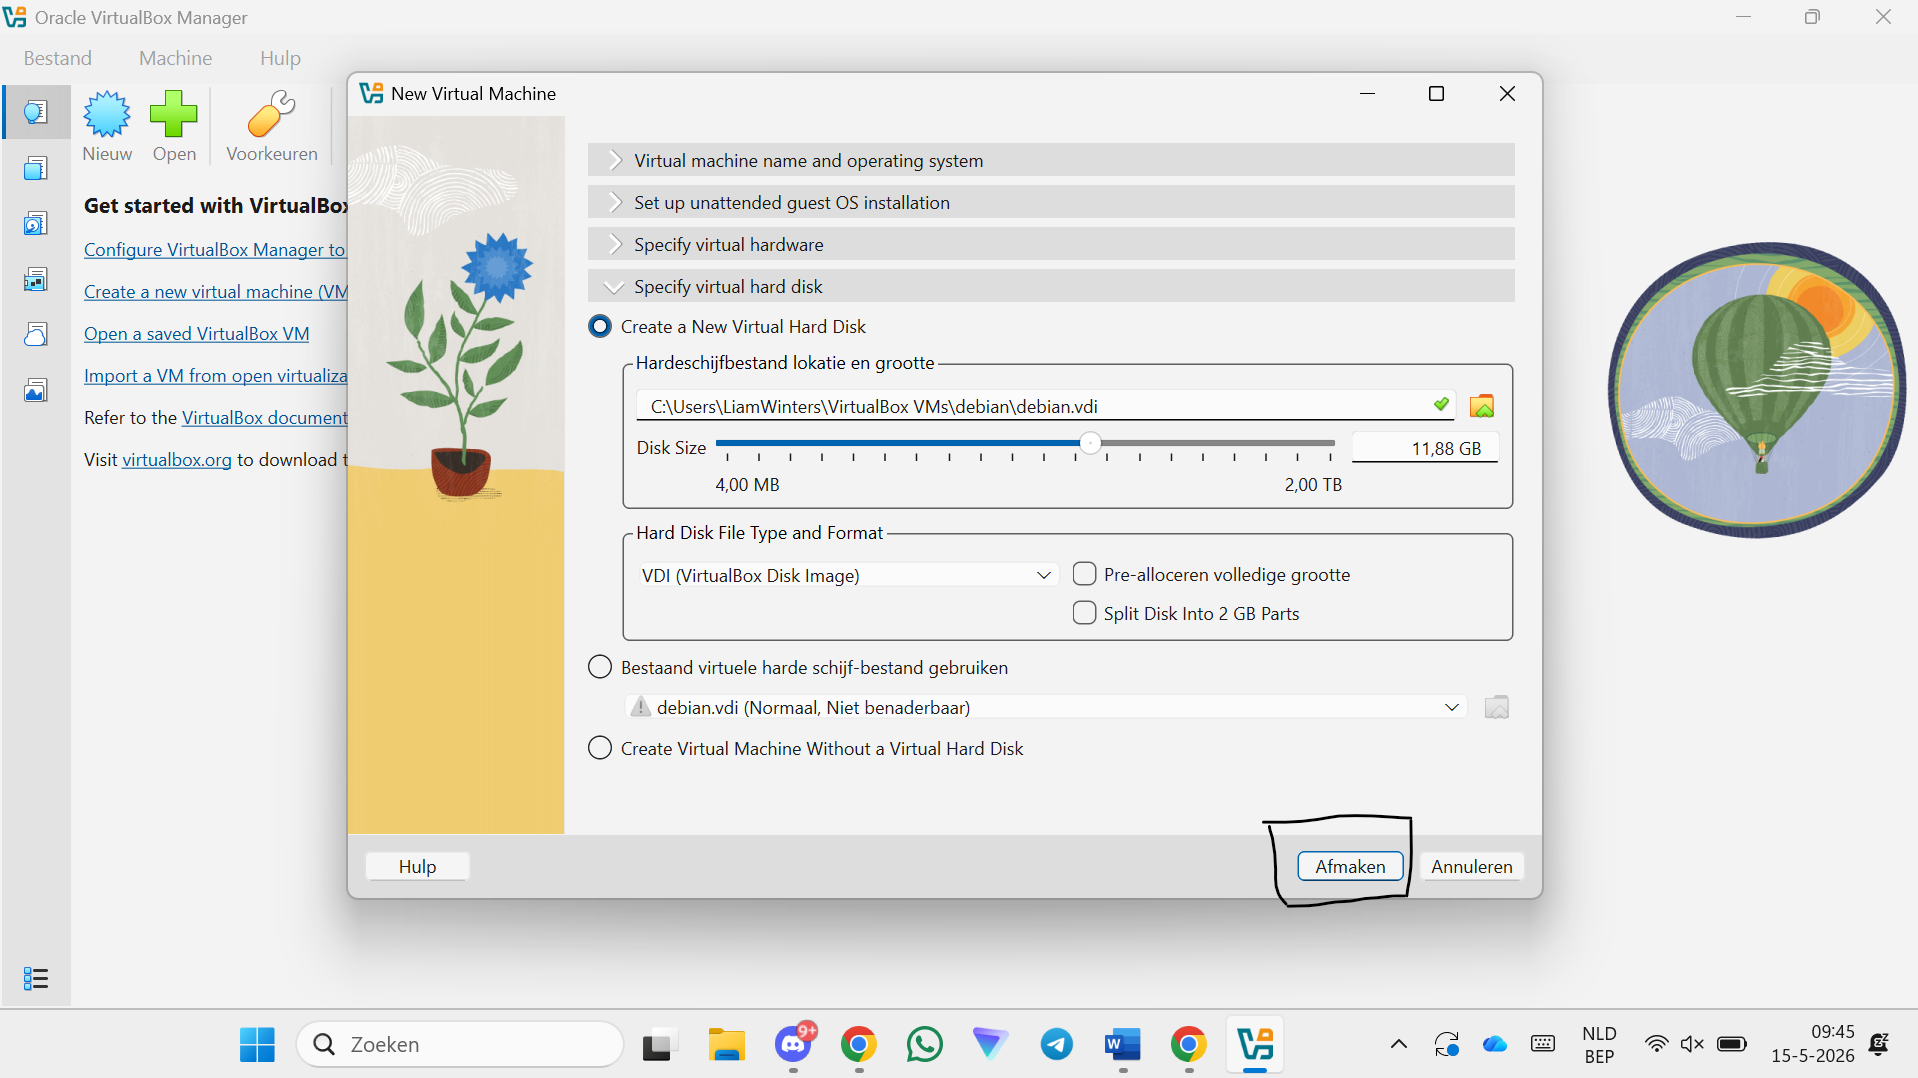
Step 24 — Click Finish
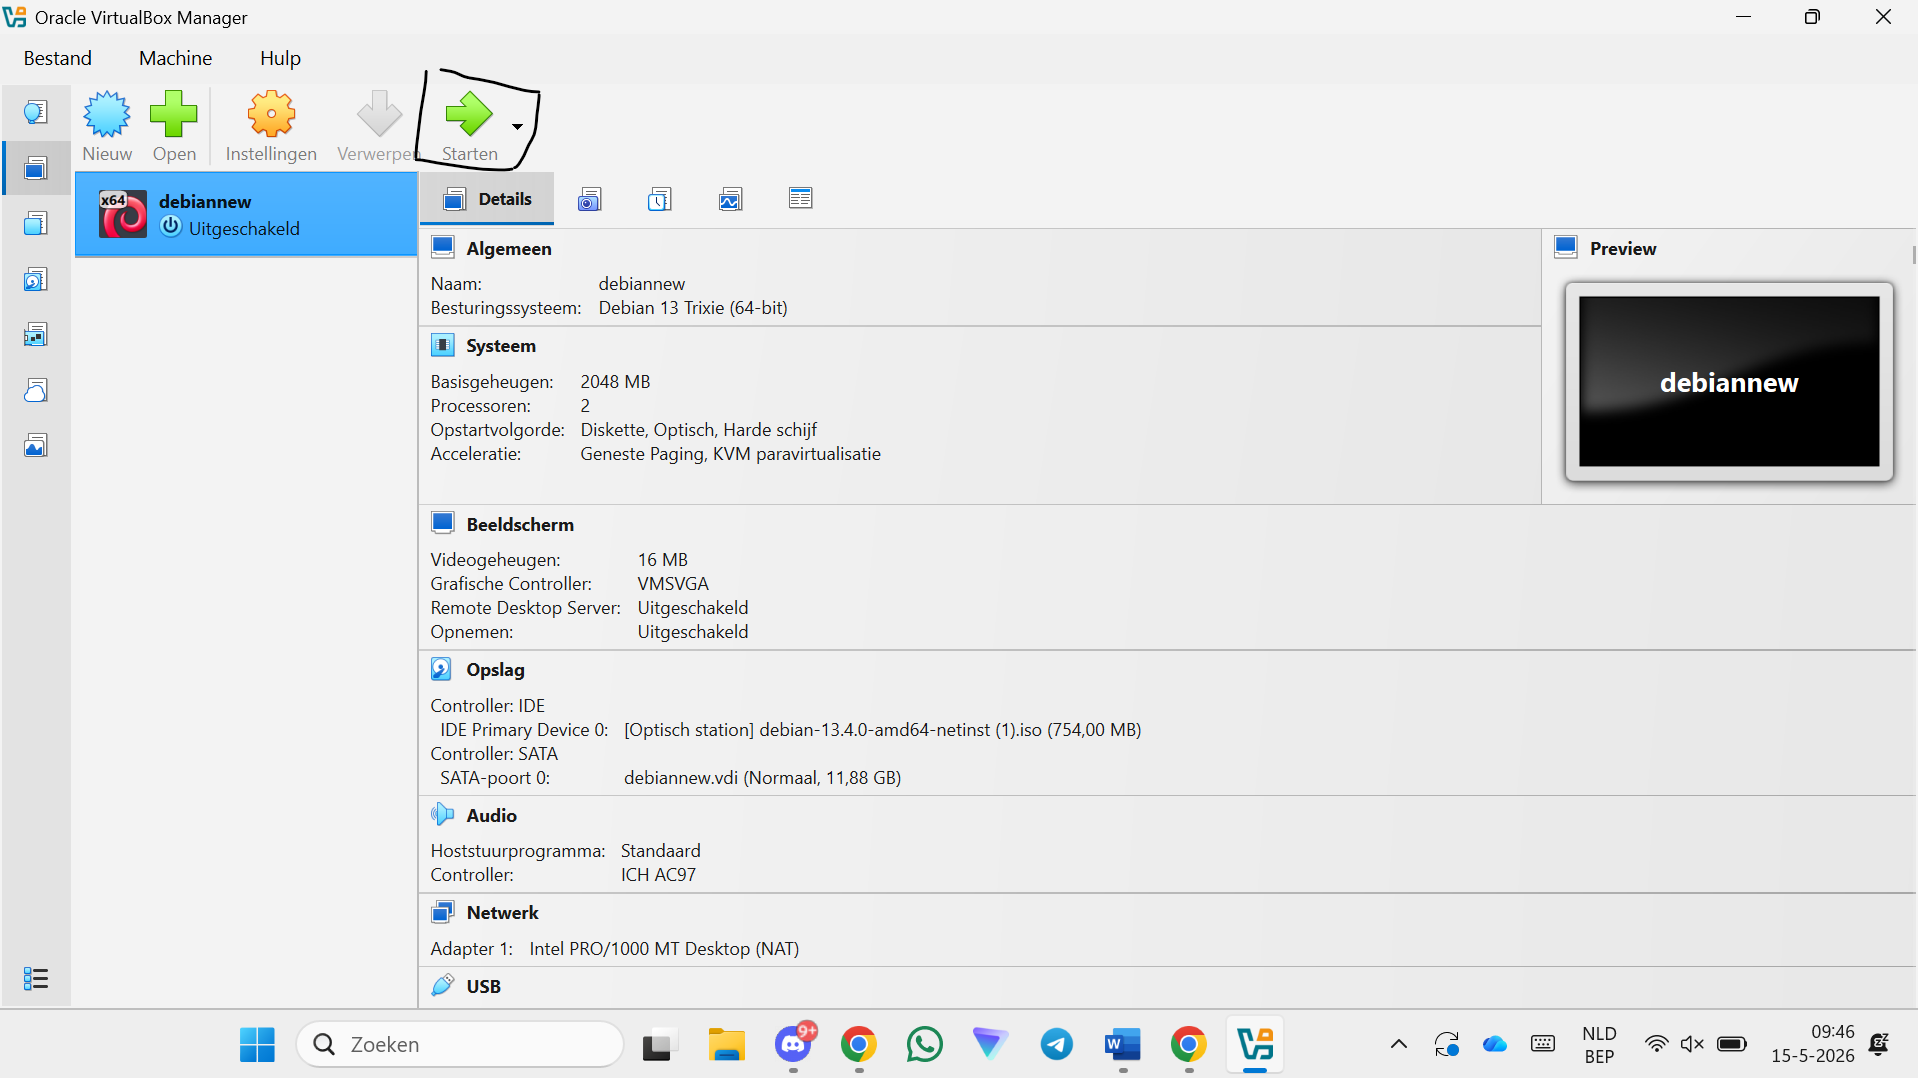
Step 25 — Click Start to boot the VM
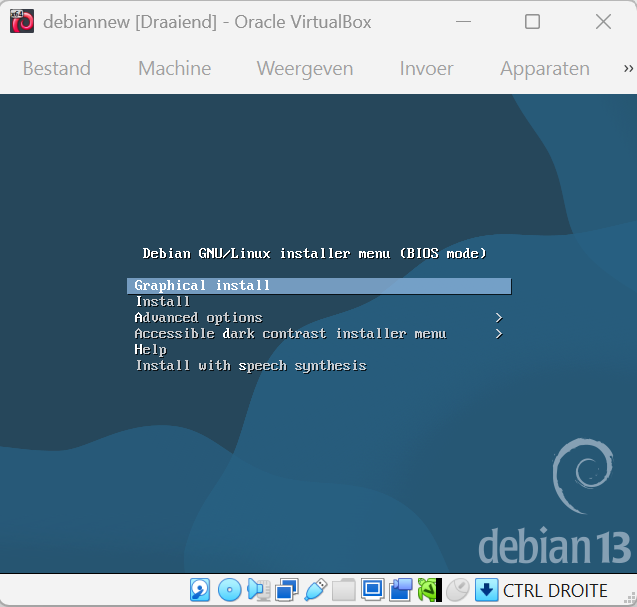
Step 26 — Select "Graphical install"
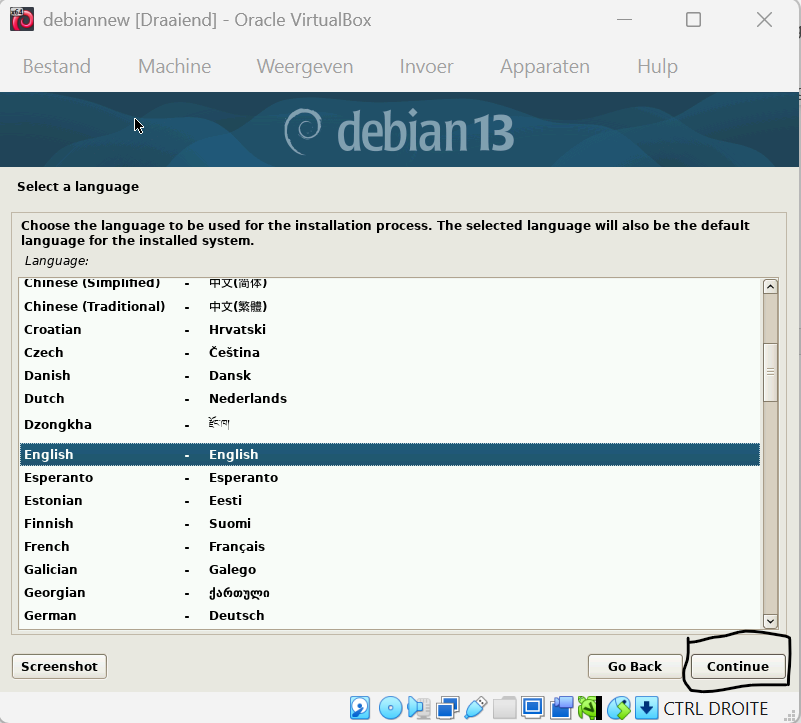
Step 27 — Click Continue (language selection)
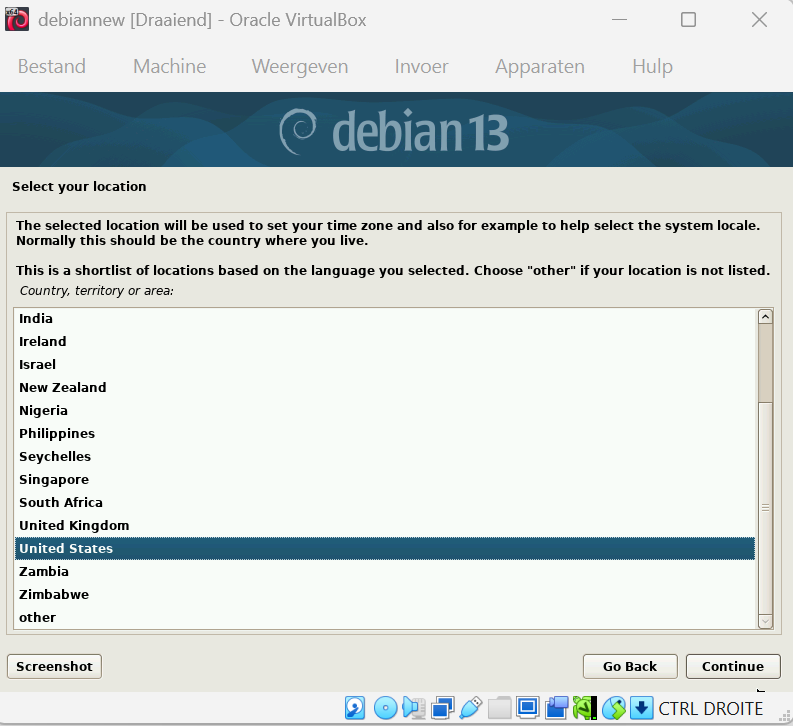
Step 28 — Click Continue (location selection)
Step 29 — Click Continue (keyboard layout)
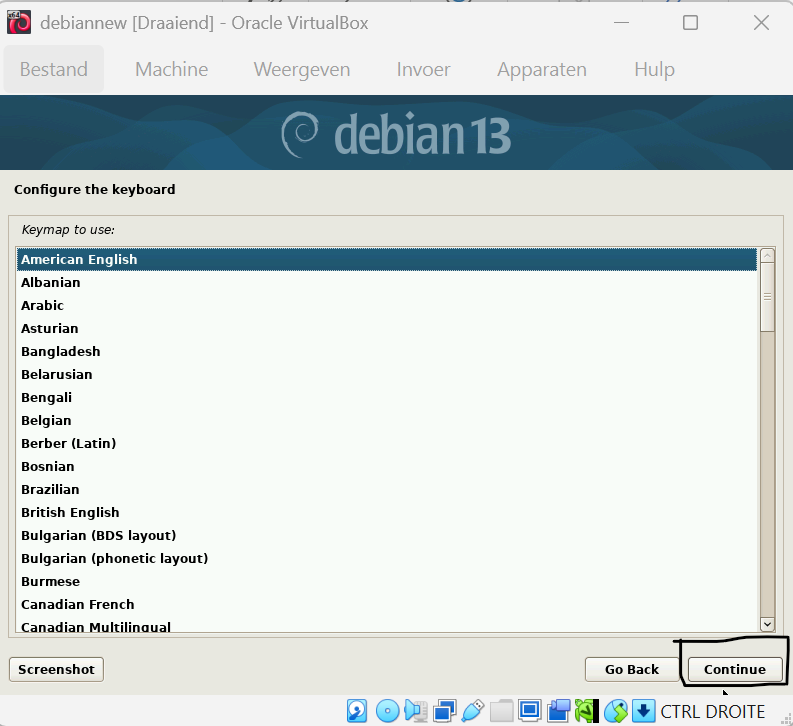
Step 30 — Click Continue (hostname)
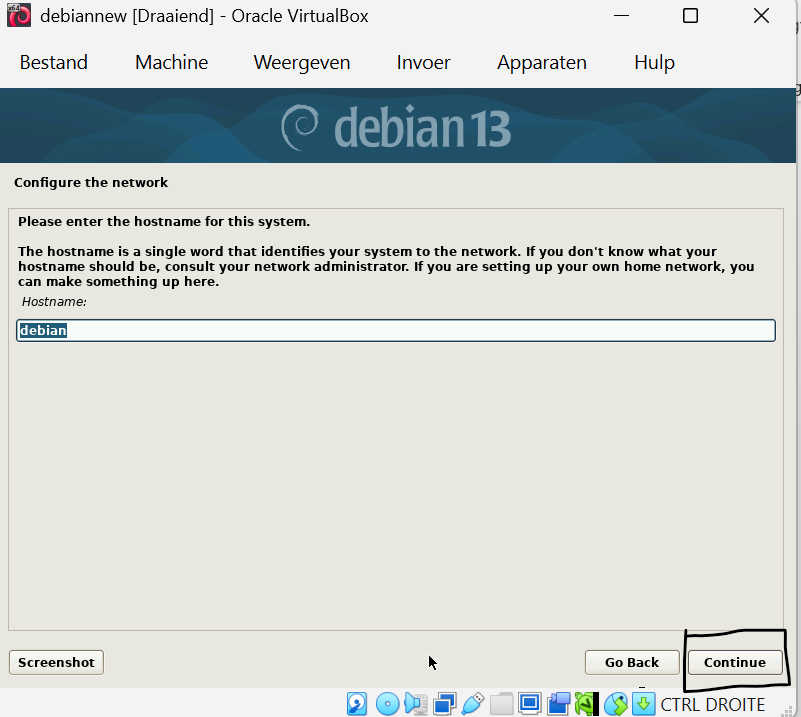
Step 31 — Click Continue (domain name)
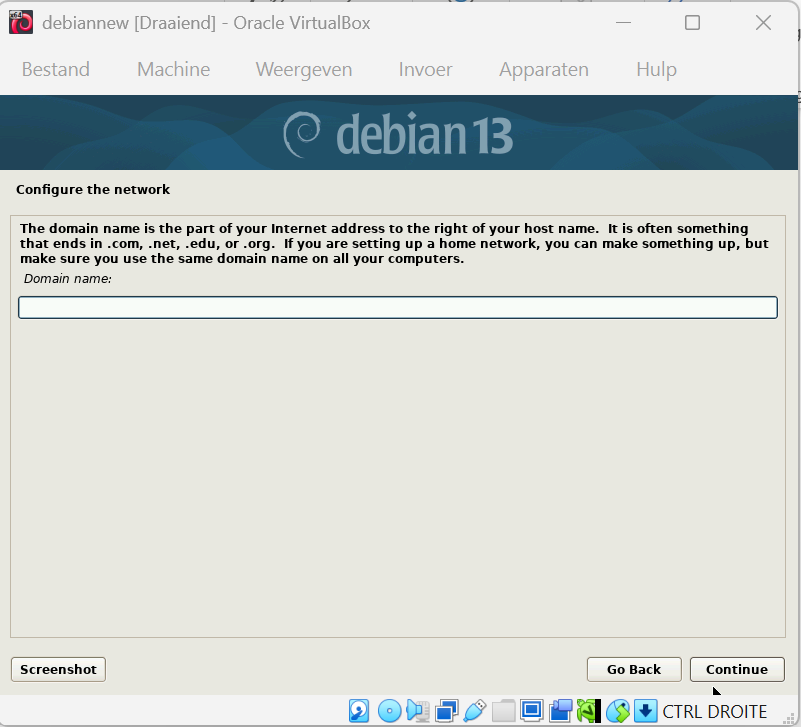
Step 32 — Choose a root password and click Continue
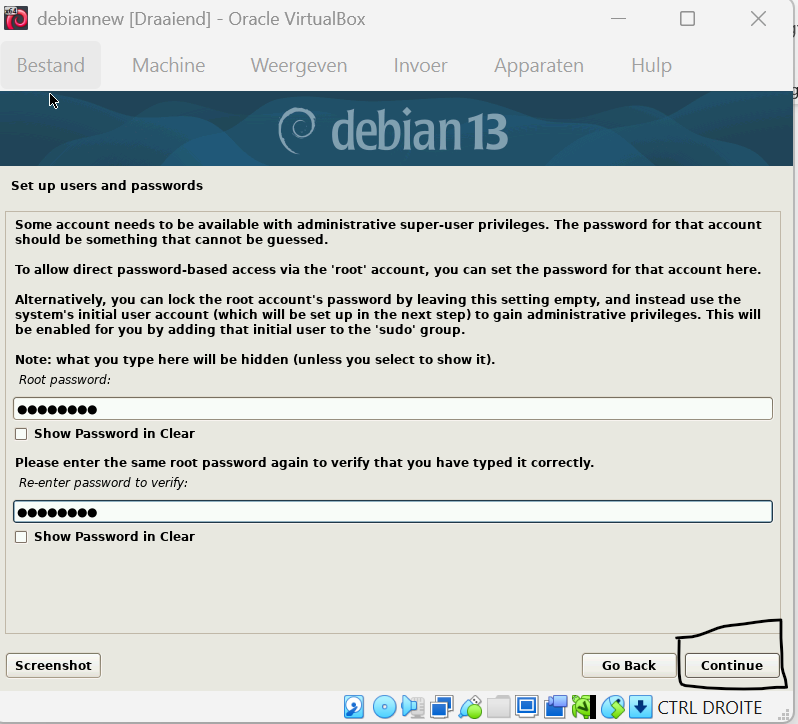
Step 33 — Click Continue (full name for user)
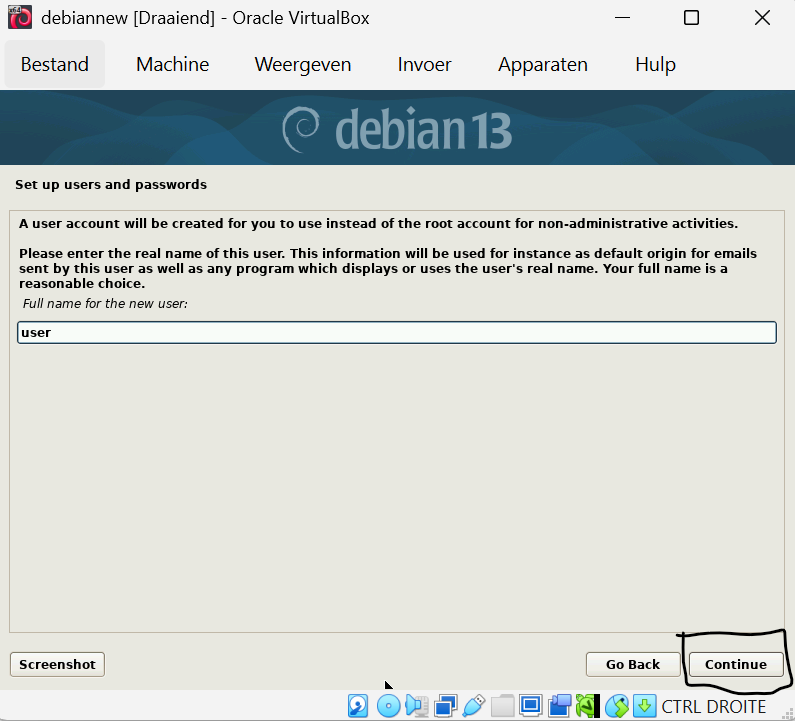
Step 34 — Click Continue (username for user)
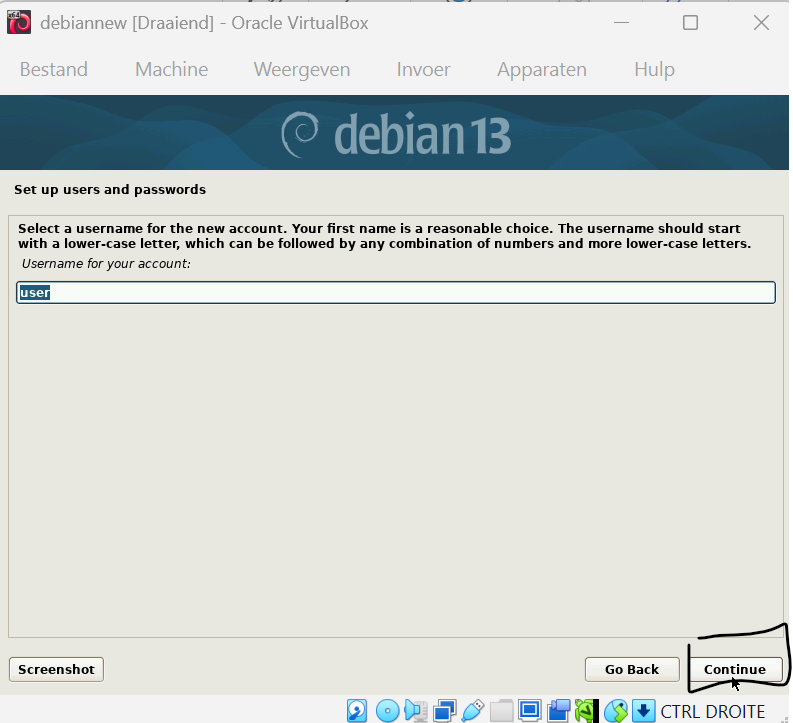
Step 35 — Choose a user password and click Continue
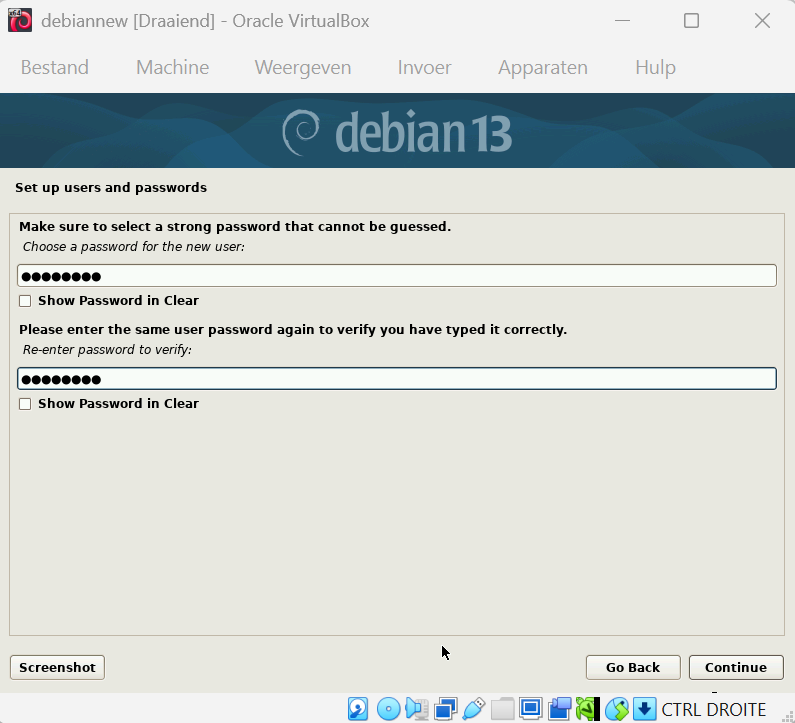
Step 36 — Click Continue (timezone)
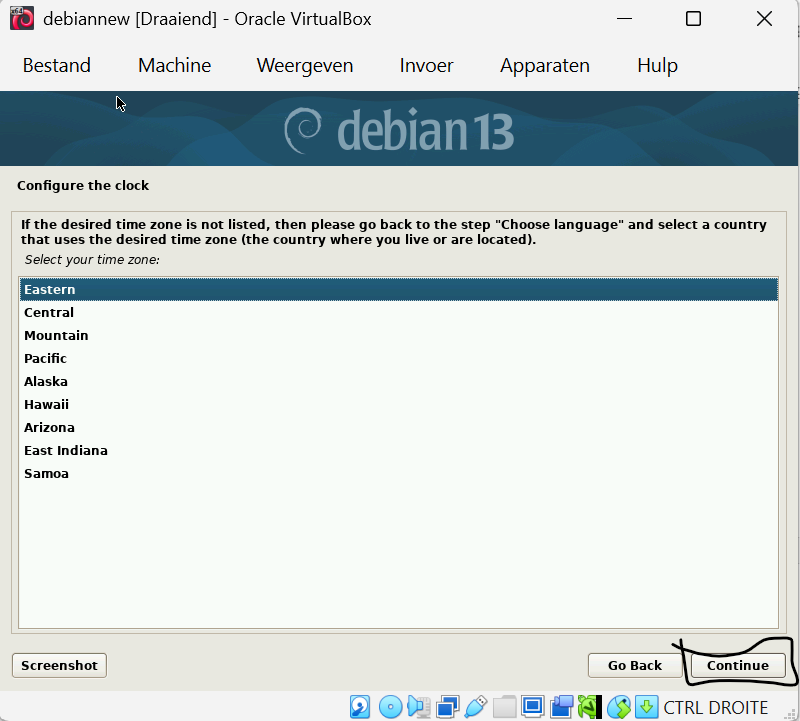
Step 37 — Click Continue (disk partitioning — use entire disk)
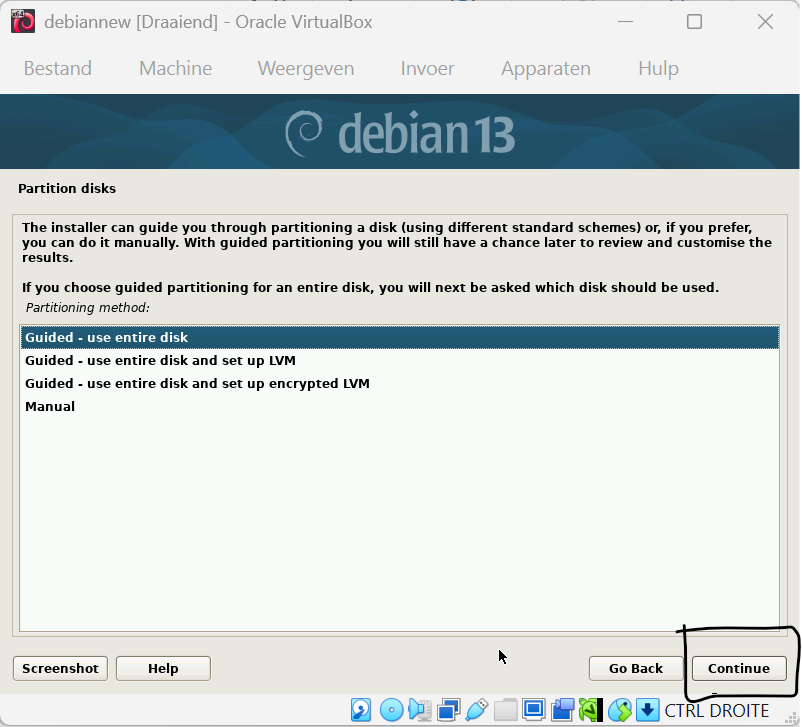
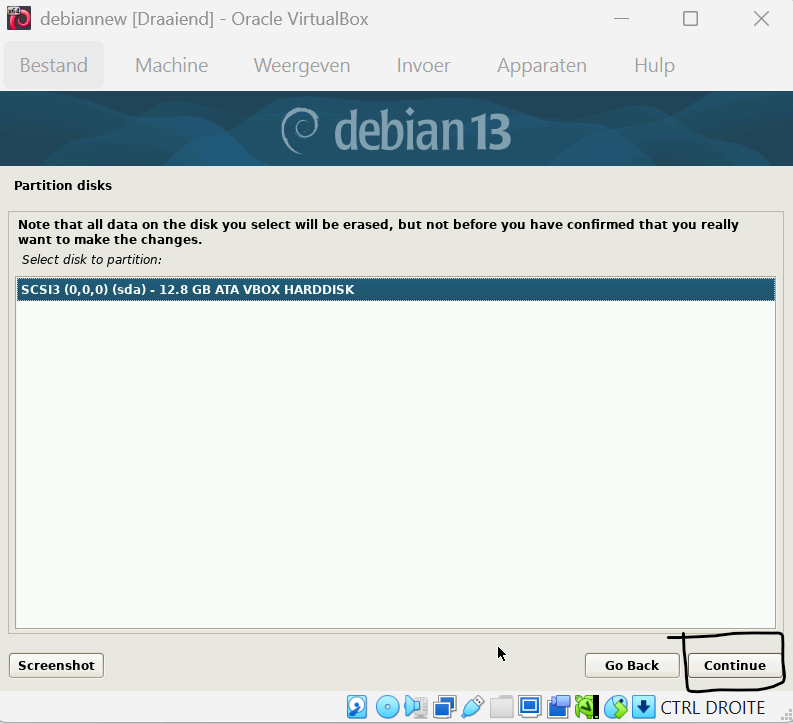
Step 38 — Click Continue (select disk to partition))
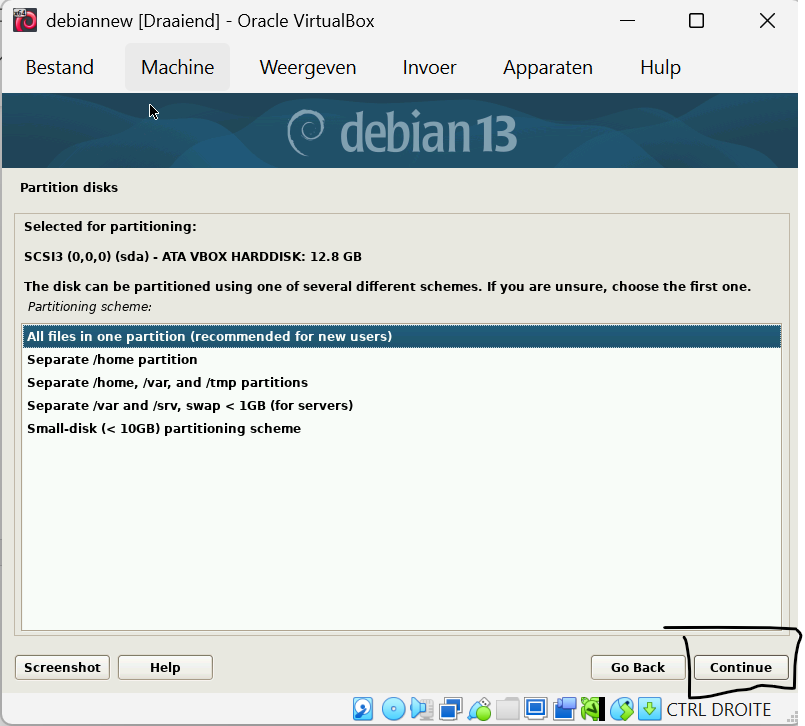
Step 39 — Click Continue (partitioning scheme)
Step 40 — Click Continue (write changes to disk)
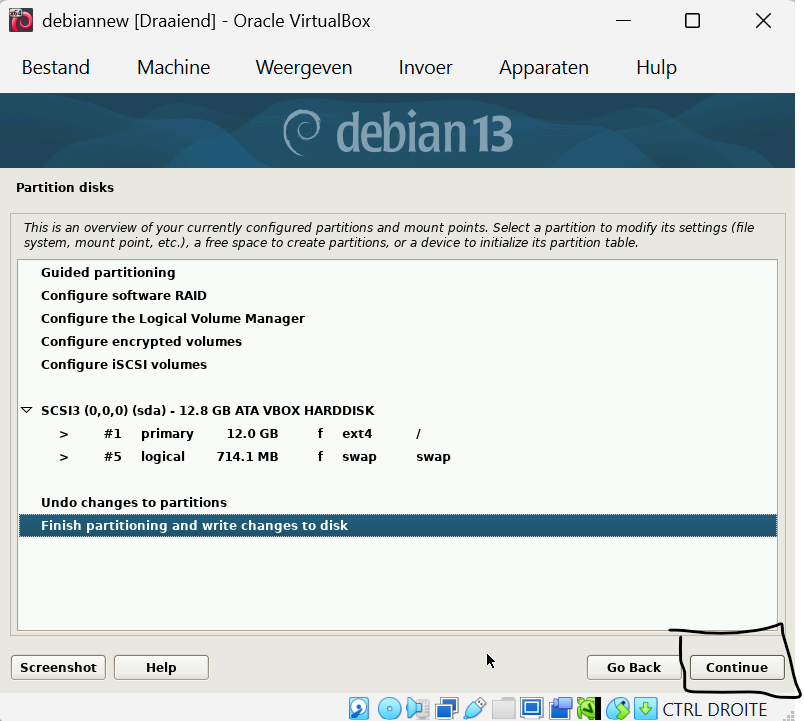
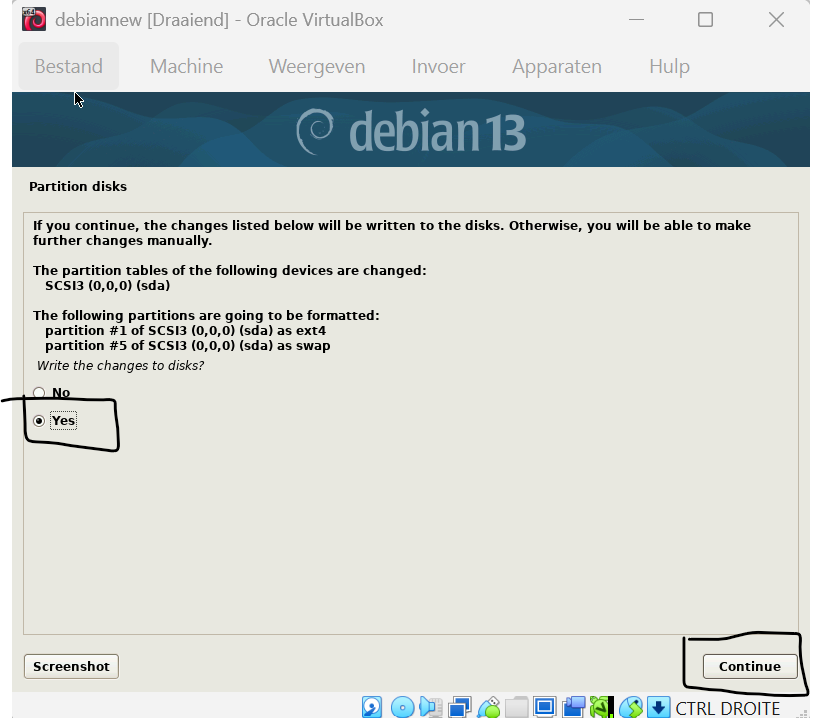
Step 41 — Click Yes and Continue (write changes to disk)
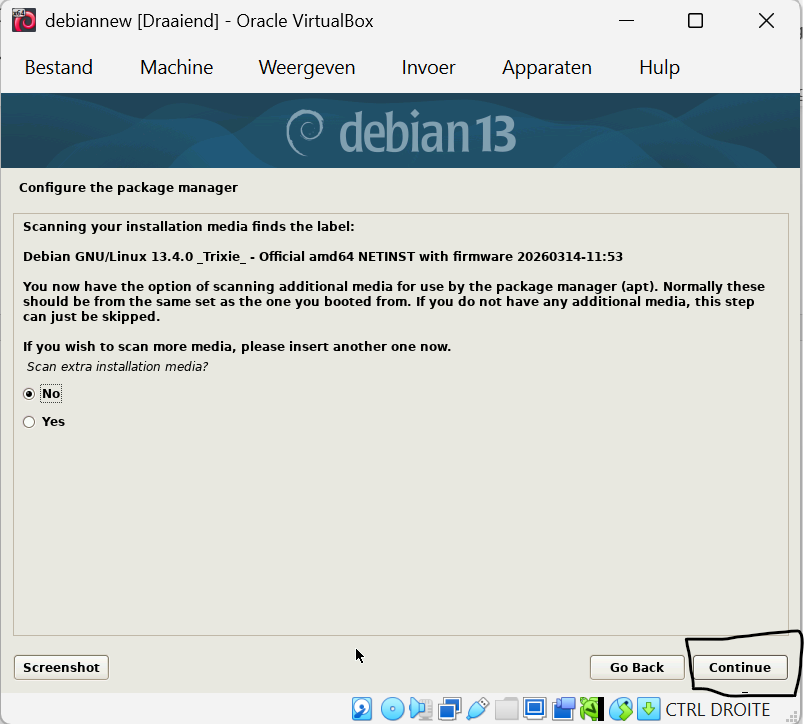
Step 42 — Click Continue (scan extra installation media)
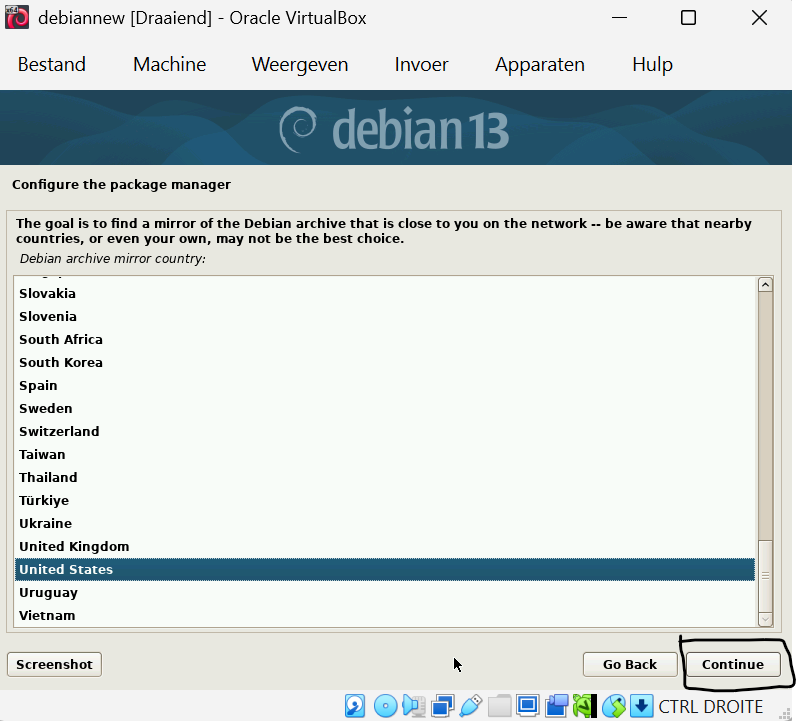
Step 43 — Click Continue (package manager mirror country)
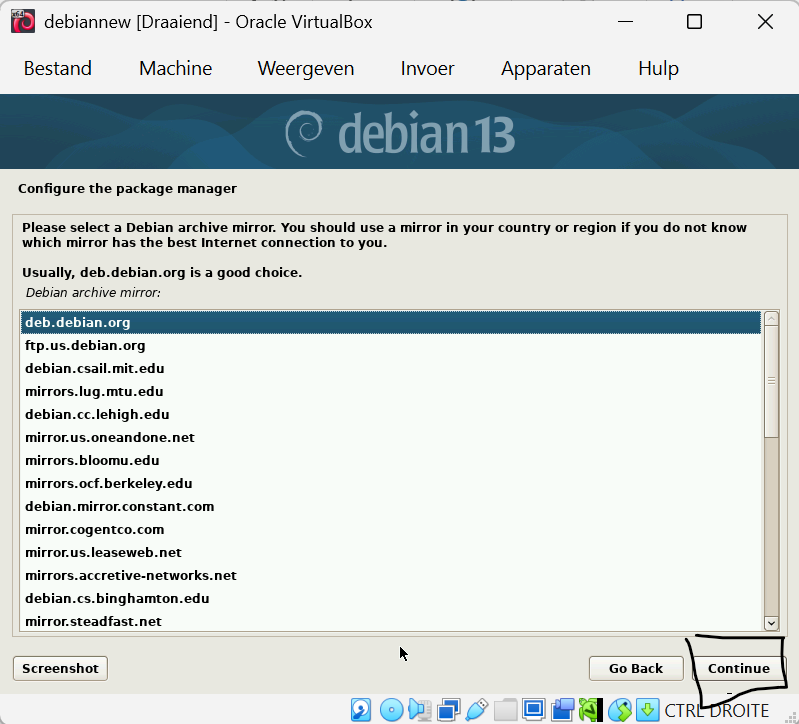
Step 44 — Click Continue (select mirror)
Step 45 — Click Continue (proxy settings)
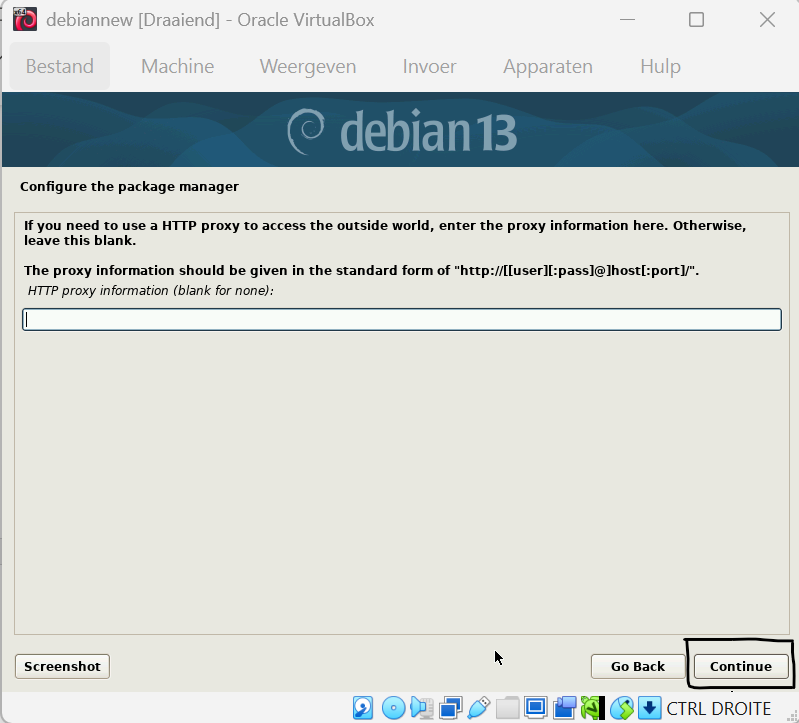
Step 46 — Click Continue (popularity contest)
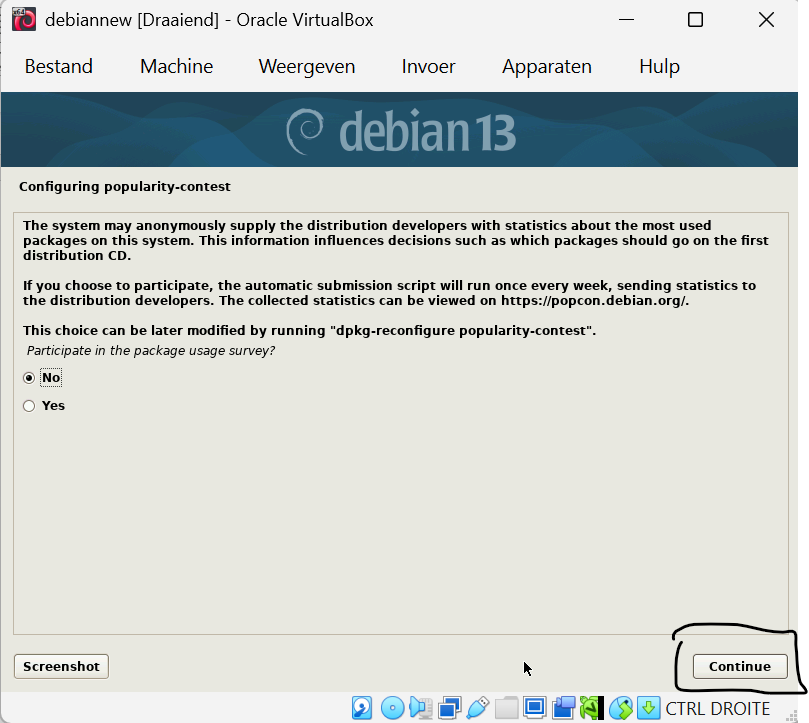
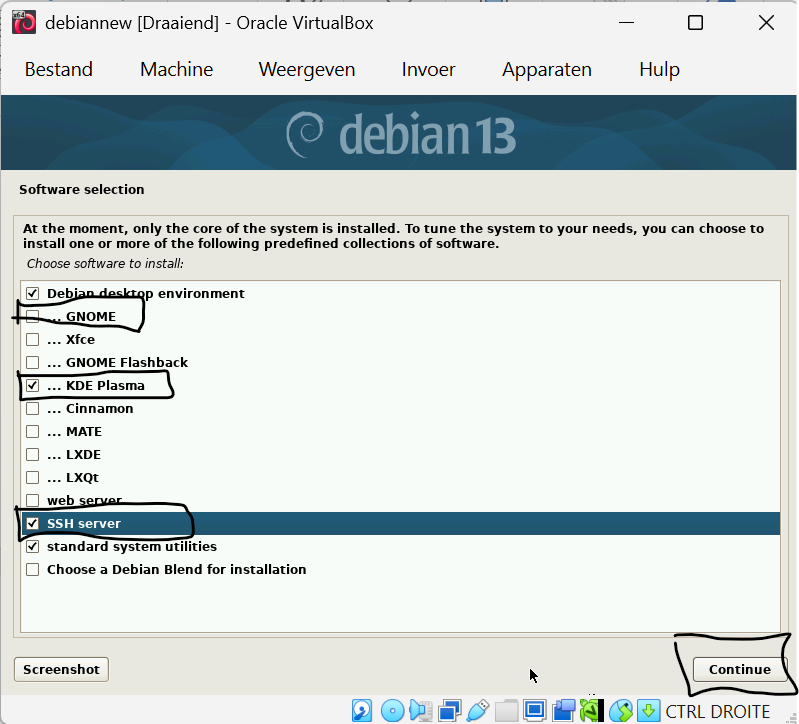
Step 47 — Check and uncheck items to match the following software selection
Make sure SSH server and Standard system utilities are checked. Select a desktop environment of your choice (e.g. KDE Plasma).
Step 48 — Click Continue (install GRUB)
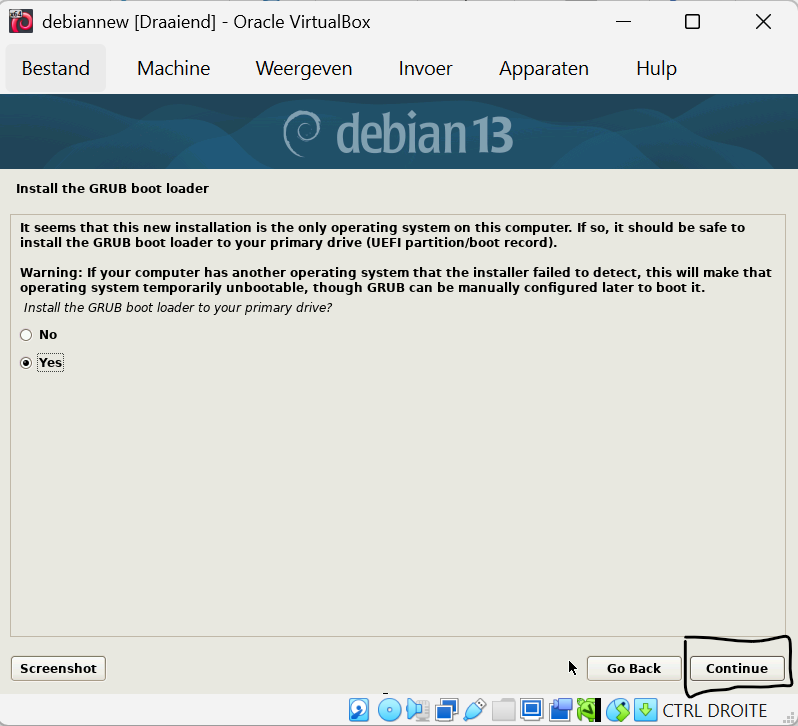
Step 49 — Select the disk for GRUB and click Continue
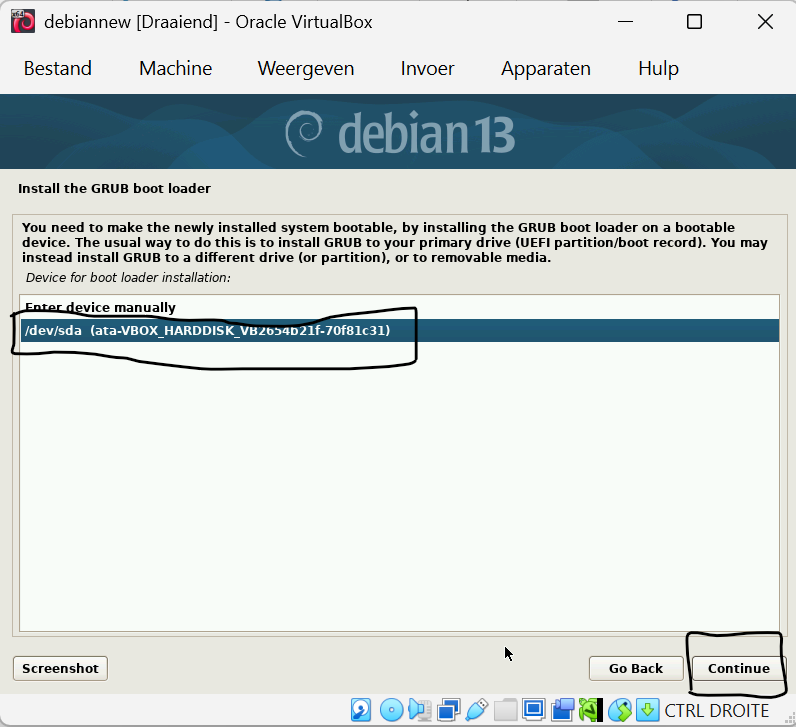
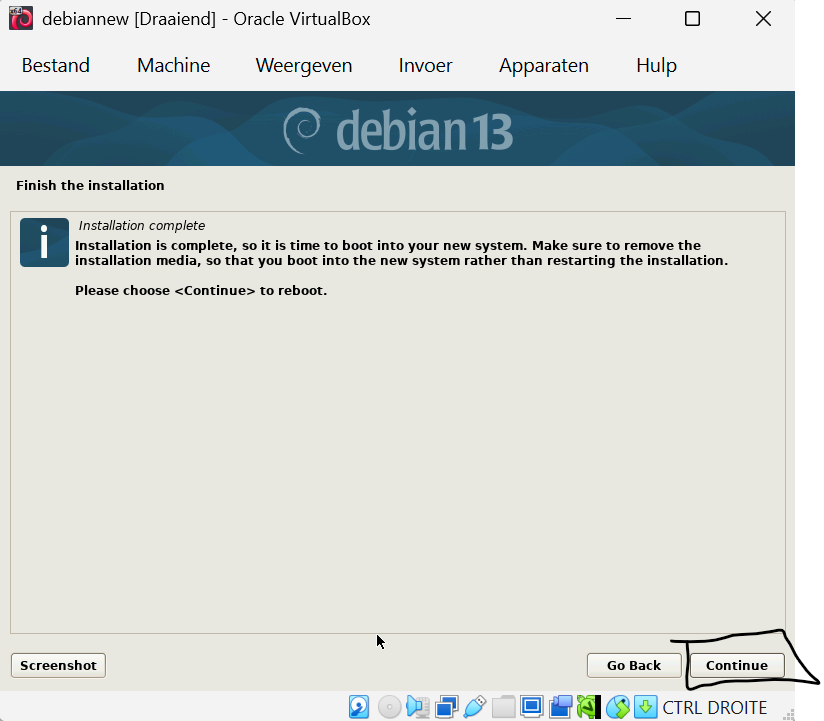
Step 50 — Click Continue (finish installation)
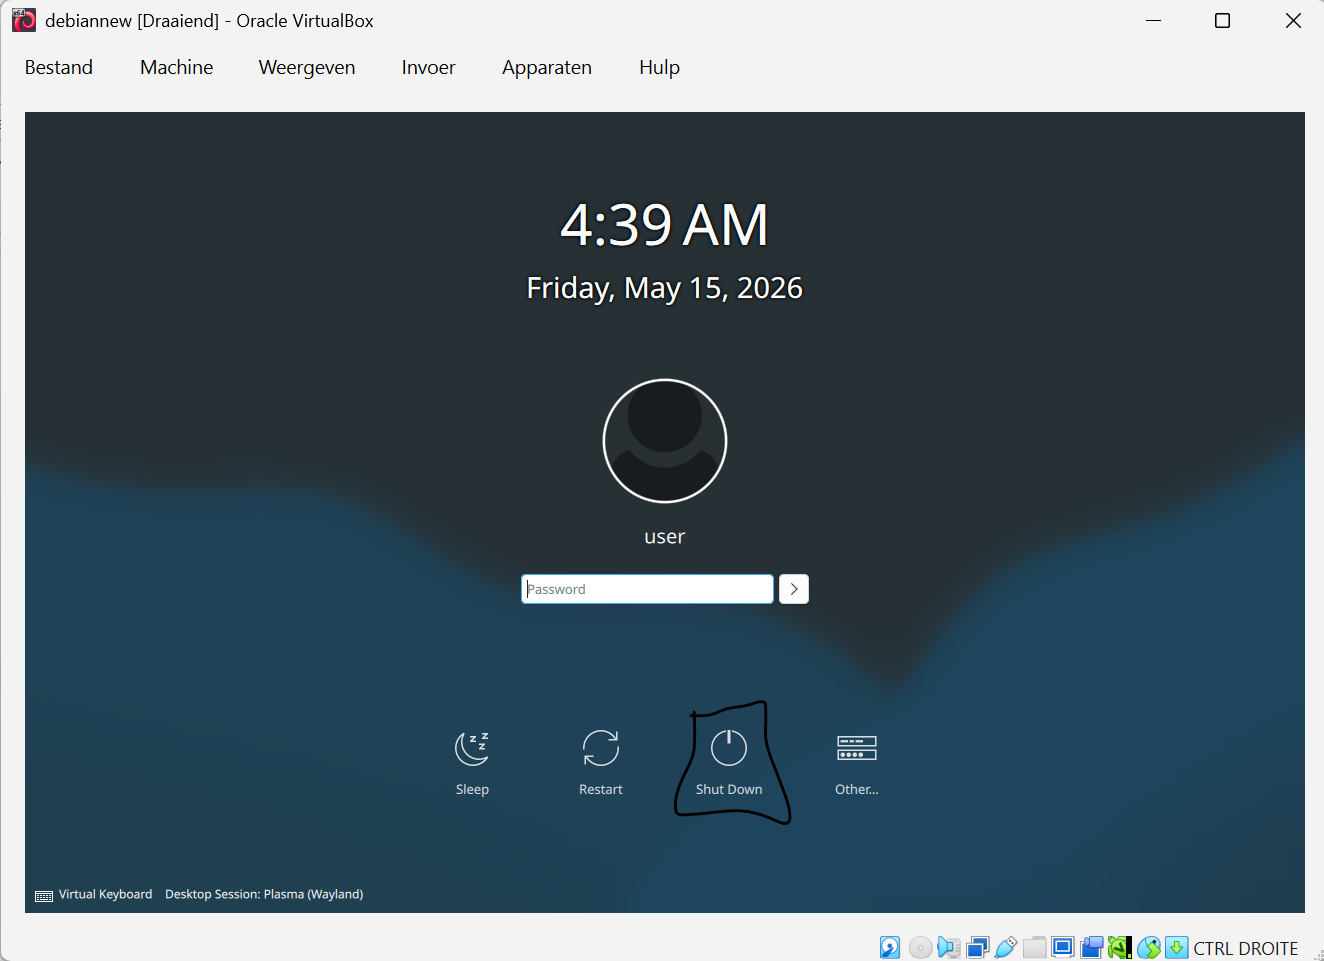
Step 51 — Click Shutdown (power off the VM before configuring settings)
Configuring VM Settings (before next boot)
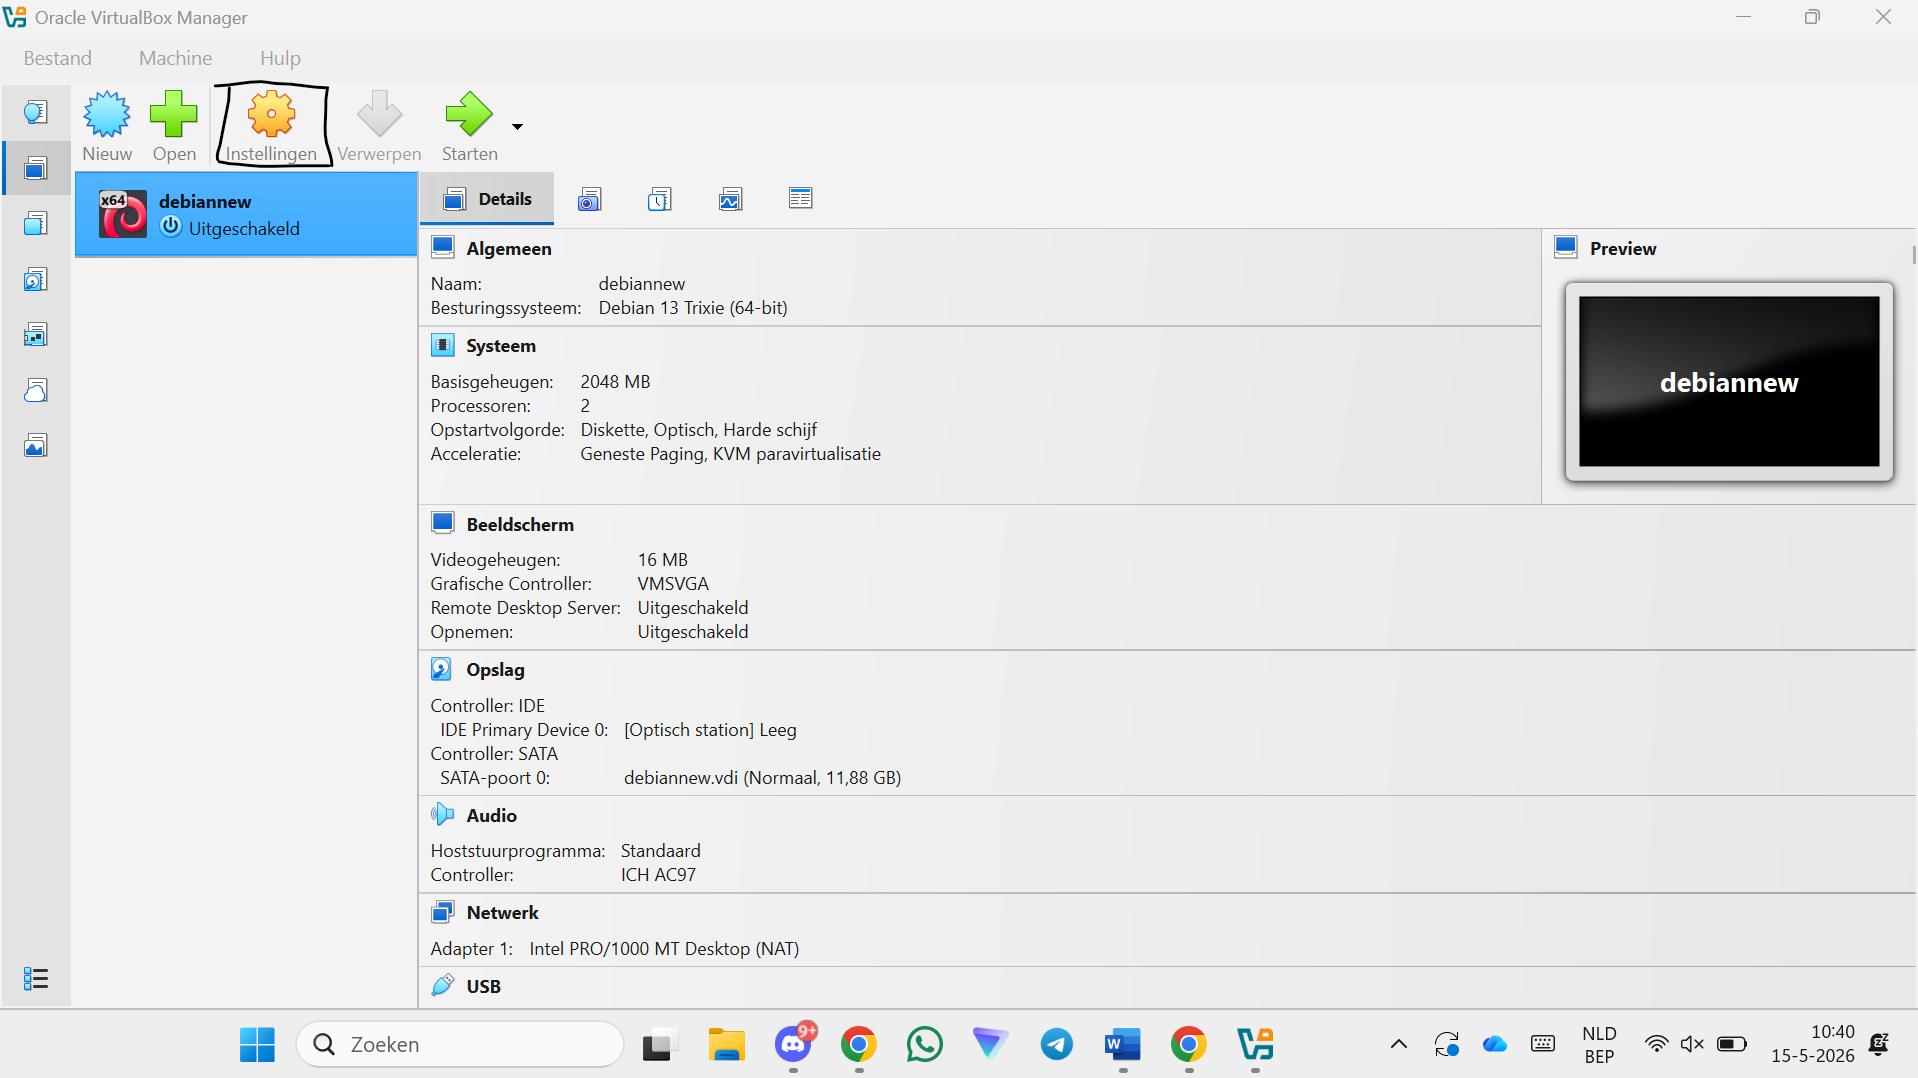
Step 52 — Click Settings
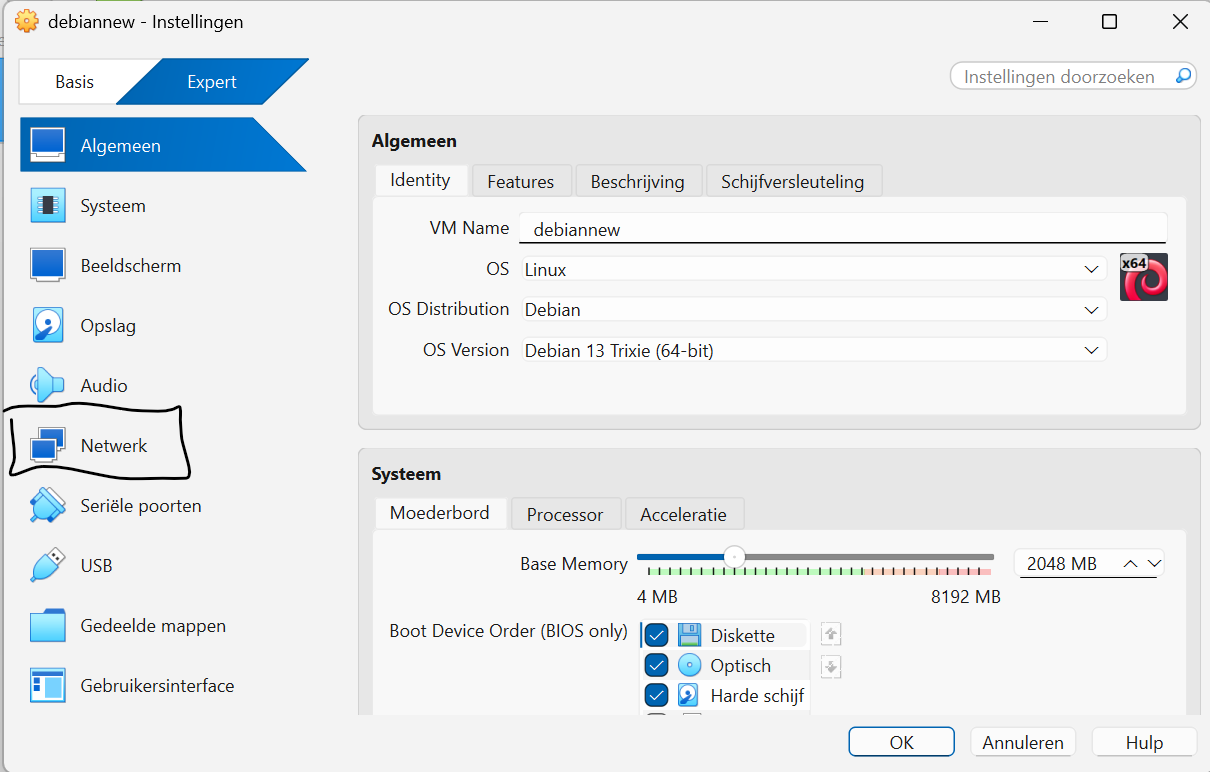
Step 53 — Click Network
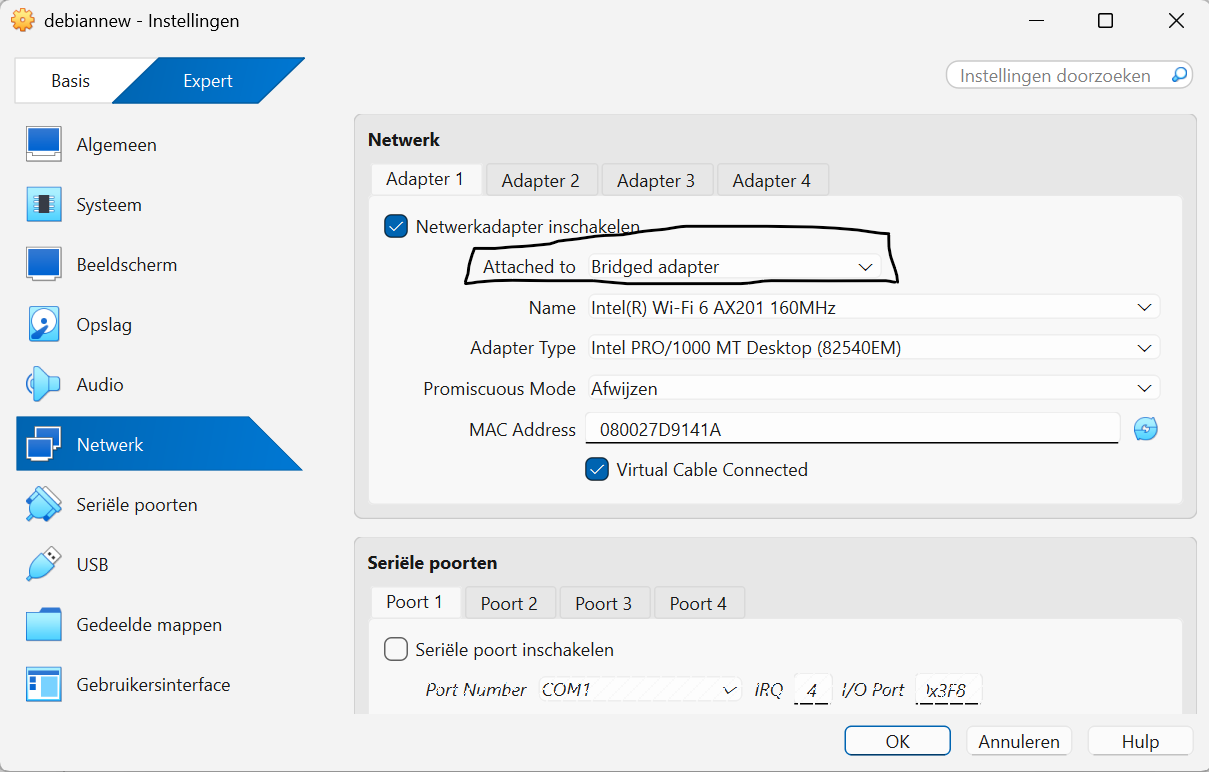
Step 54 — Change the adapter to "Bridged Adapter"
This gives the VM its own IP address on your local network, so you can reach SFTP/WebDAV/NFS from other devices.
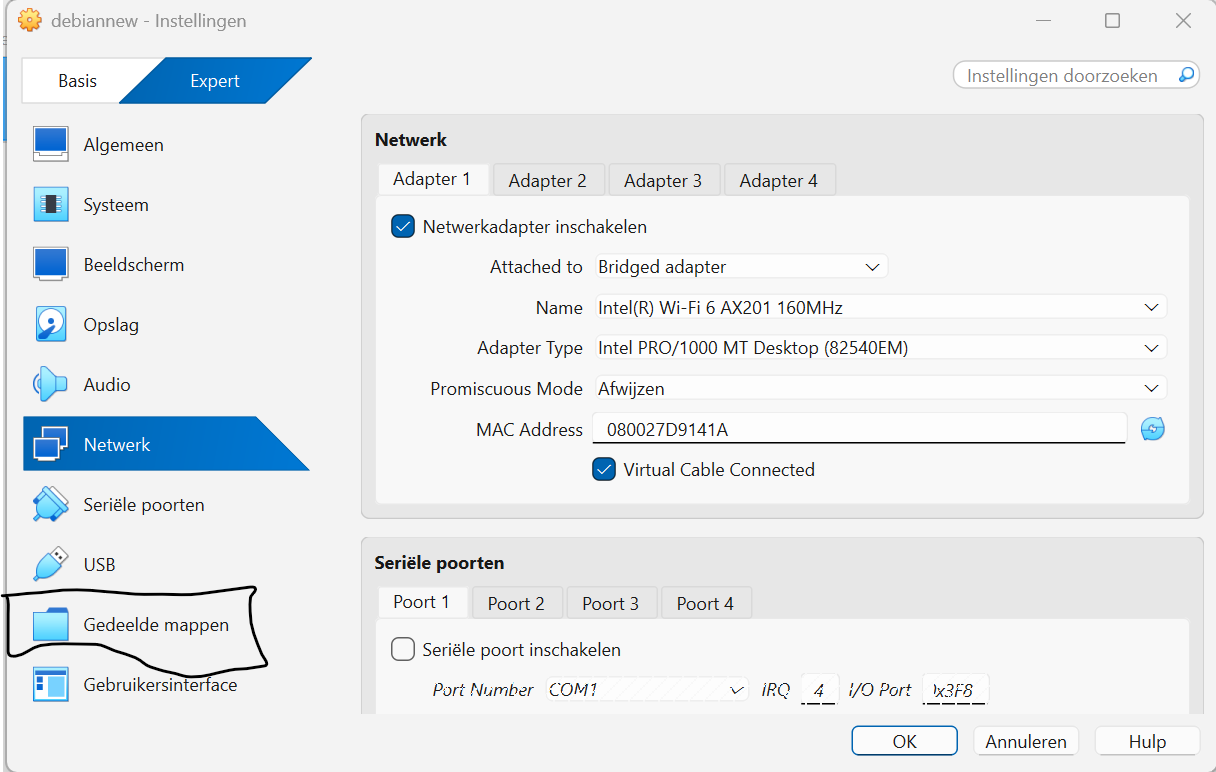
Step 55 — Click Shared Folders
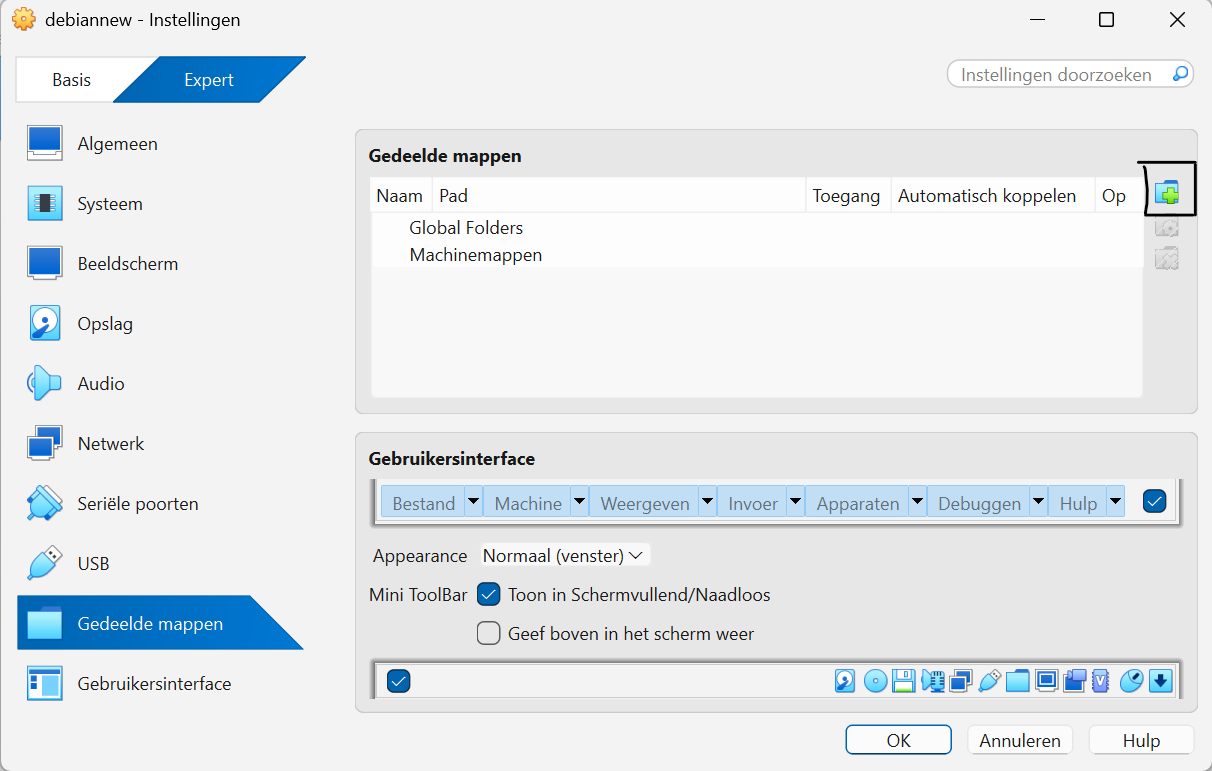
Step 56 — Click the add shared folder button
Step 57 — Click the folder path dropdown
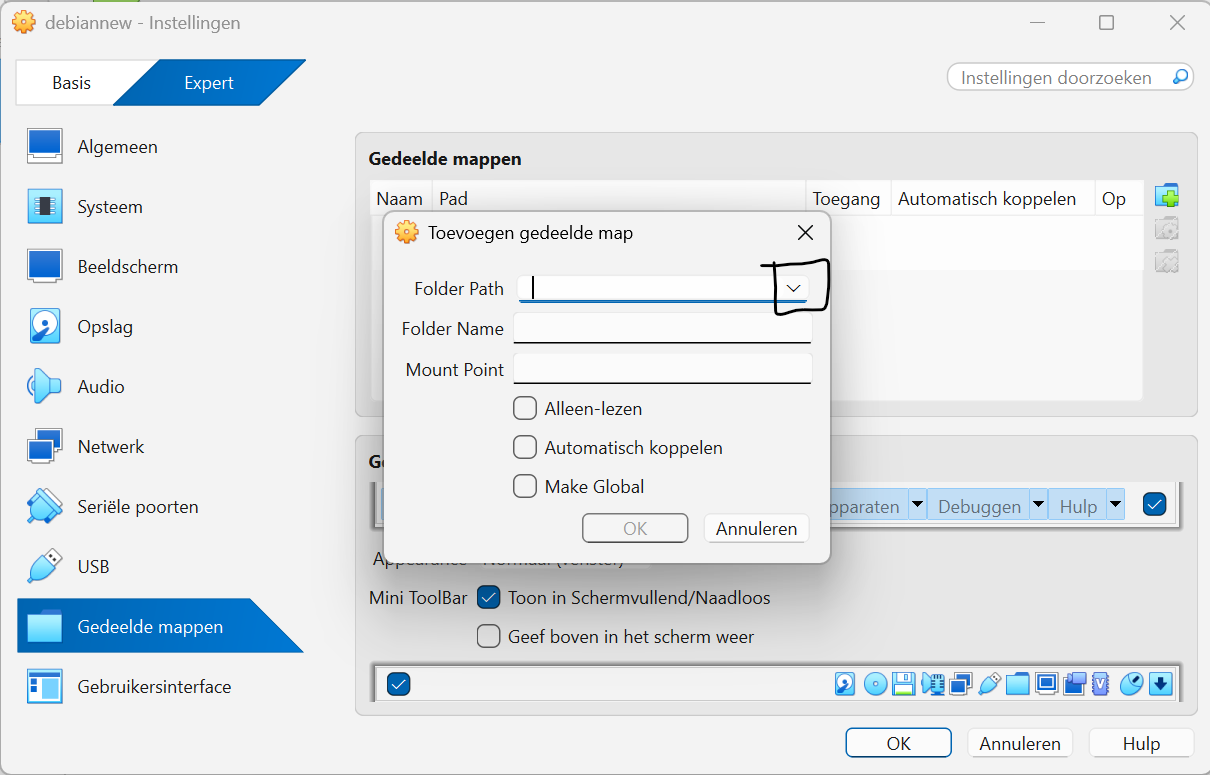
Step 58 — Click Other
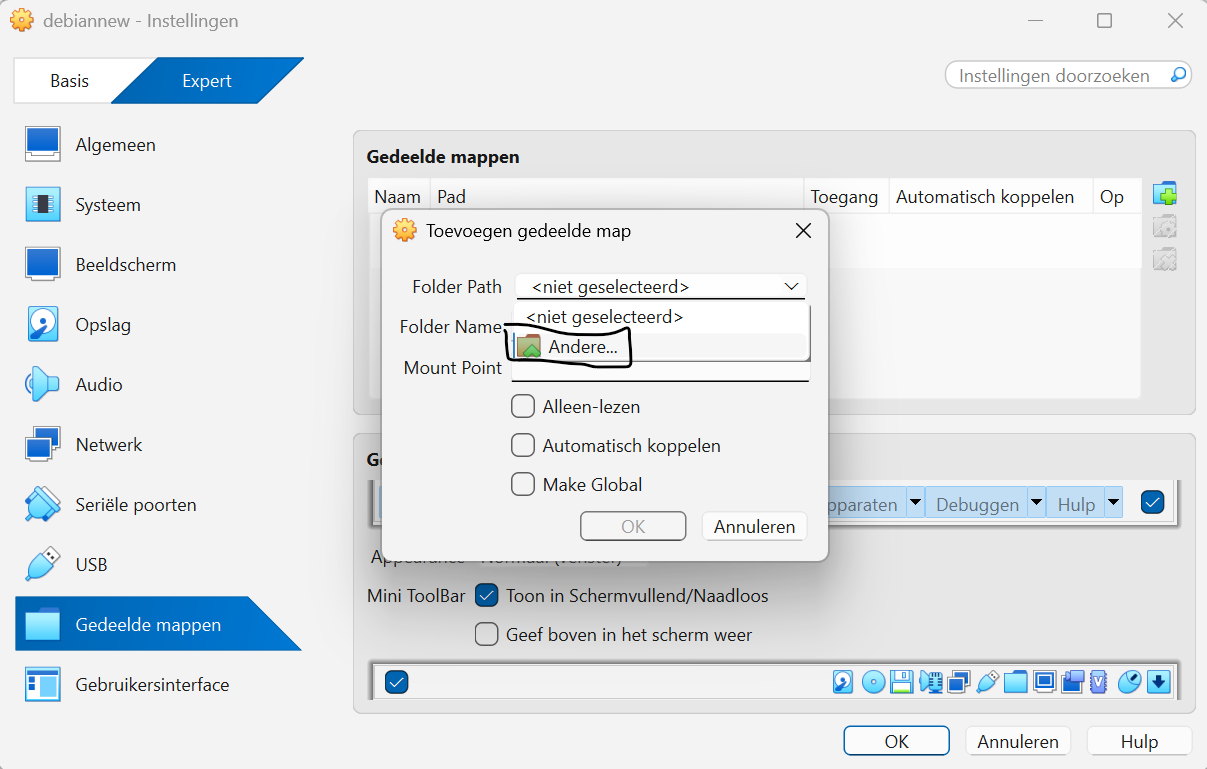
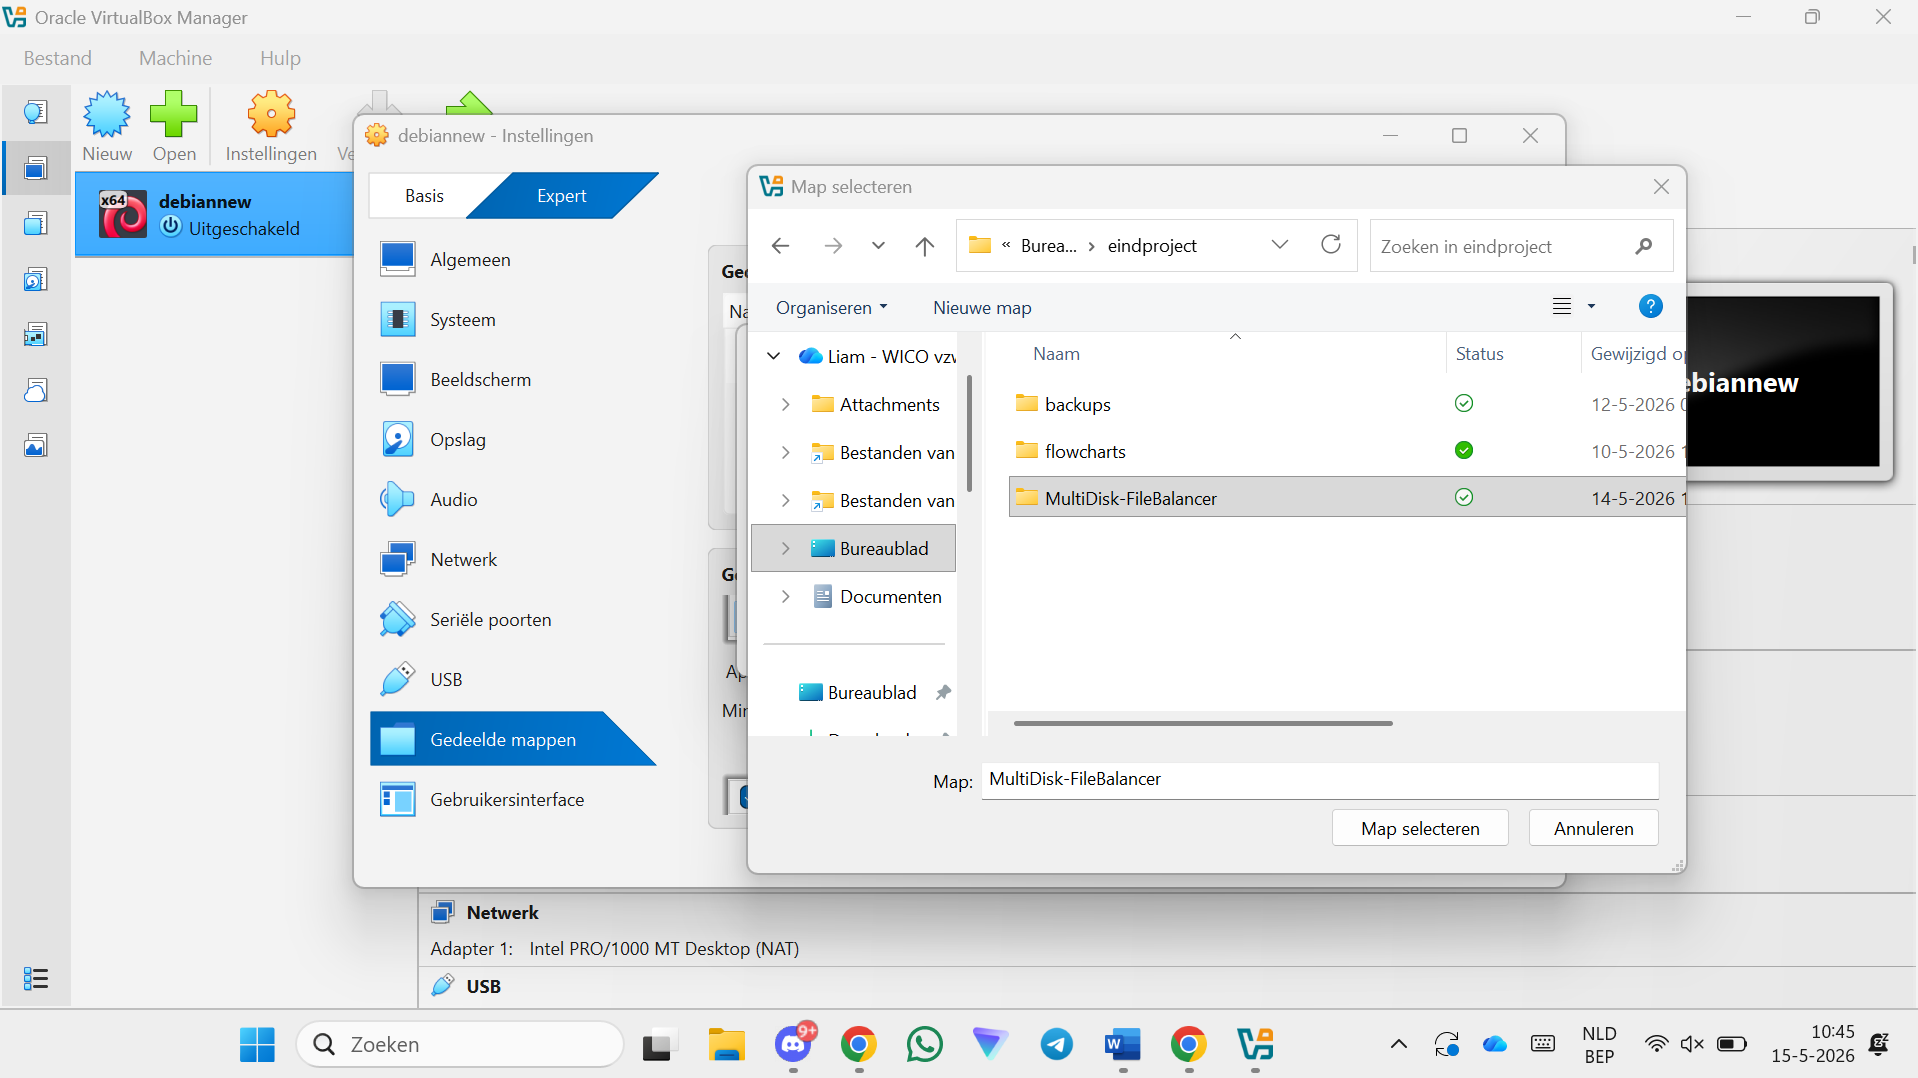
Step 59 — Select the MultiDisk FileBalancer program folder on your Windows PC
Step 60 — Check "Auto-mount" and "Make Permanent", then click OK
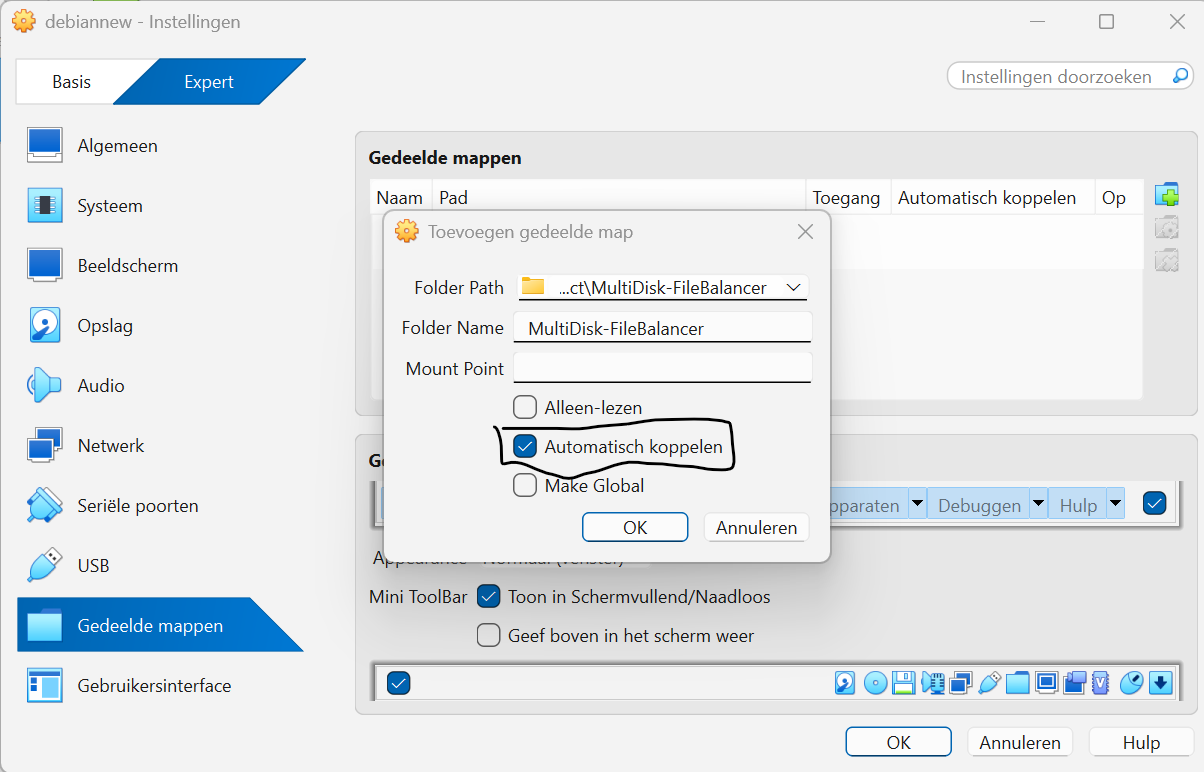
Step 61 — Click OK to close VM settings
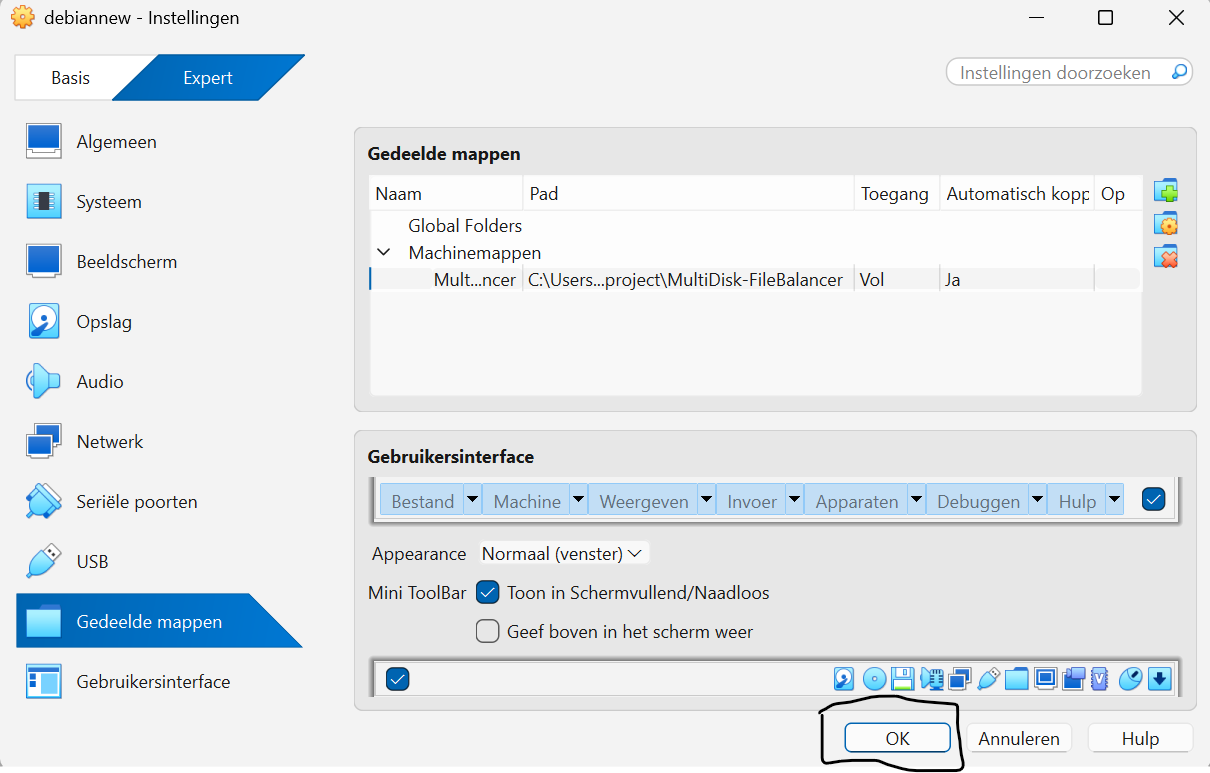
Installing Guest Additions
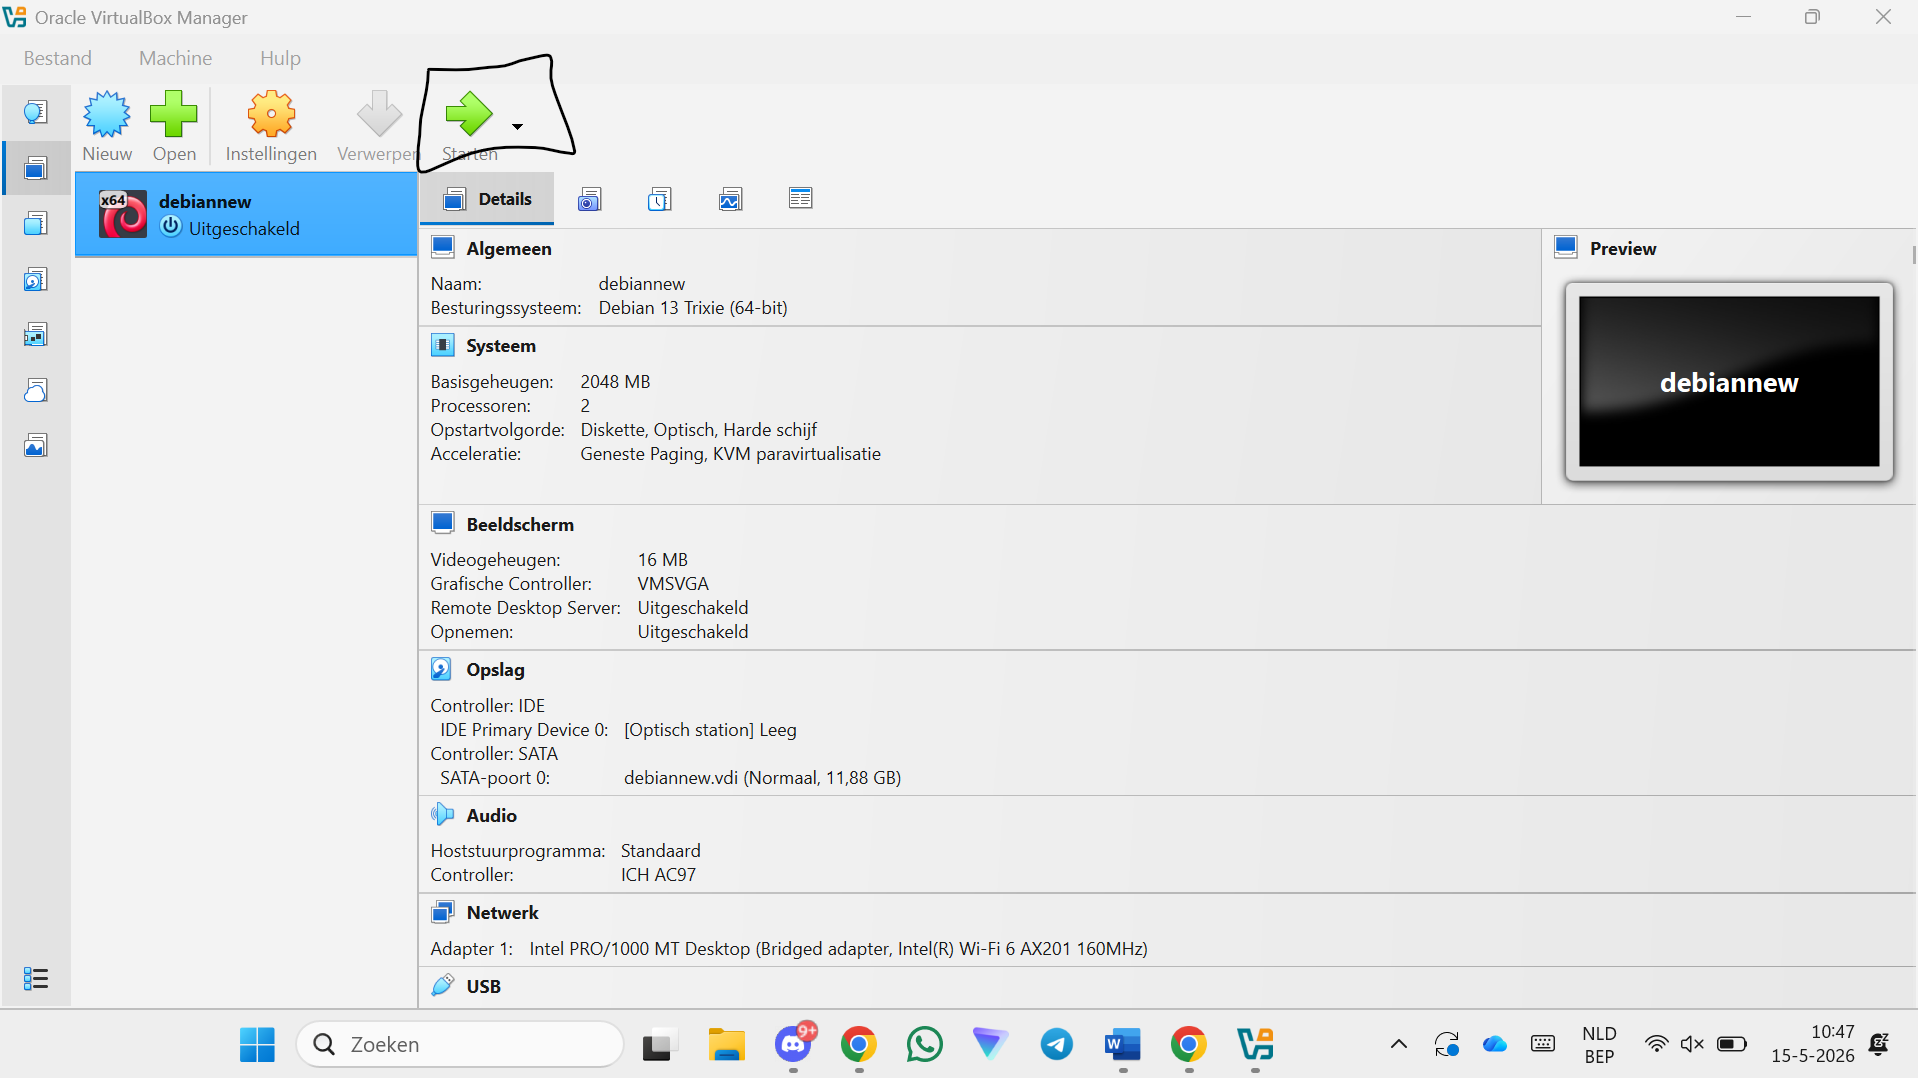
Step 62 — Click Start to boot the VM
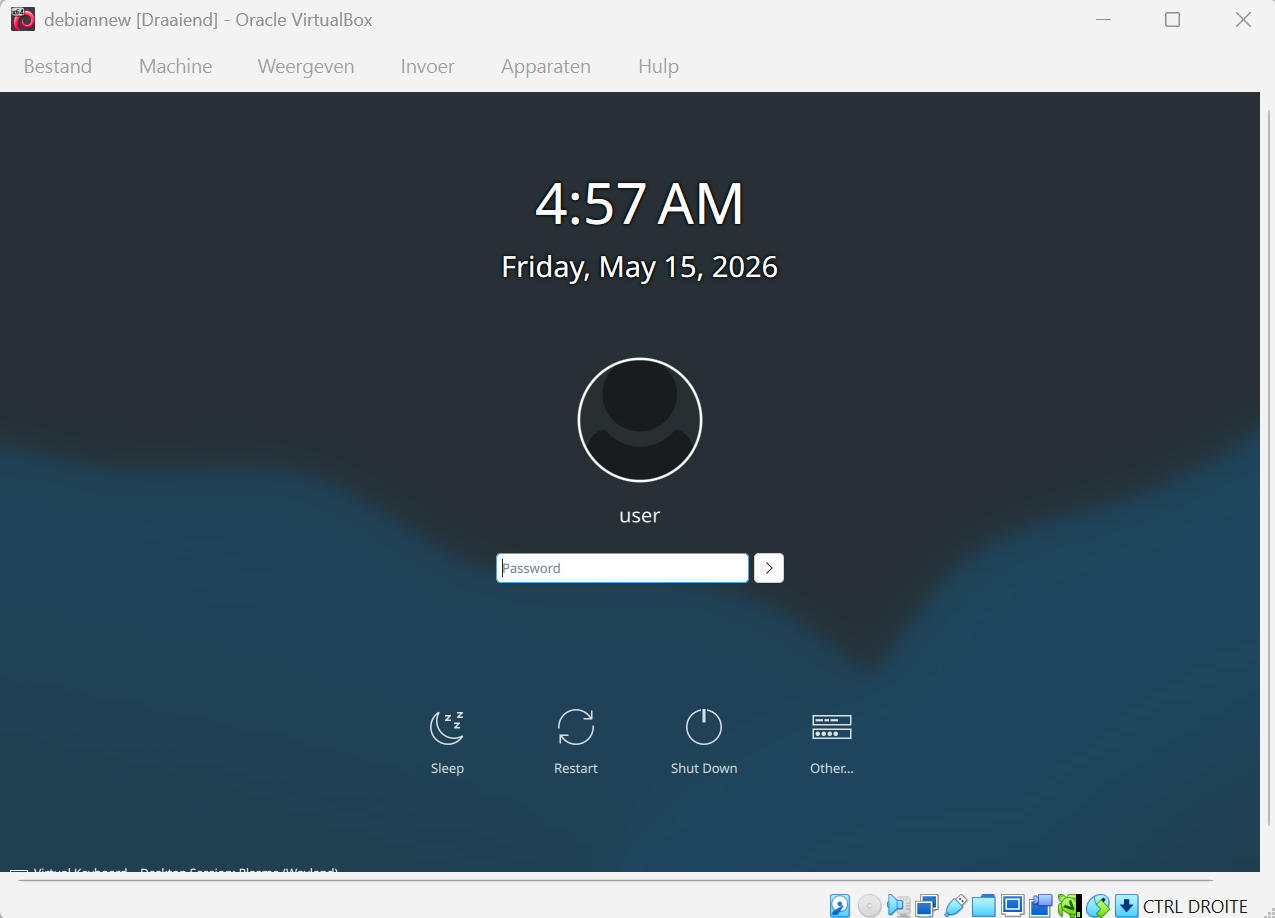
Step 63 — Enter your password and press Enter
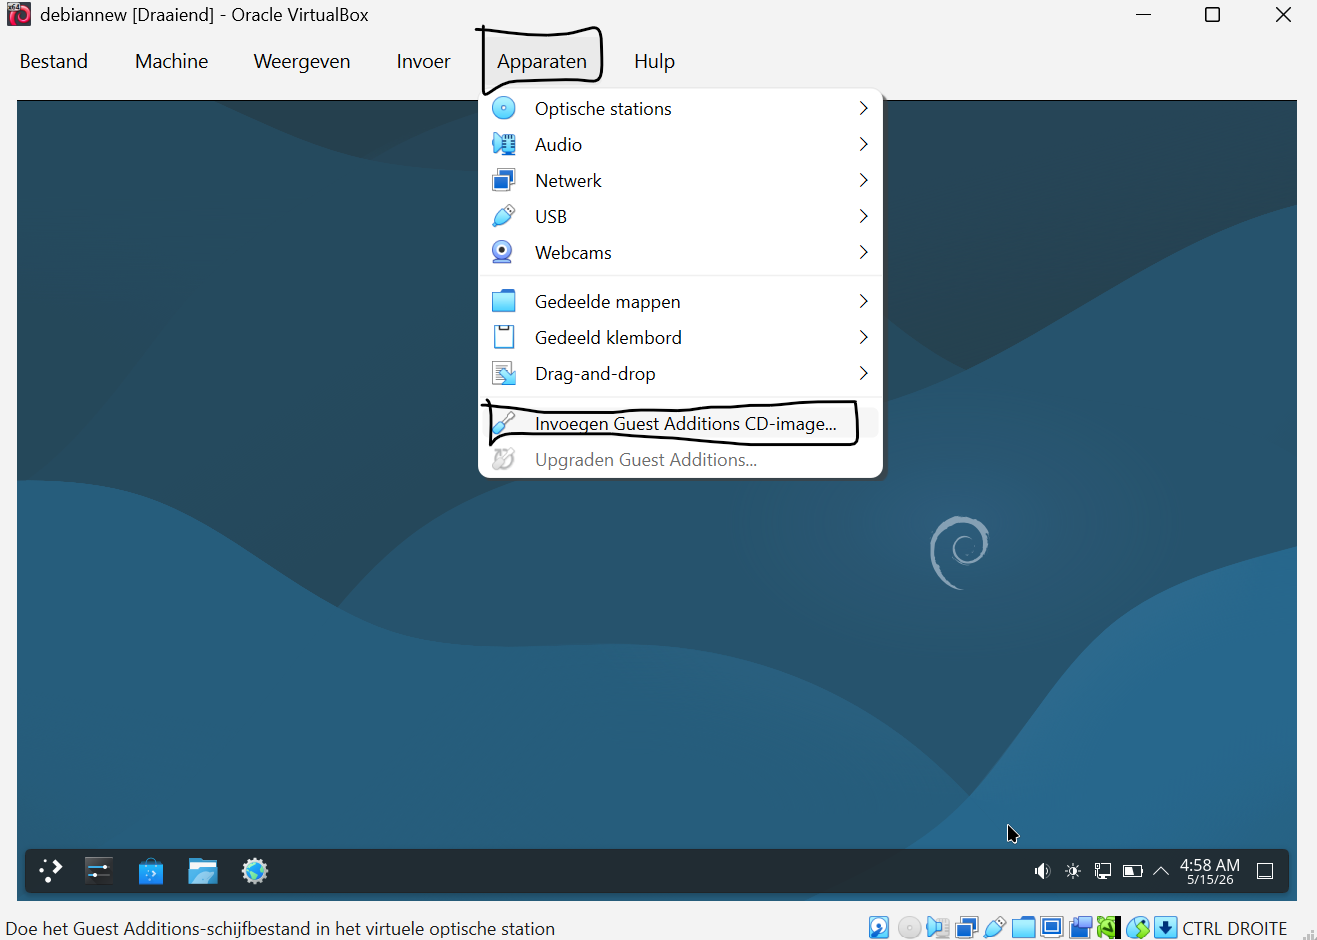
Step 64 — Click Devices → Insert Guest Additions CD image...
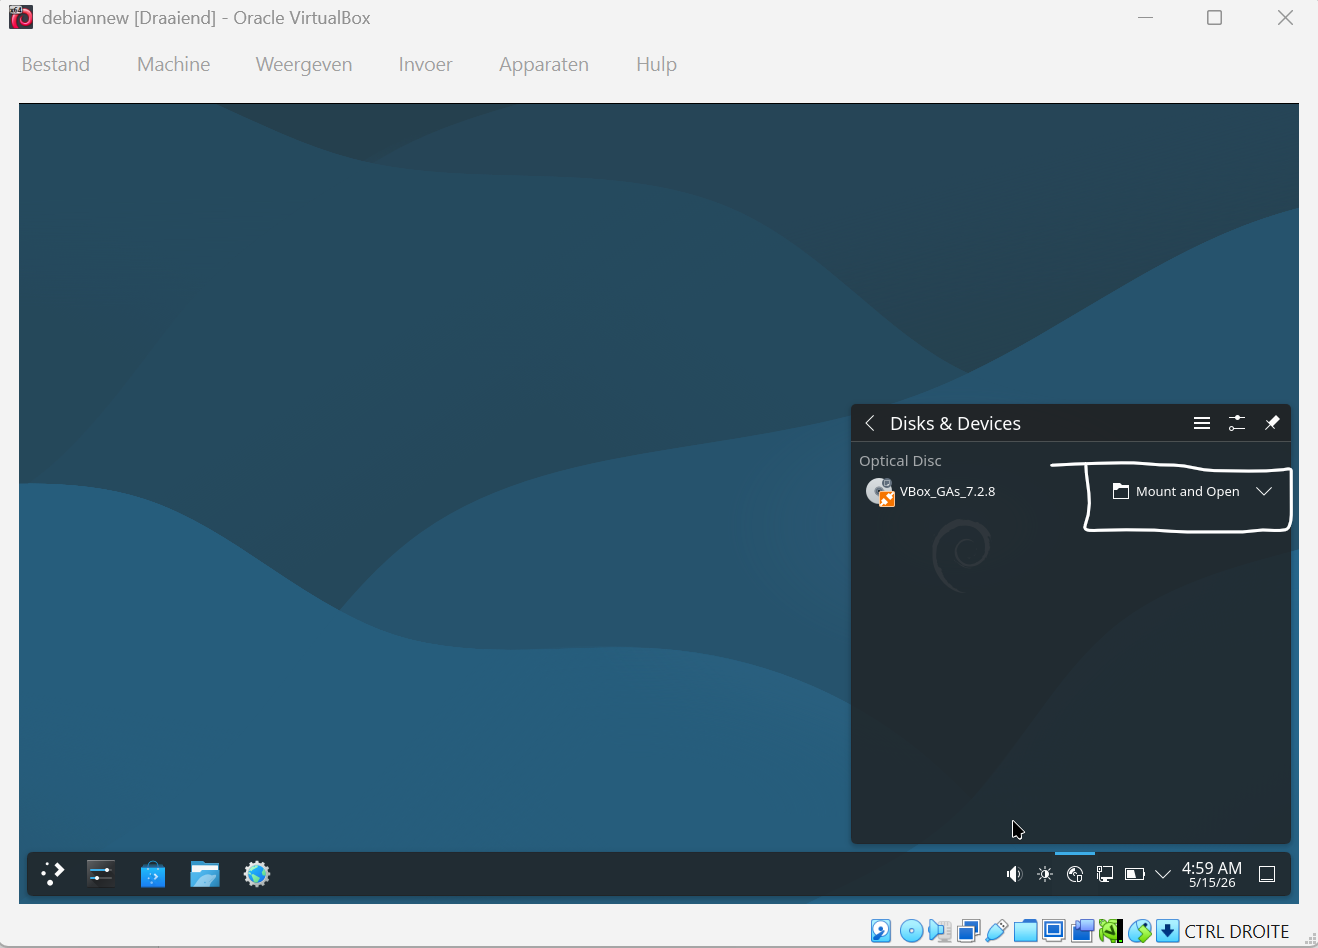
Step 65 — Click Mount and Open
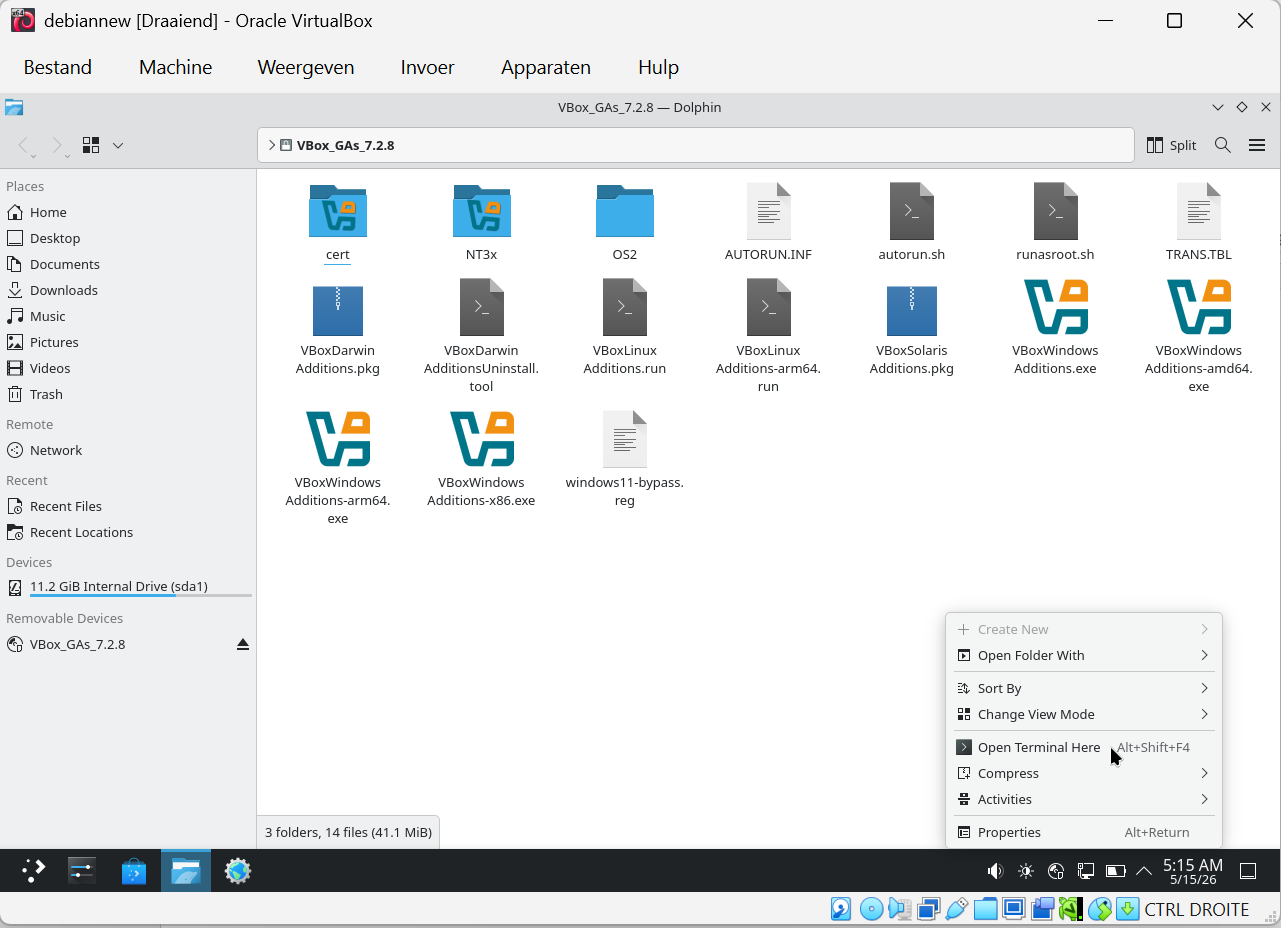
Step 66 — Right-click inside the folder and click "Open Terminal Here"
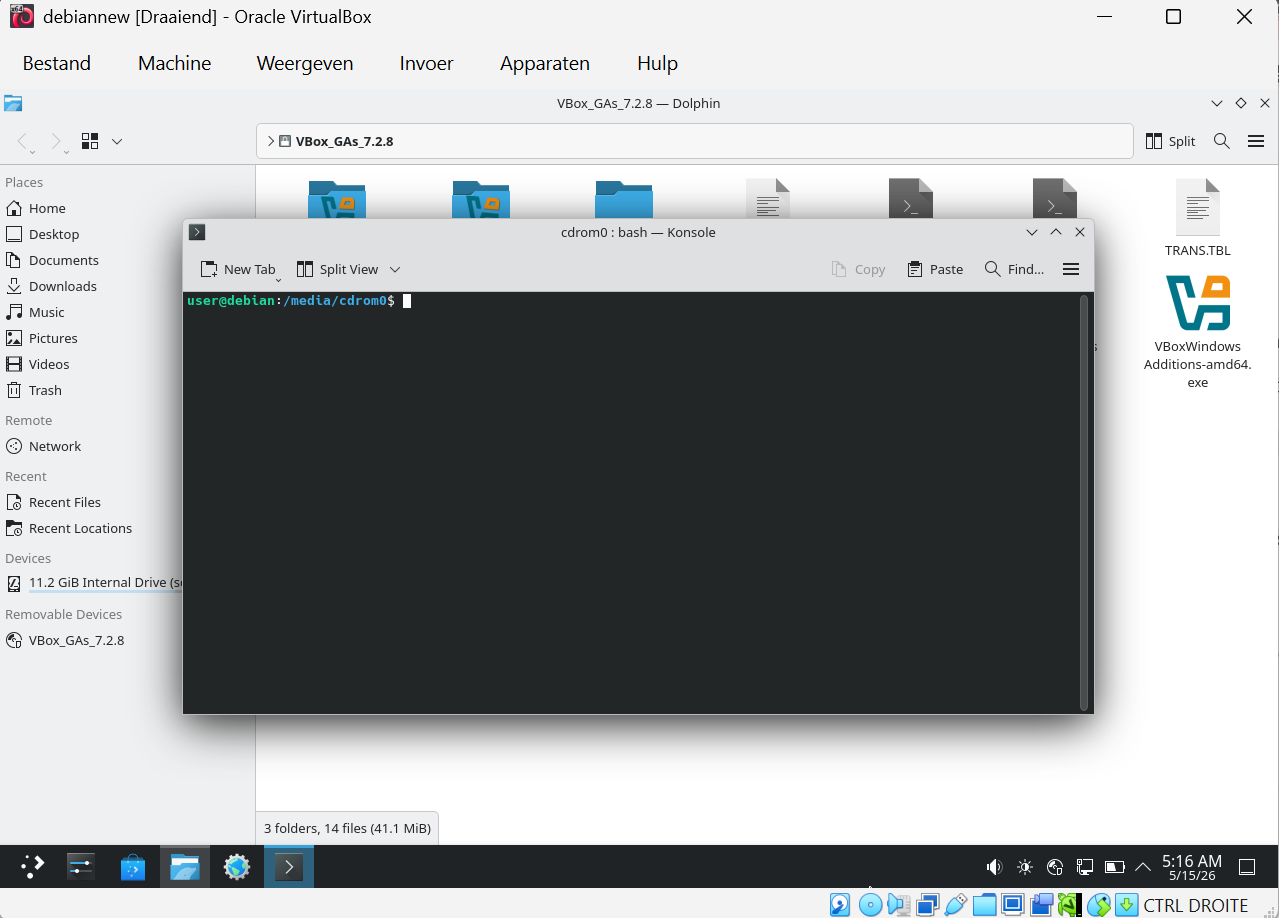
Step 67 — Run su -
su -
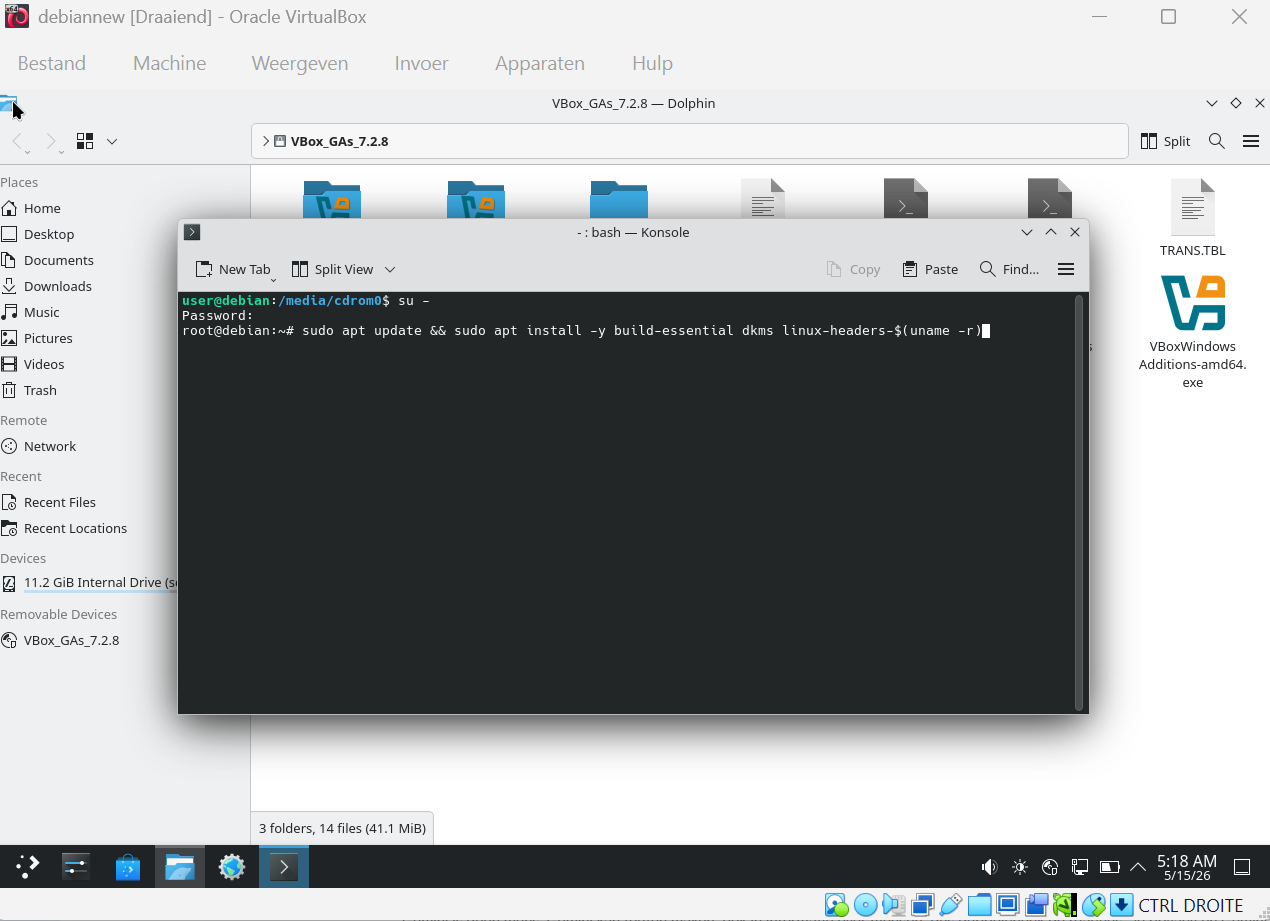
Step 68 — Install build dependencies
sudo apt update && sudo apt install -y build-essential dkms linux-headers-$(uname -r)
Step 69 — Navigate to the CD-ROM
cd /media/cdrom0/
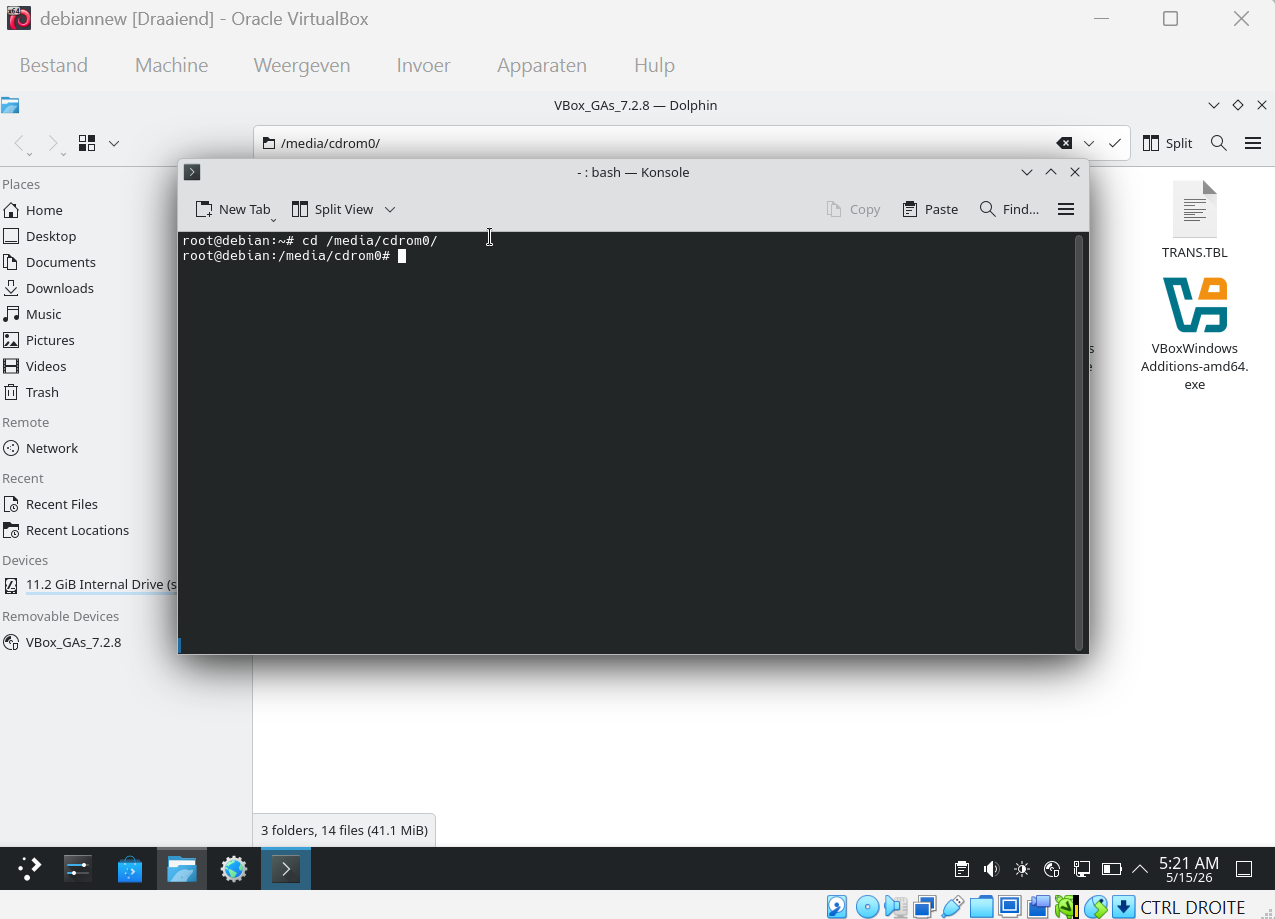
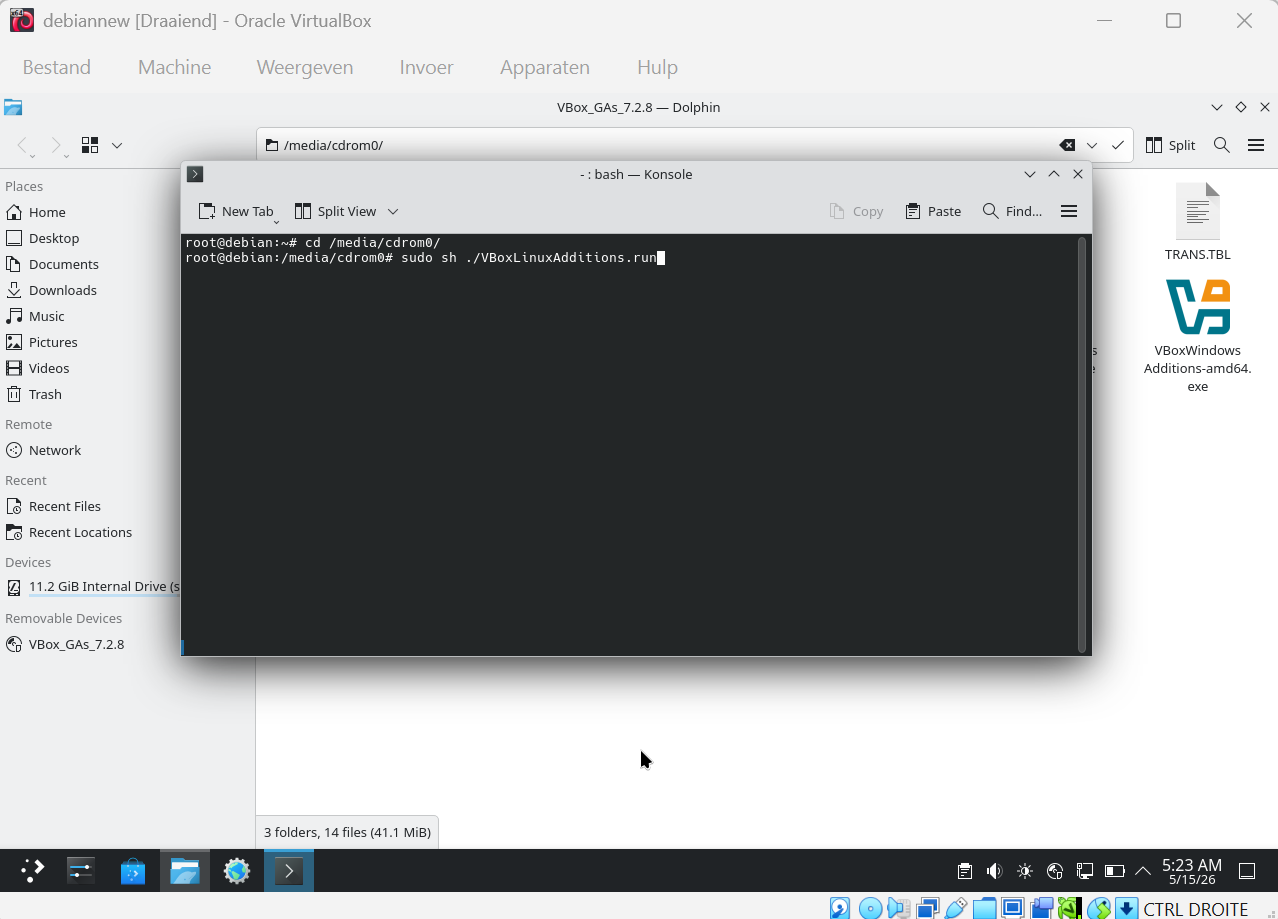
Step 70 — Run the Guest Additions installer
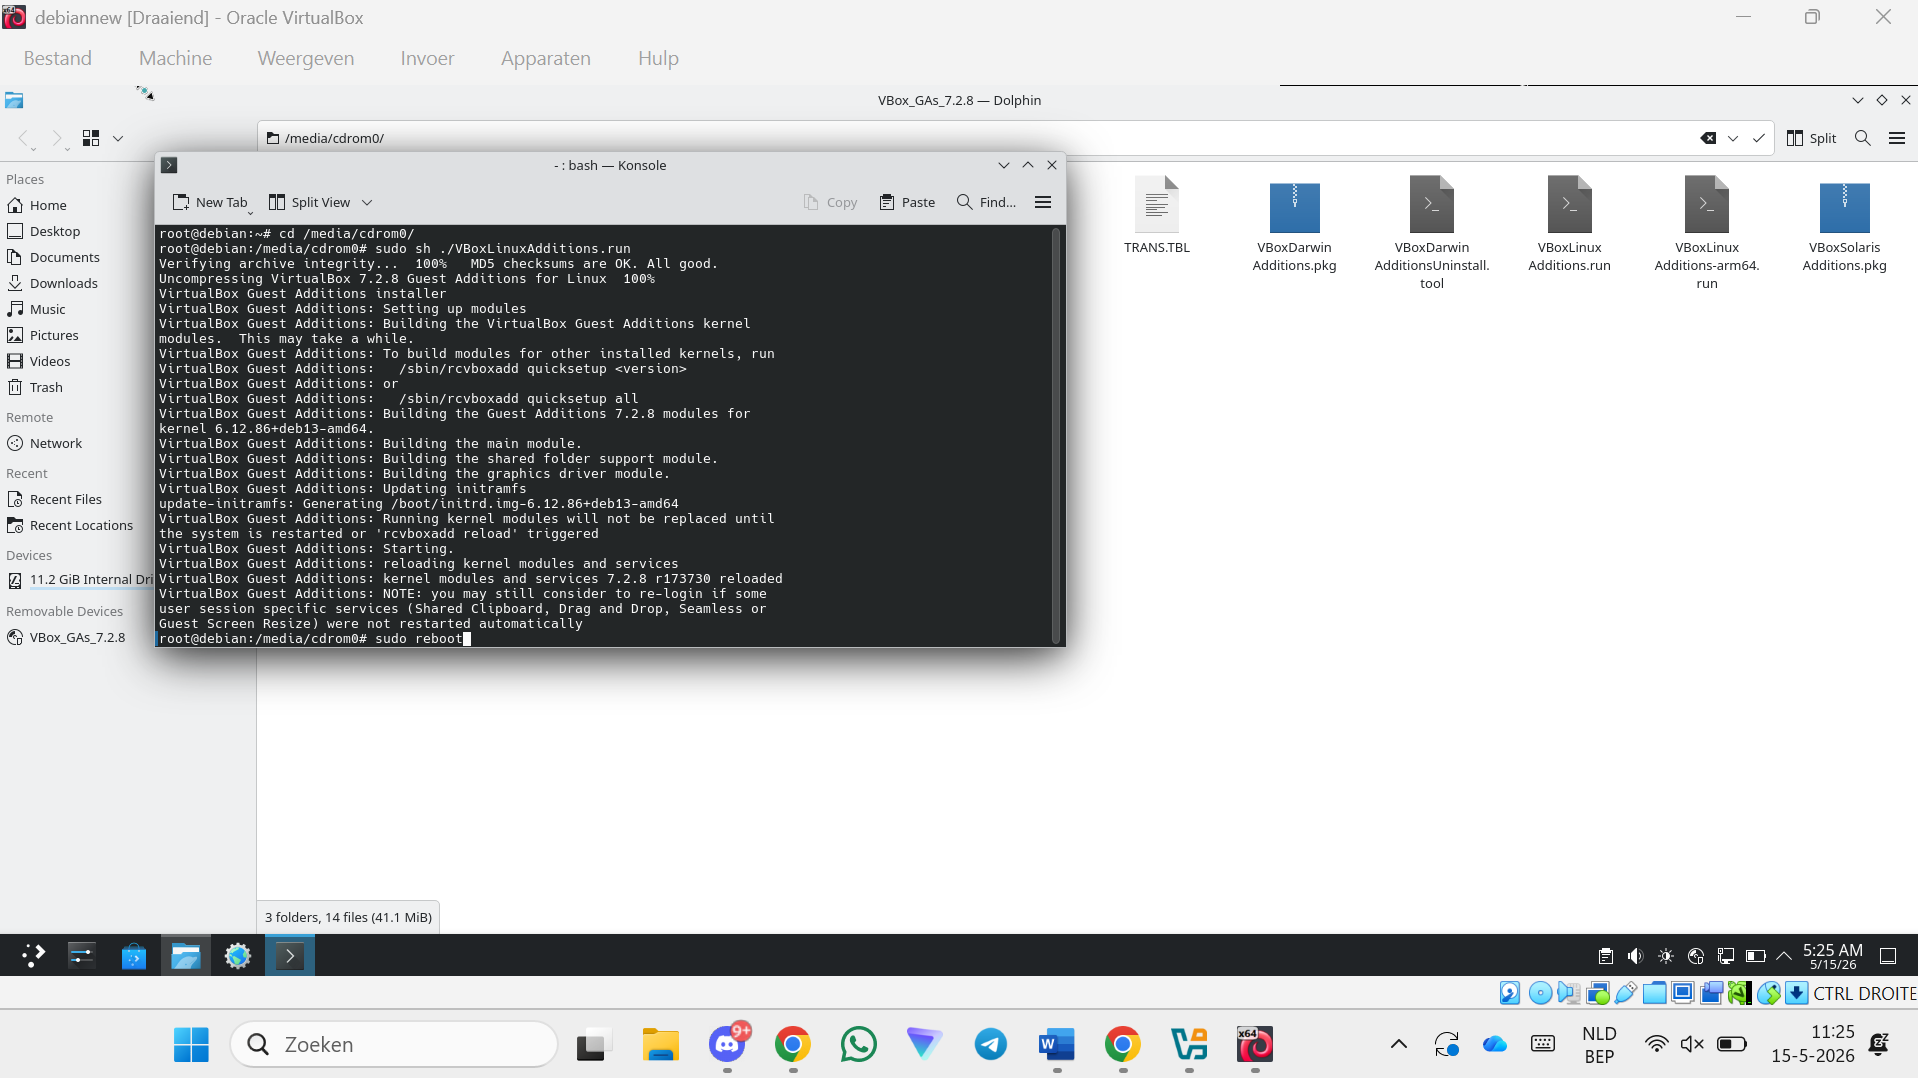
sudo sh ./VBoxLinuxAdditions.run
Step 71 — Reboot the VM
sudo reboot
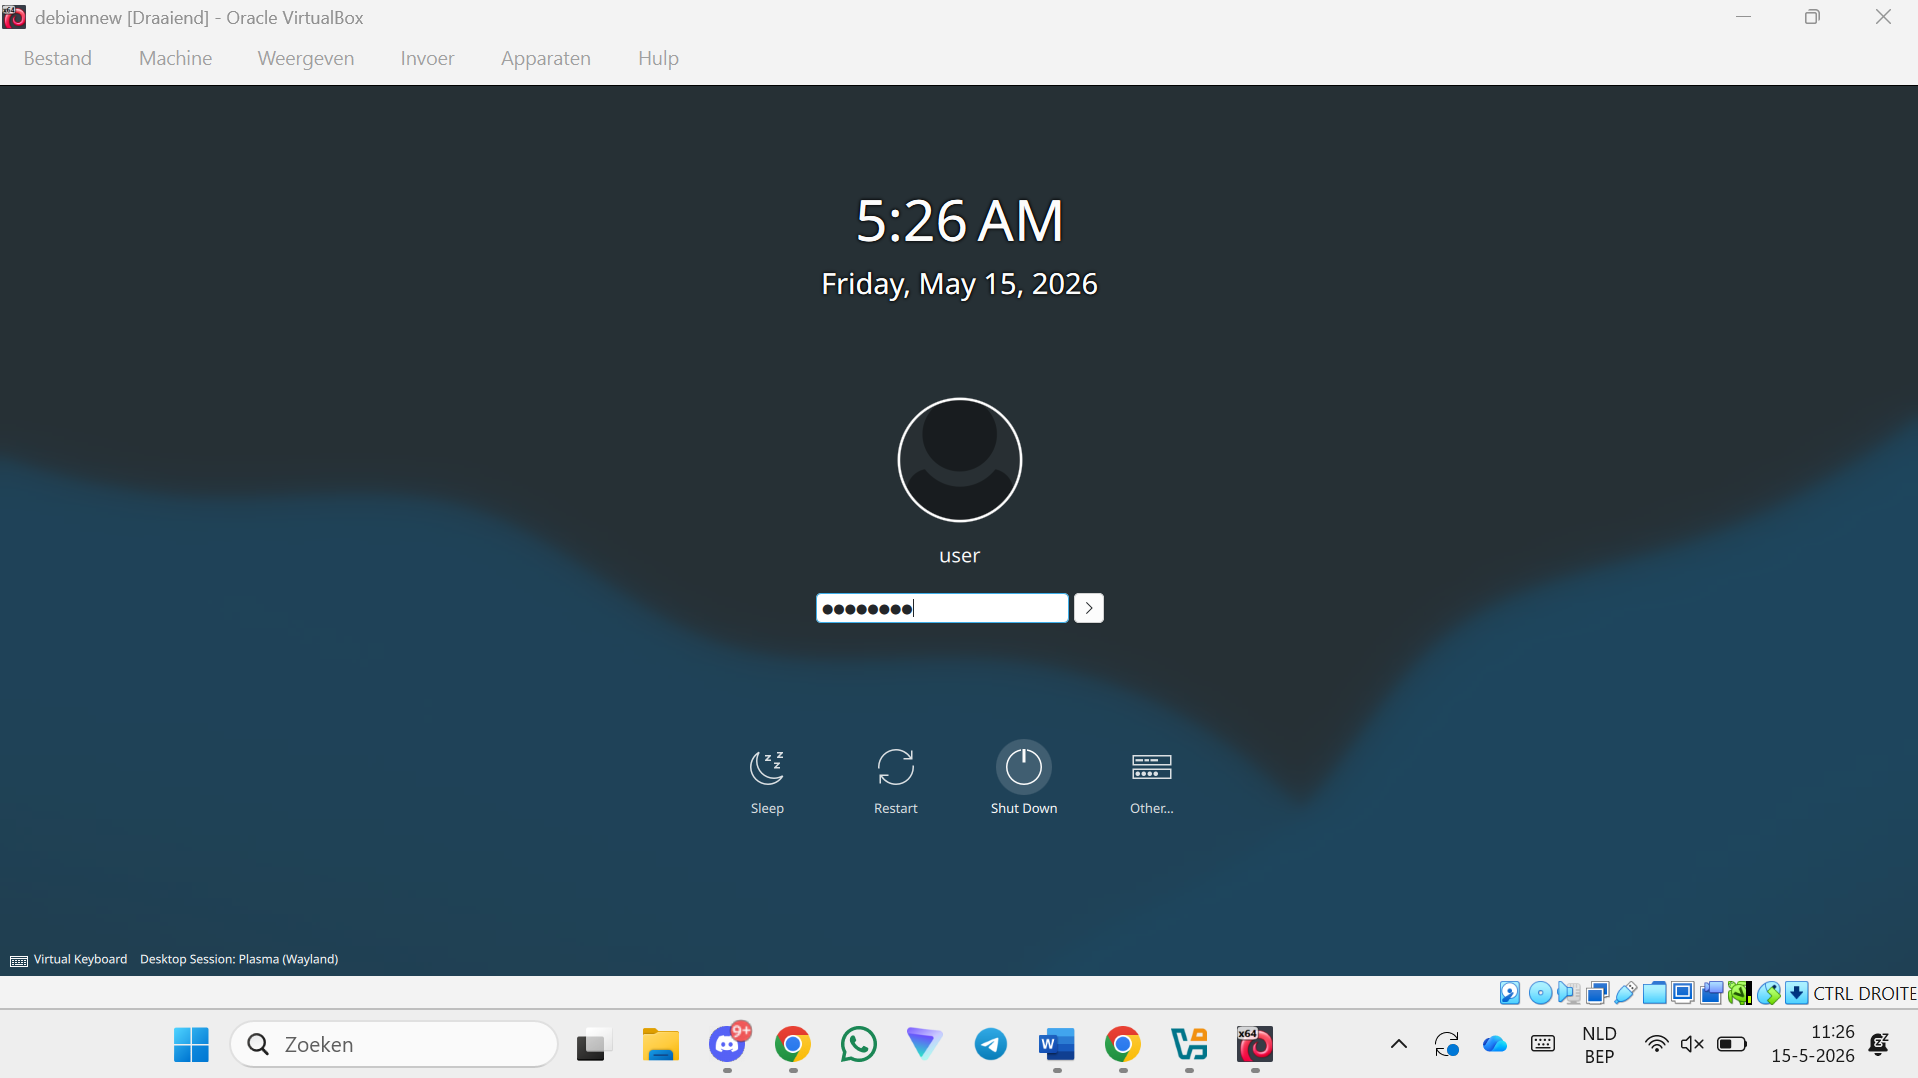
Configuring User Permissions
Step 72 — Log in again
Step 73 — Open the file explorer
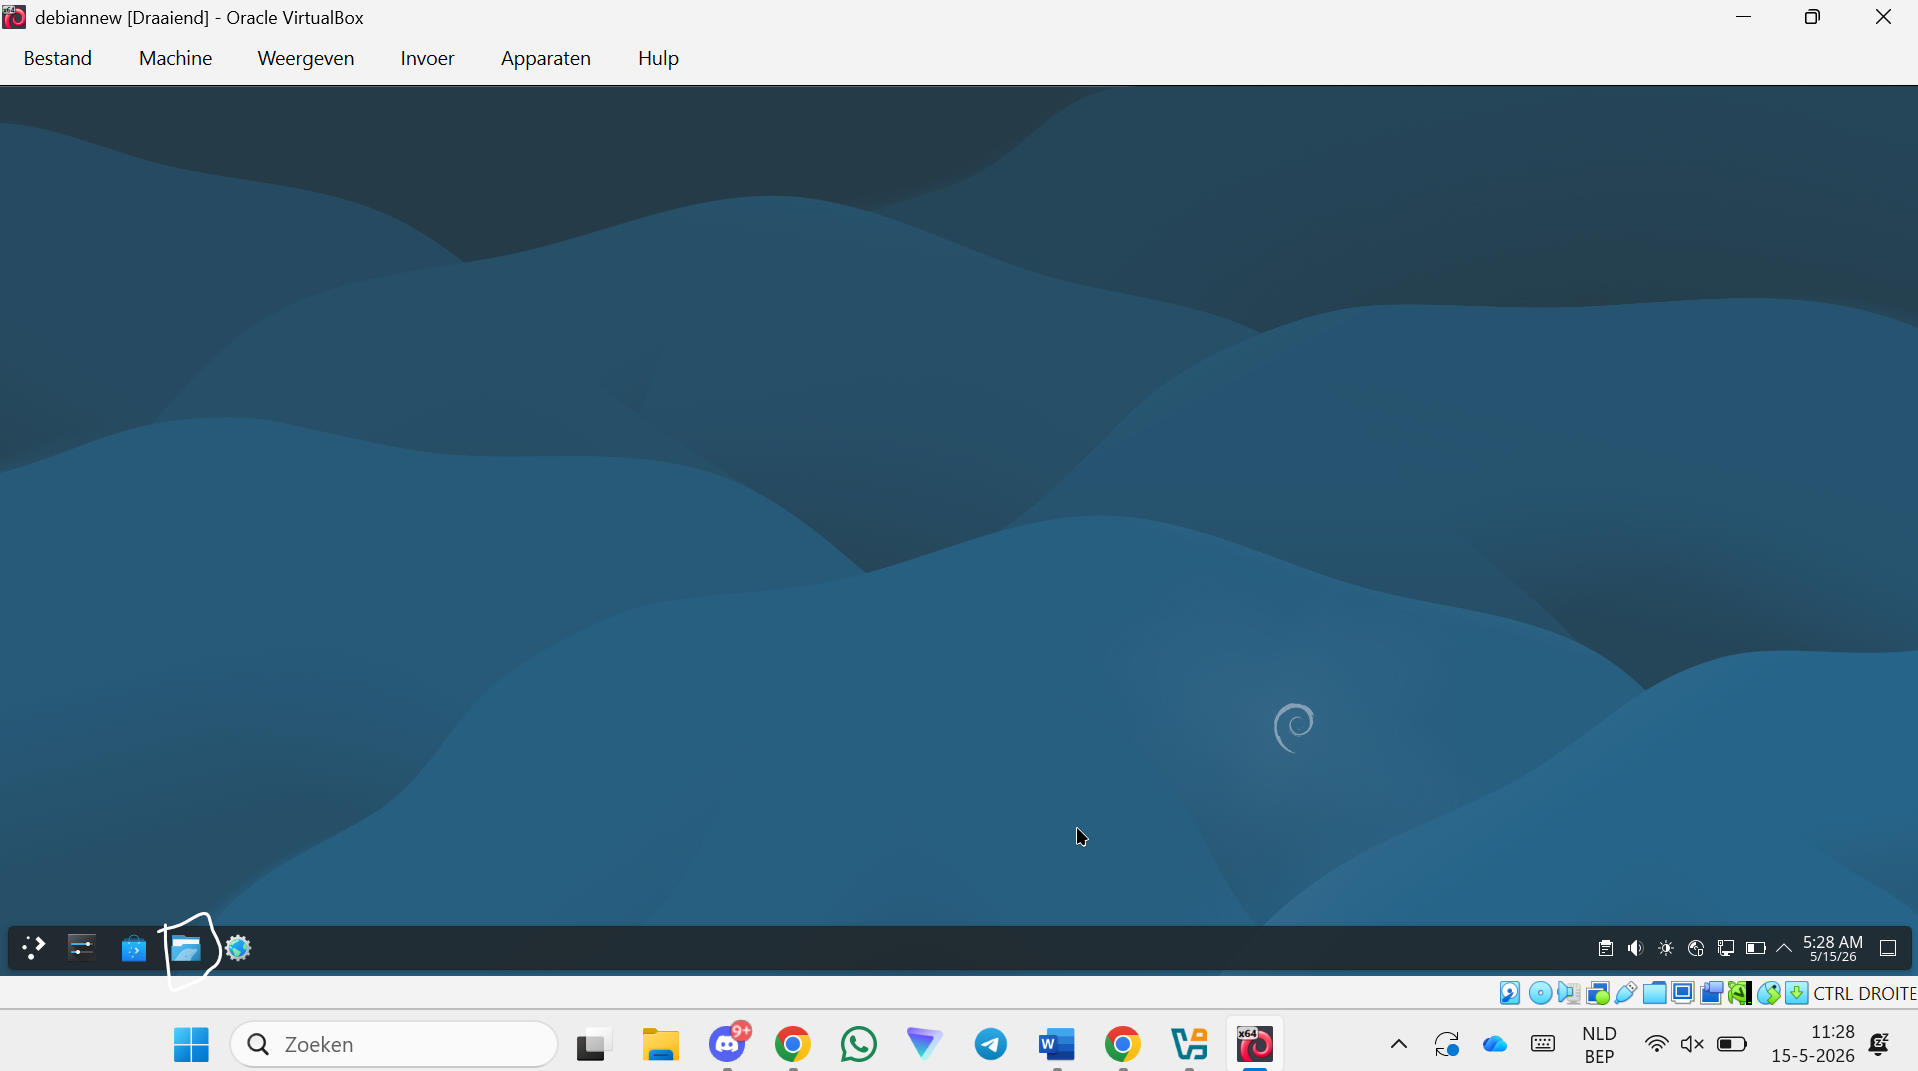
Step 74 — Open the Root Disk
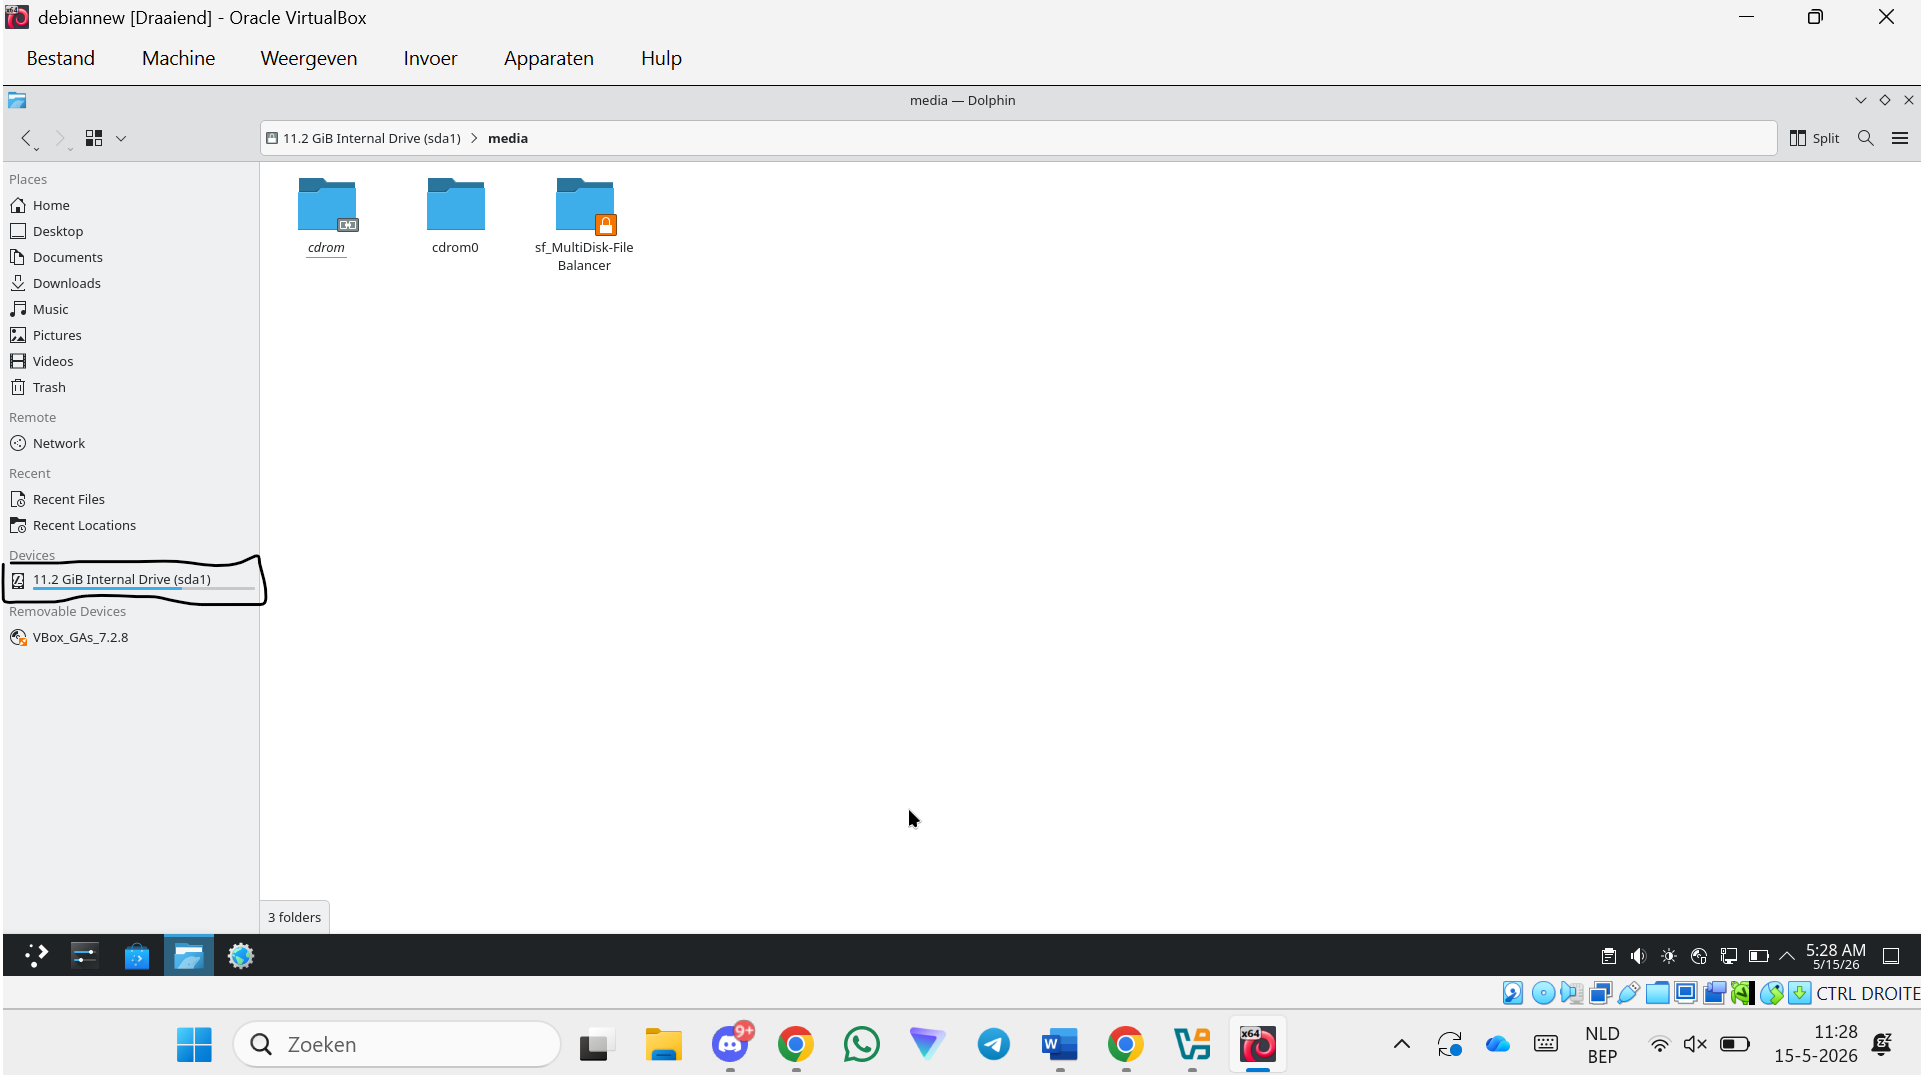
Step 75 — Open the media folder
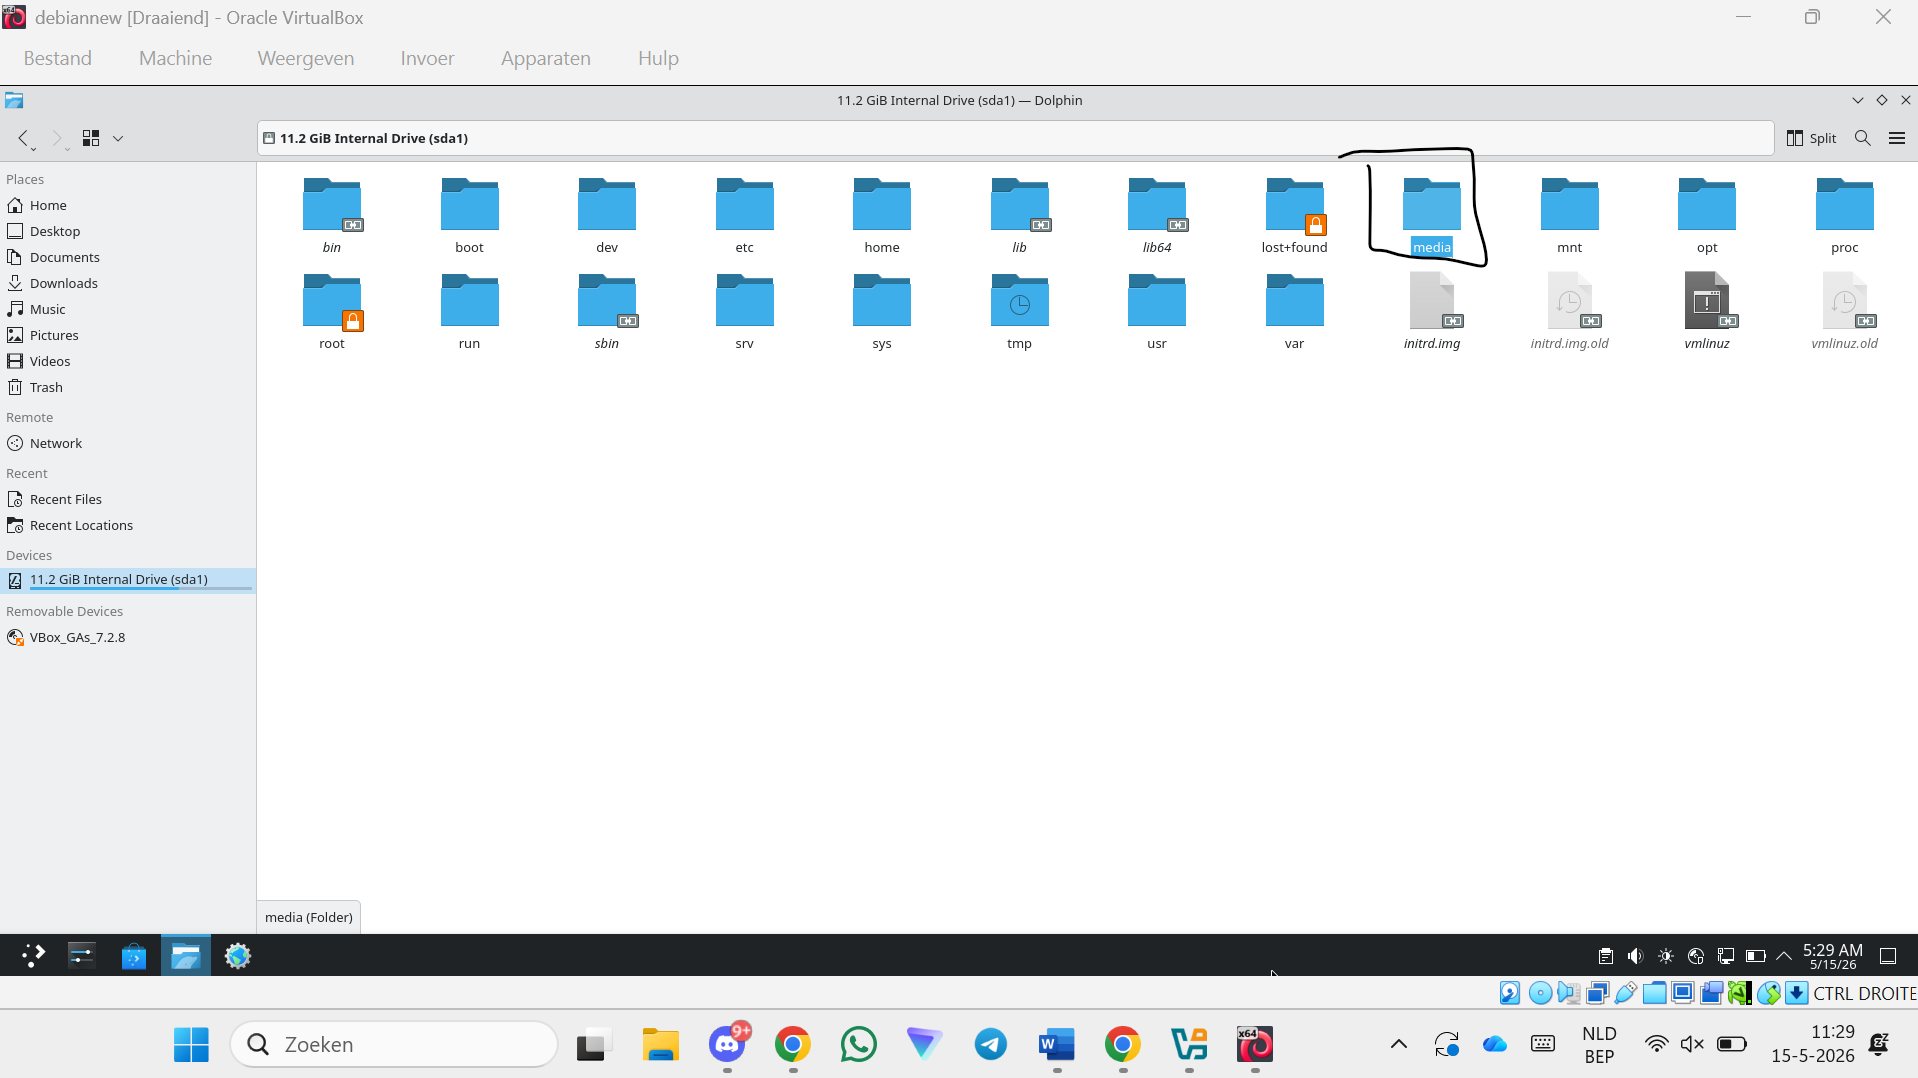
Step 76 — Give yourself permission to the shared folder (next step)
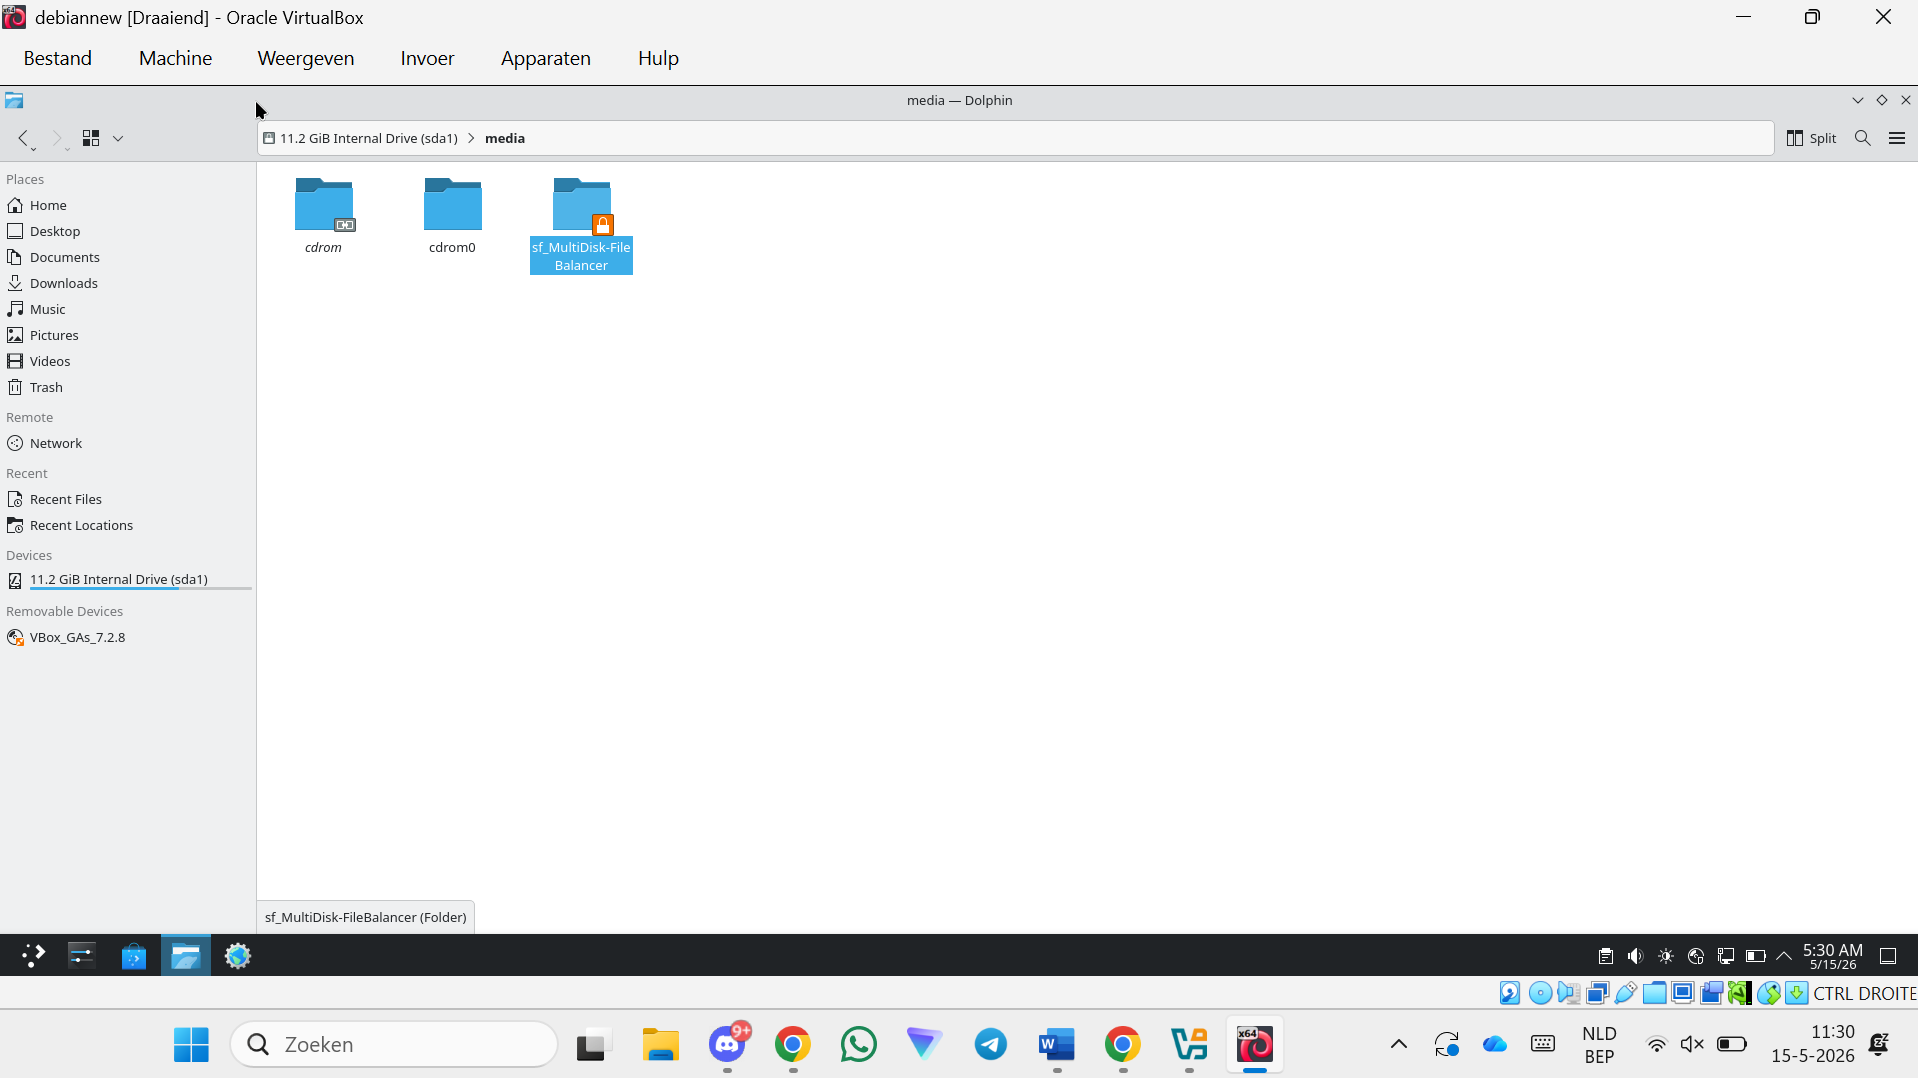
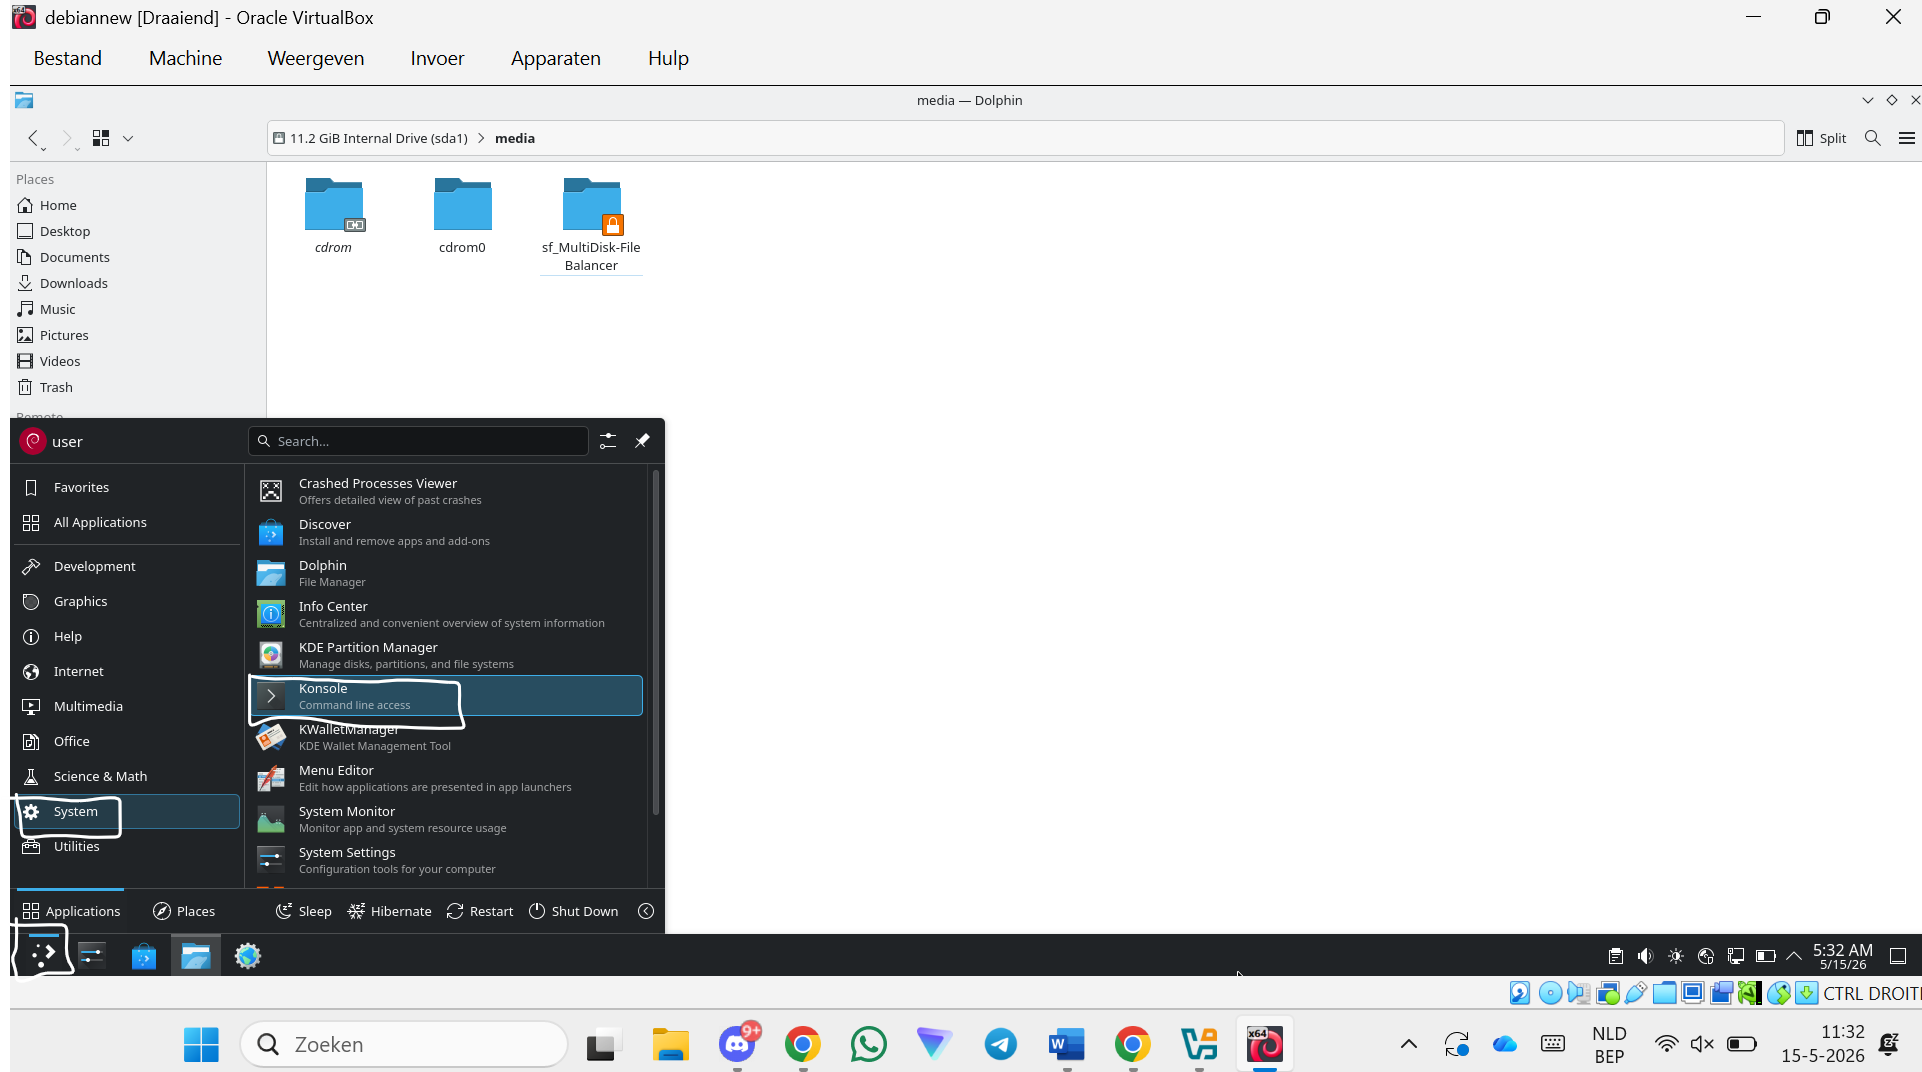
Step 77 — Open the terminal
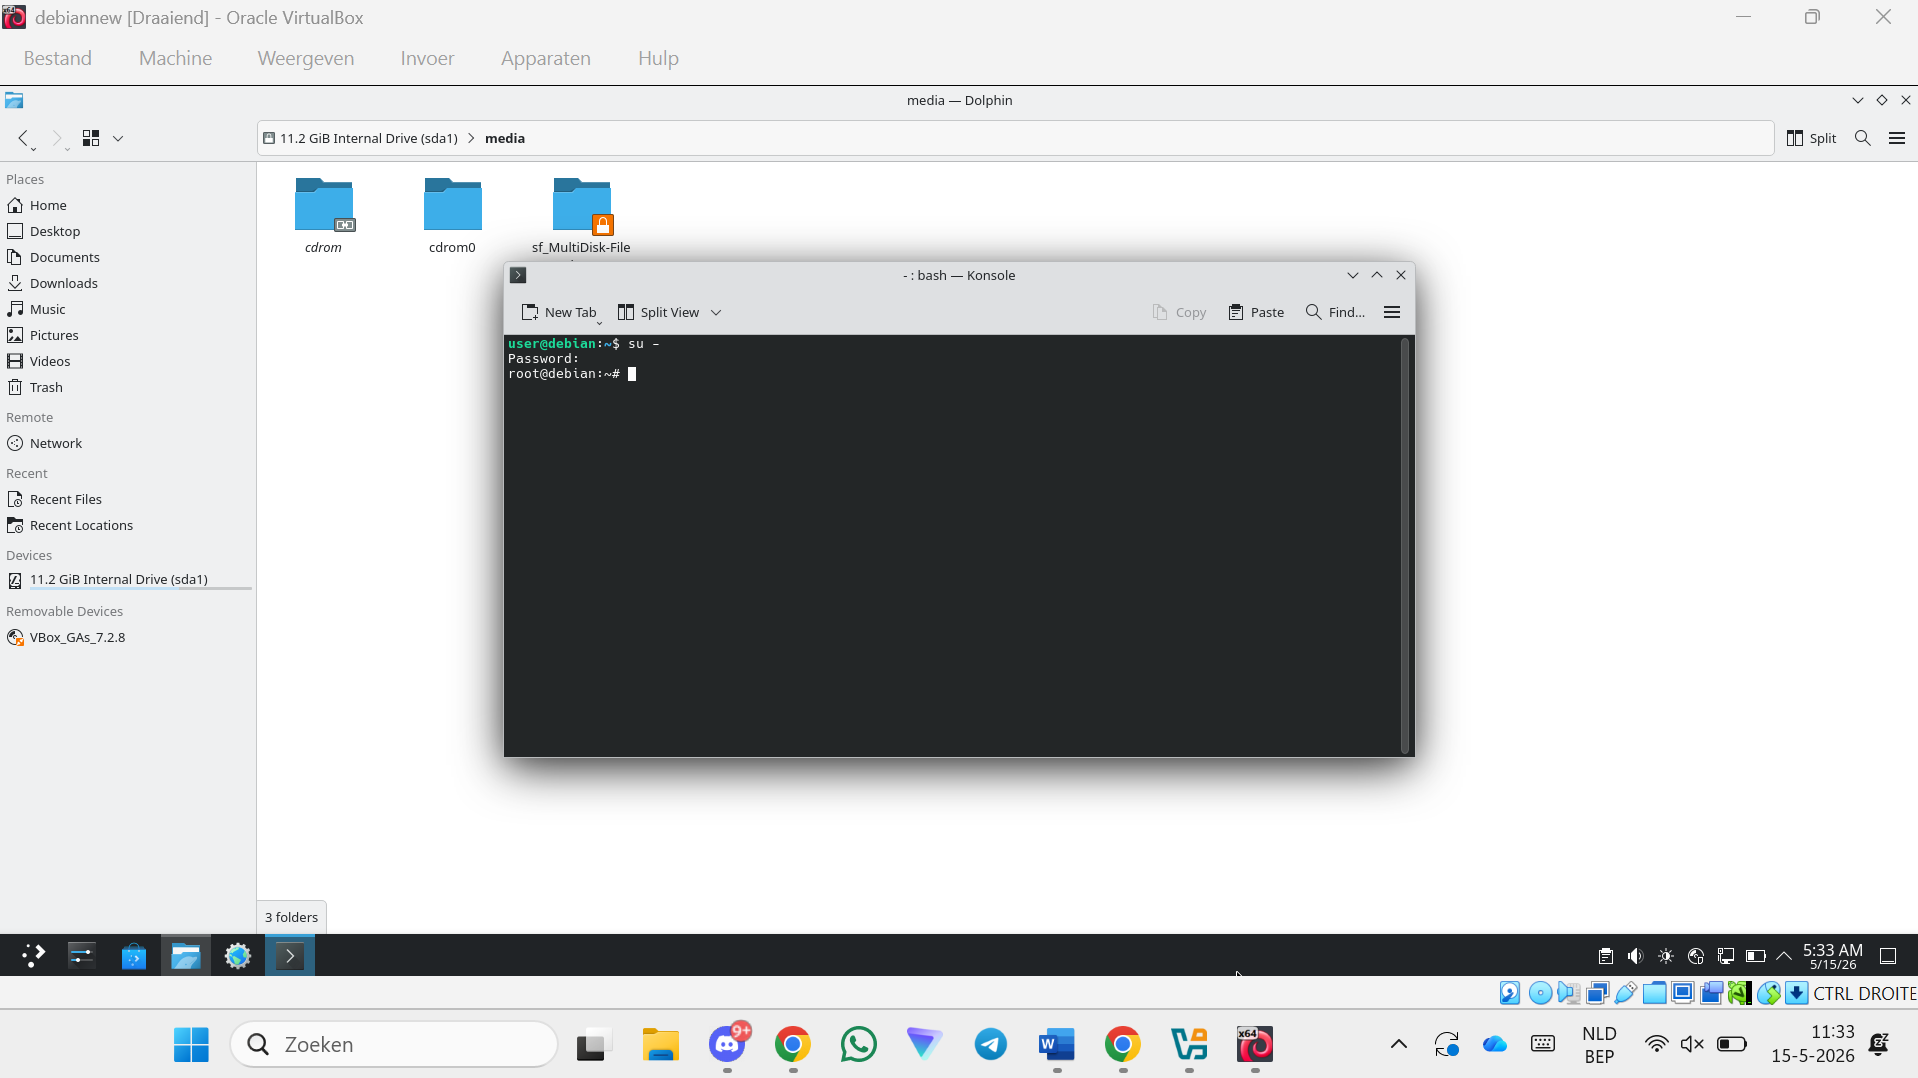
Step 78 — Run su -
su -
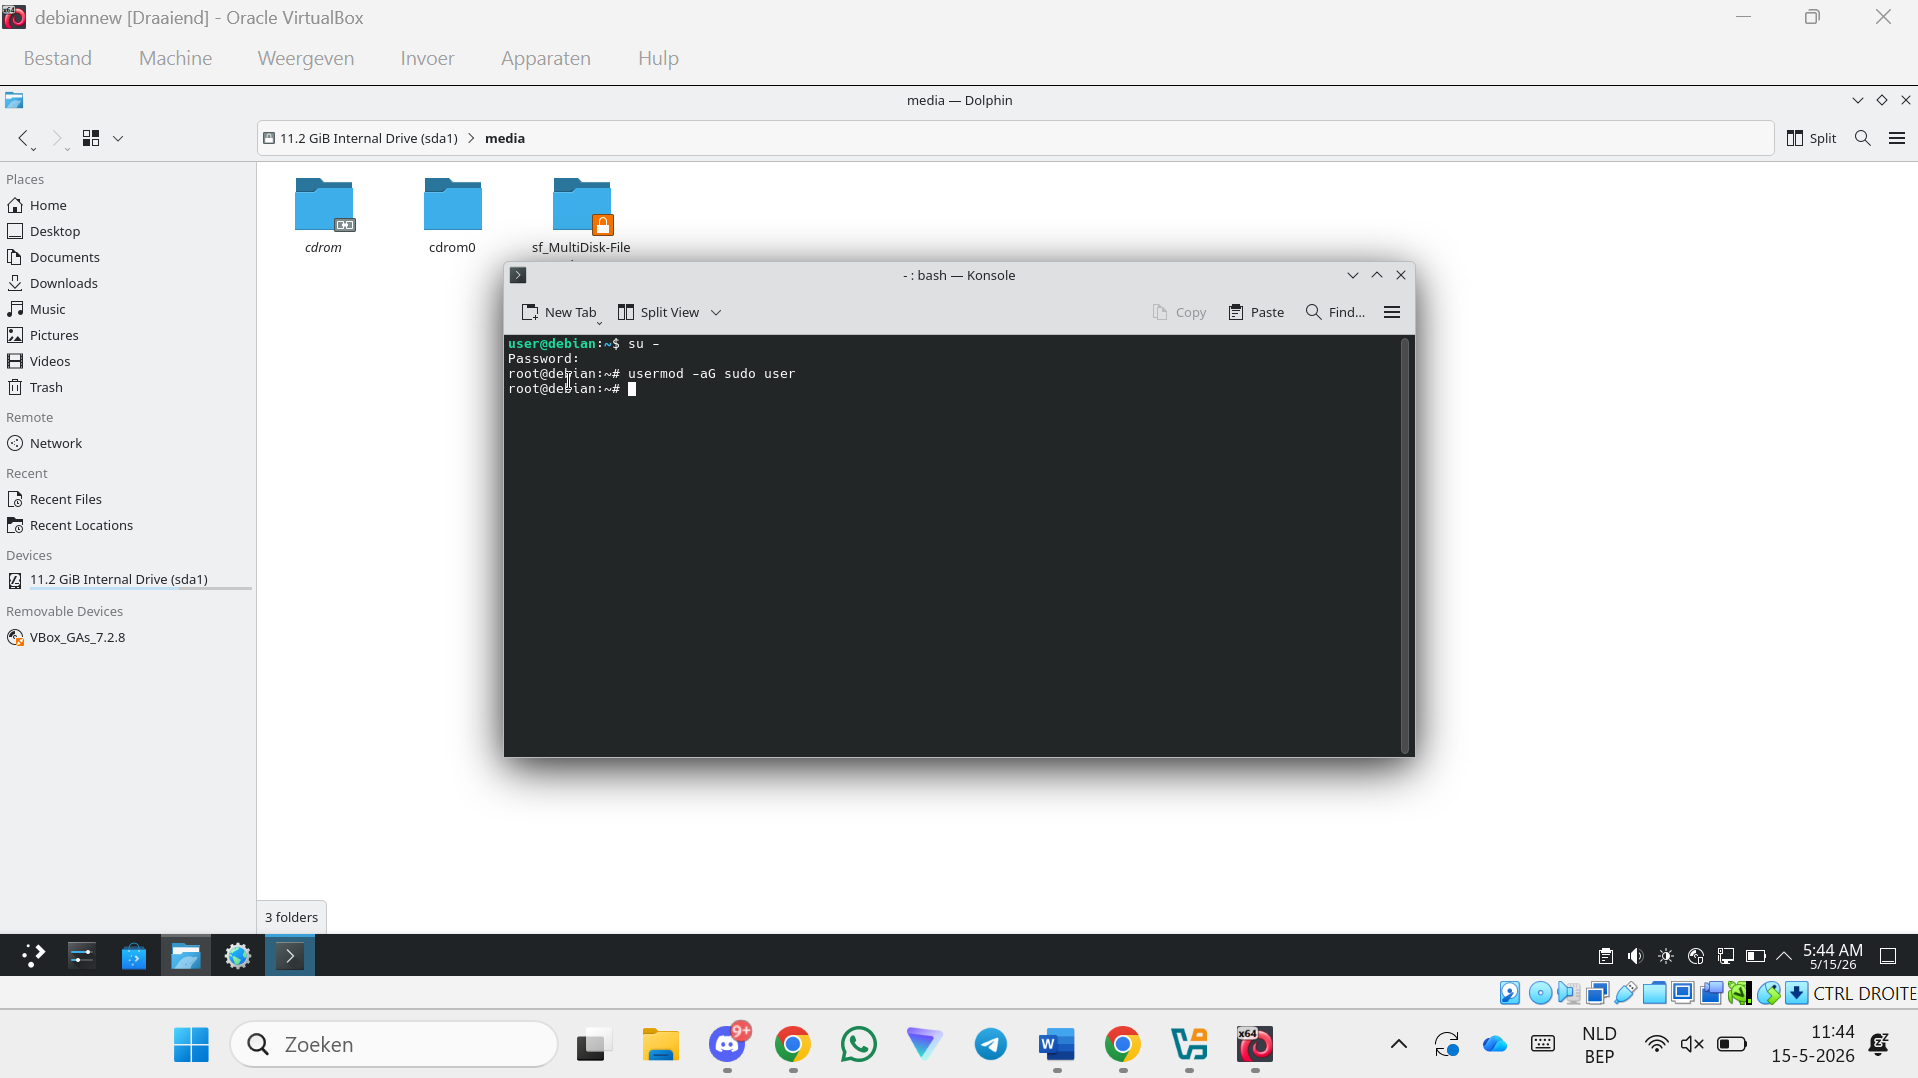
Step 79 — Add user to sudo group
usermod -aG sudo user
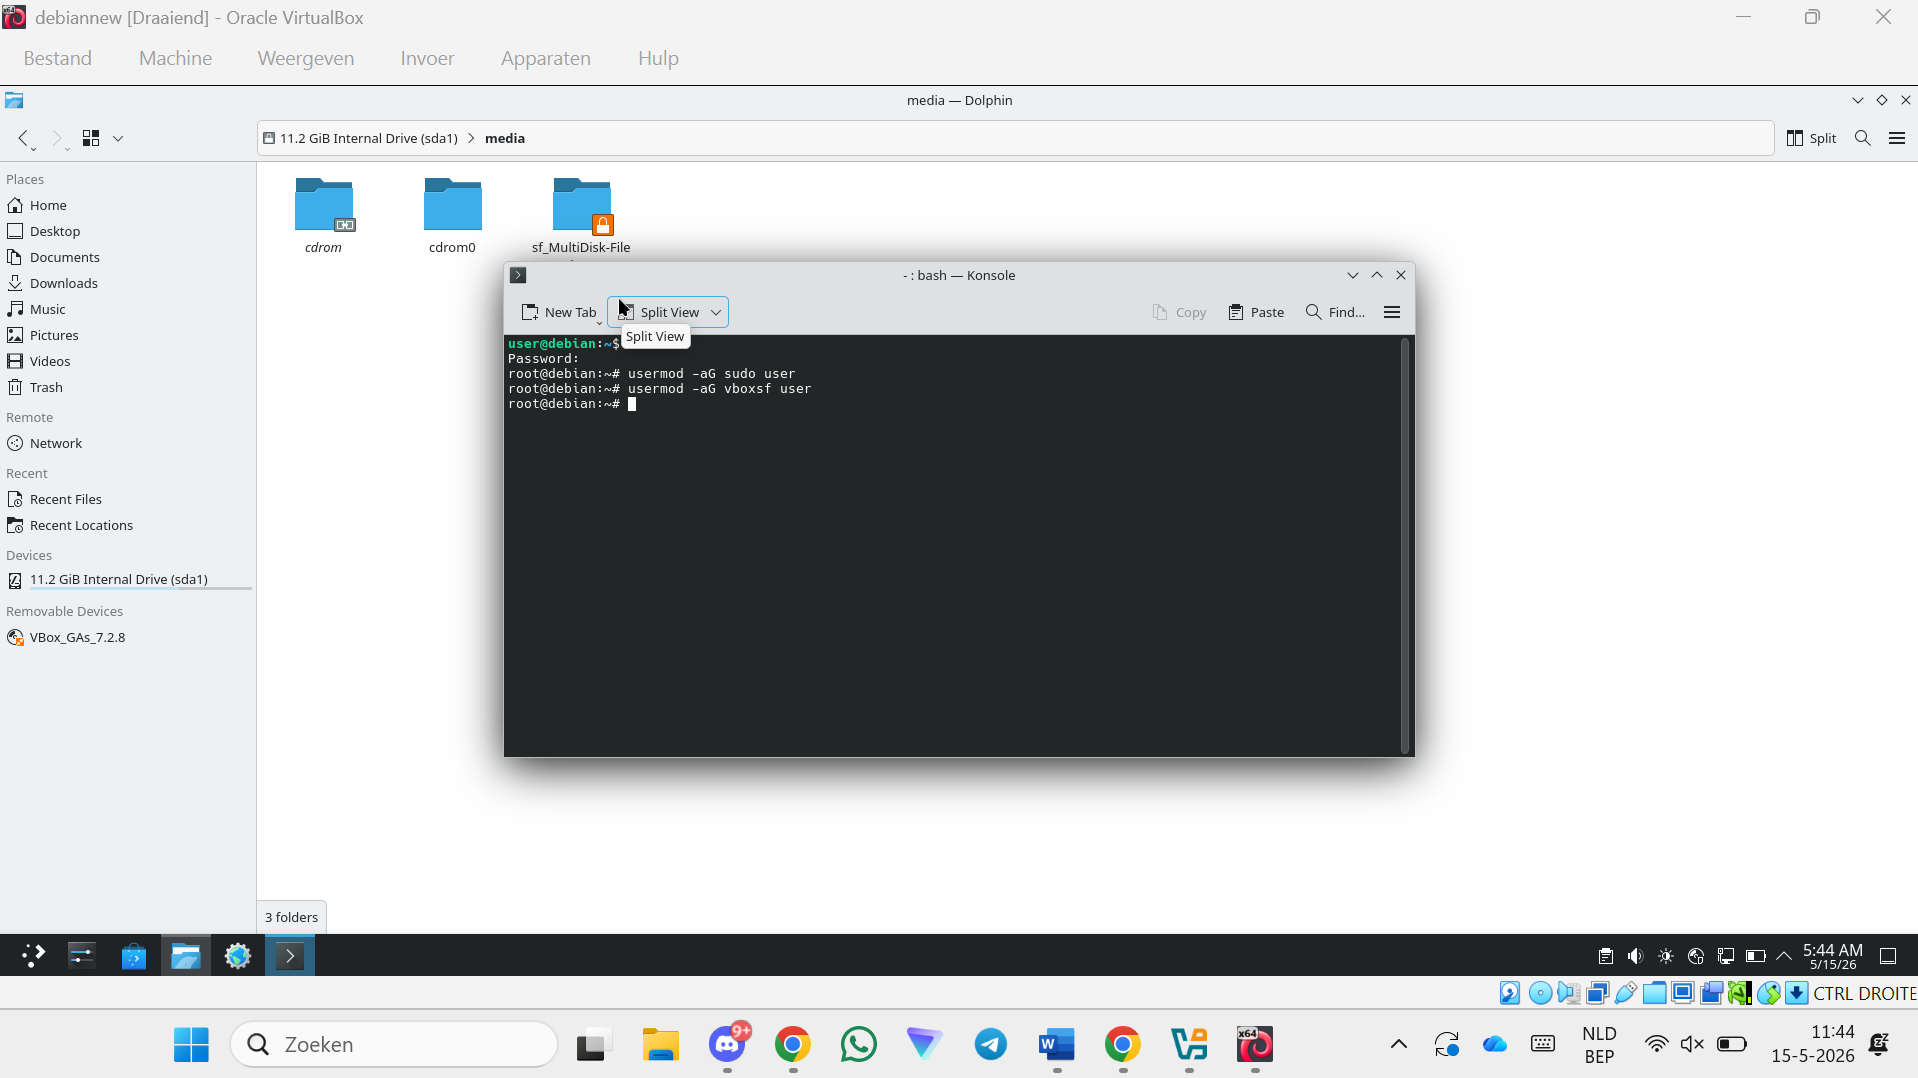
Step 80 — Add user to vboxsf group (shared folders access)
usermod -aG vboxsf user
Step 81 — Restart the VM
reboot
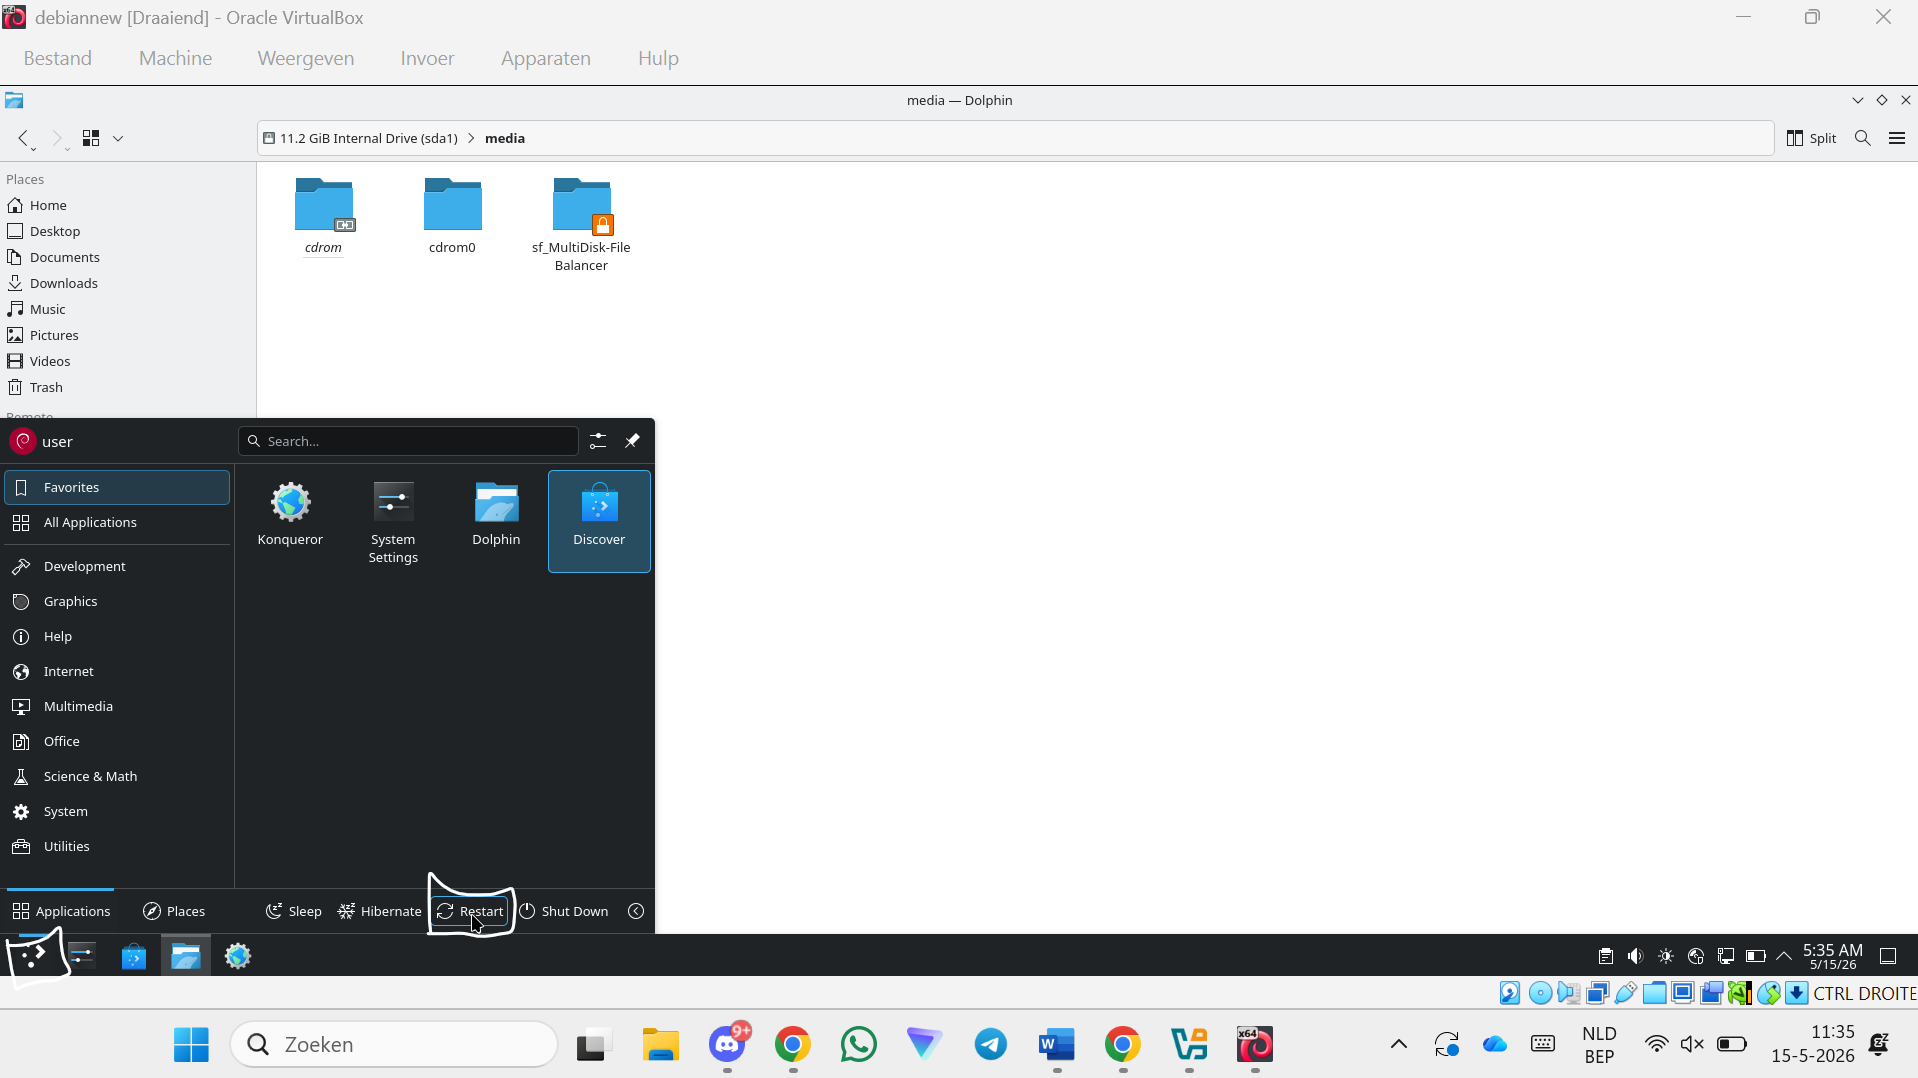
Installing and Running the Program
Step 82 — Open the file explorer
Step 83 — Open the Root Disk and open the media folder
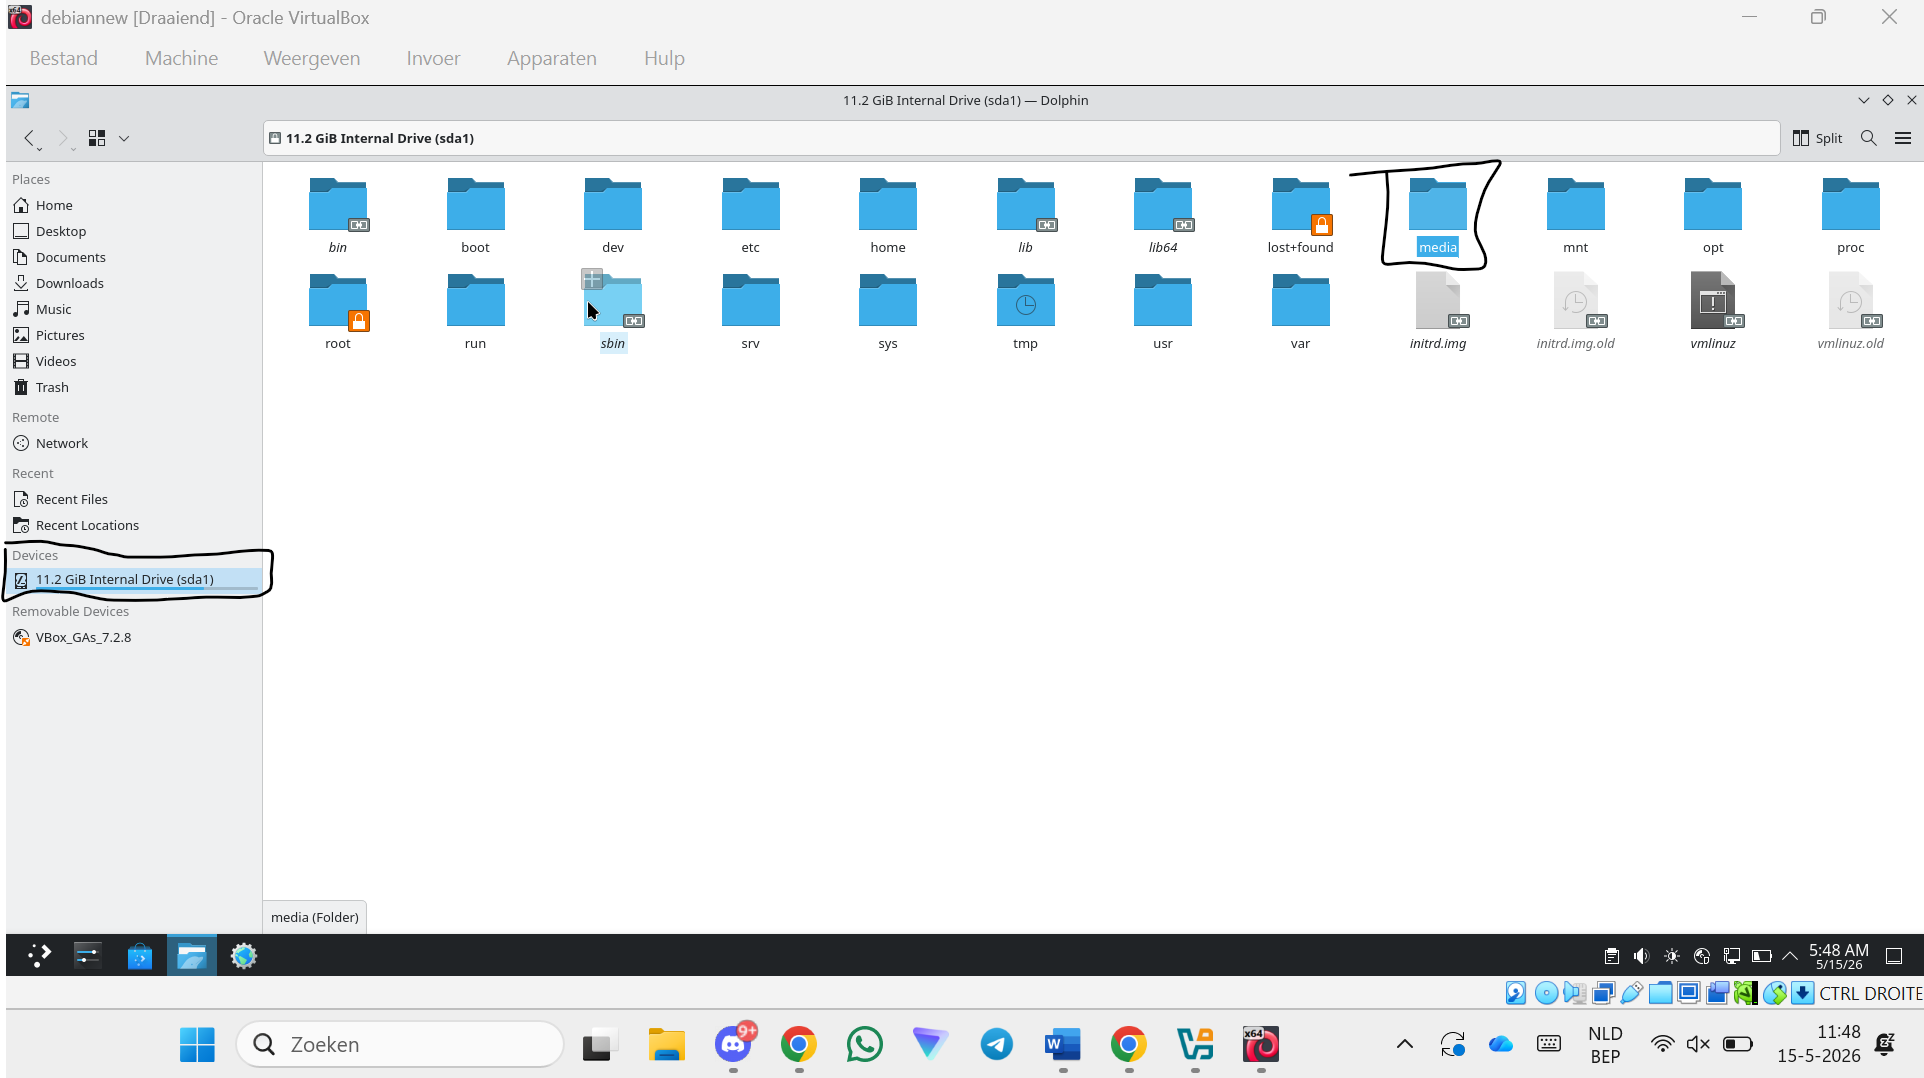
Step 84 — Open the program folder
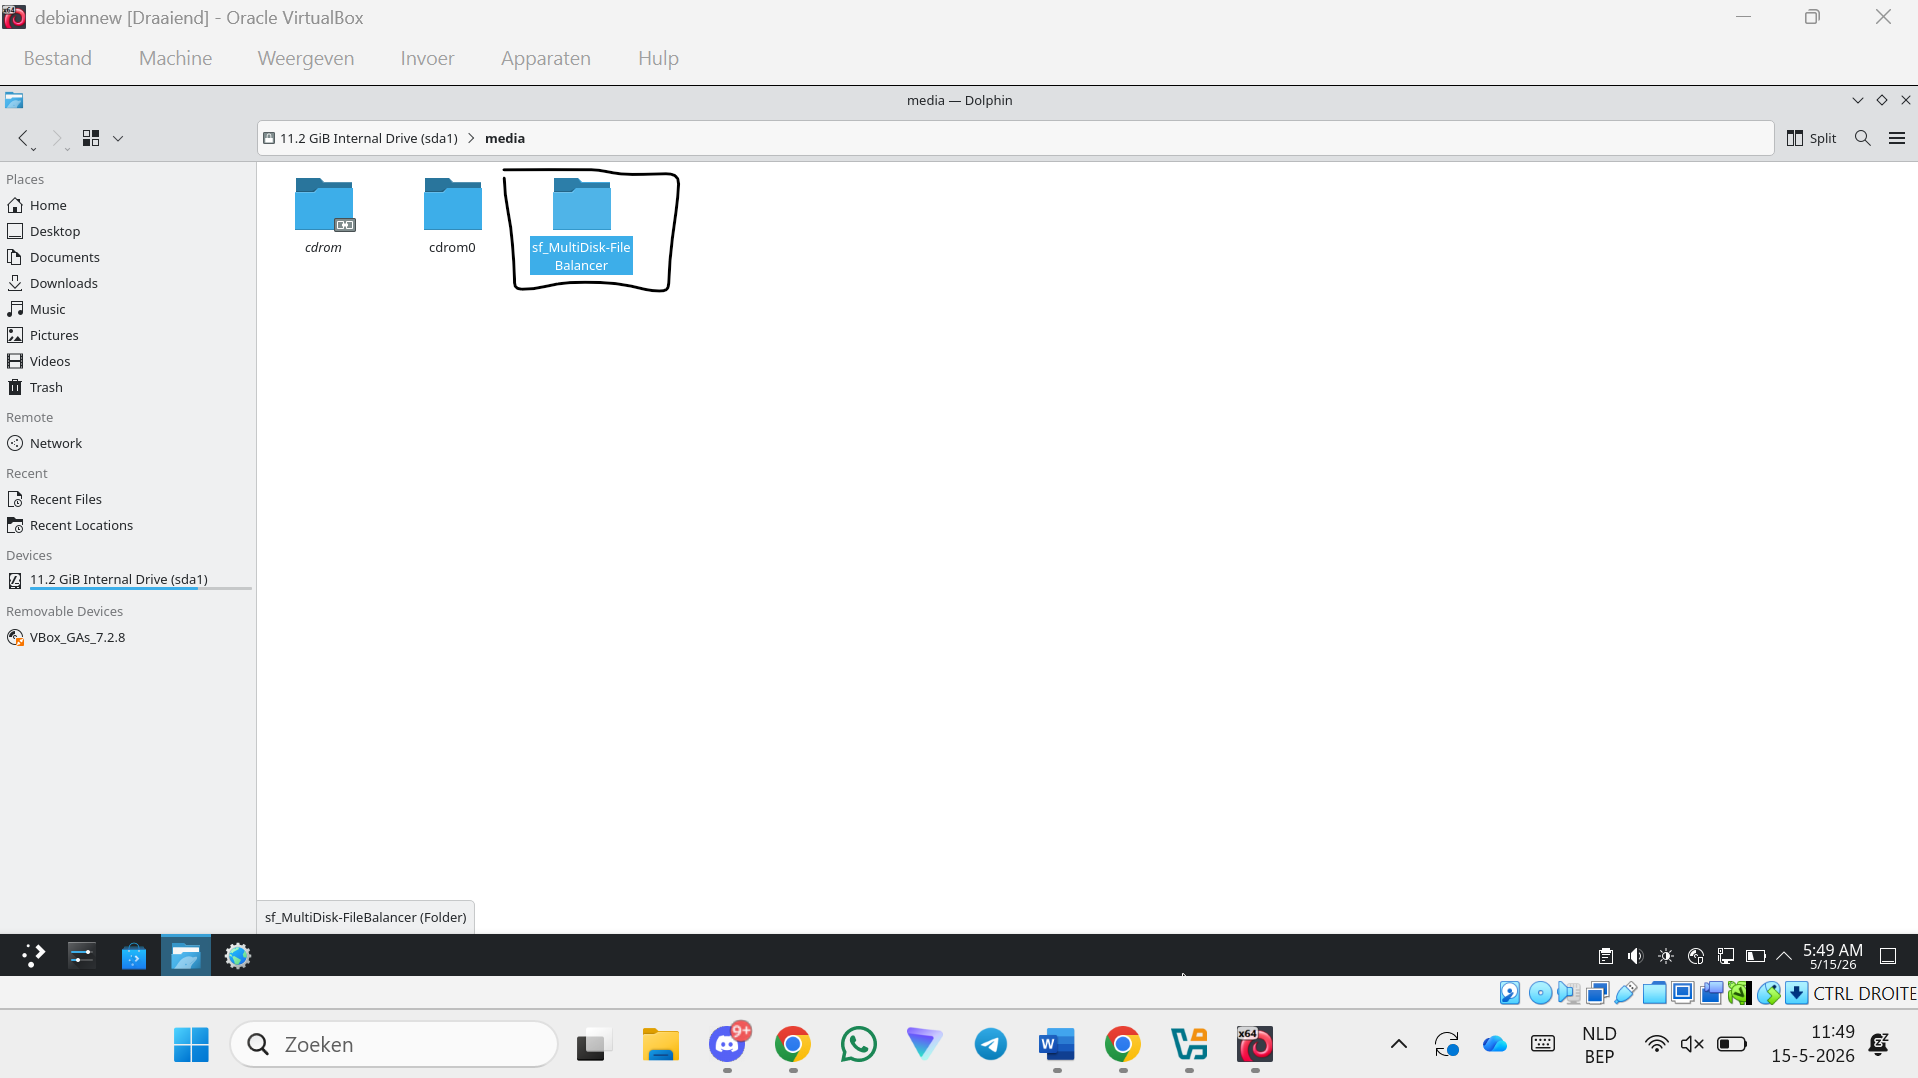
Step 85 — Right-click and click "Open Terminal Here"
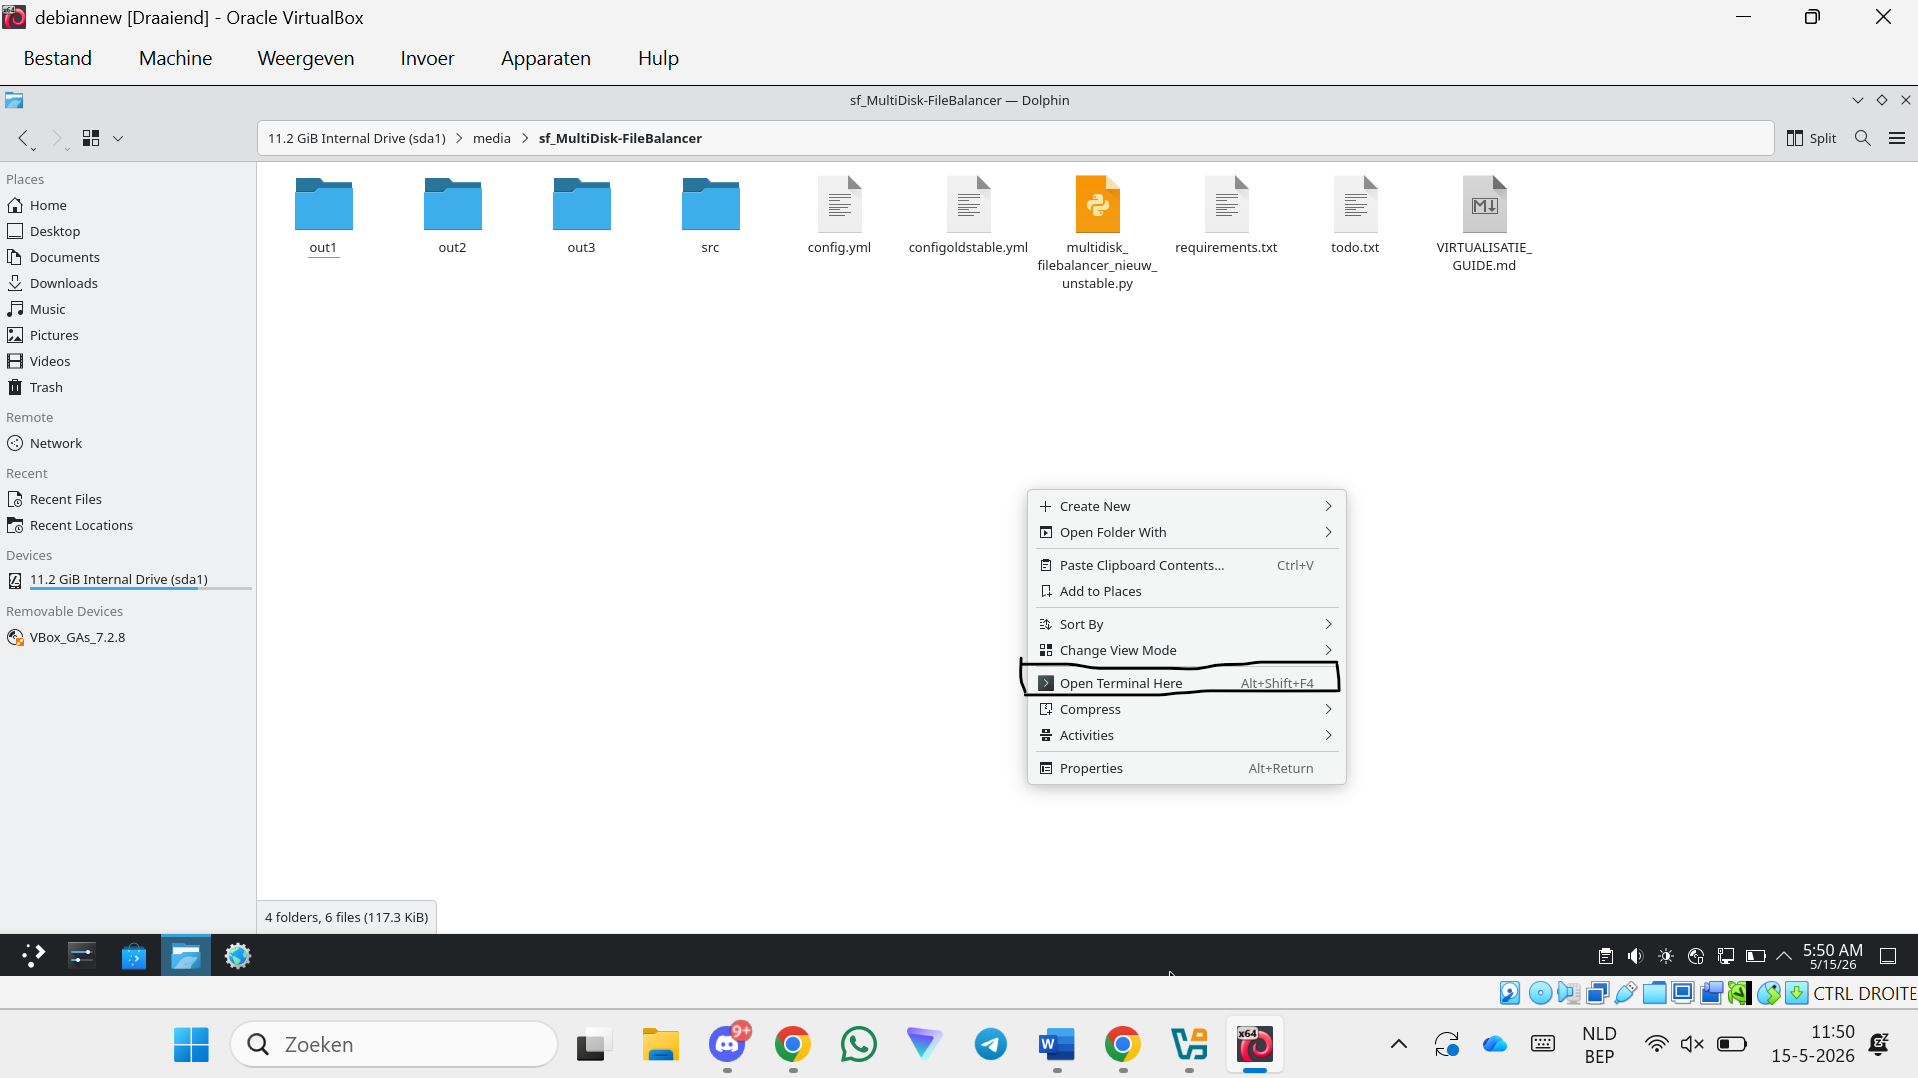
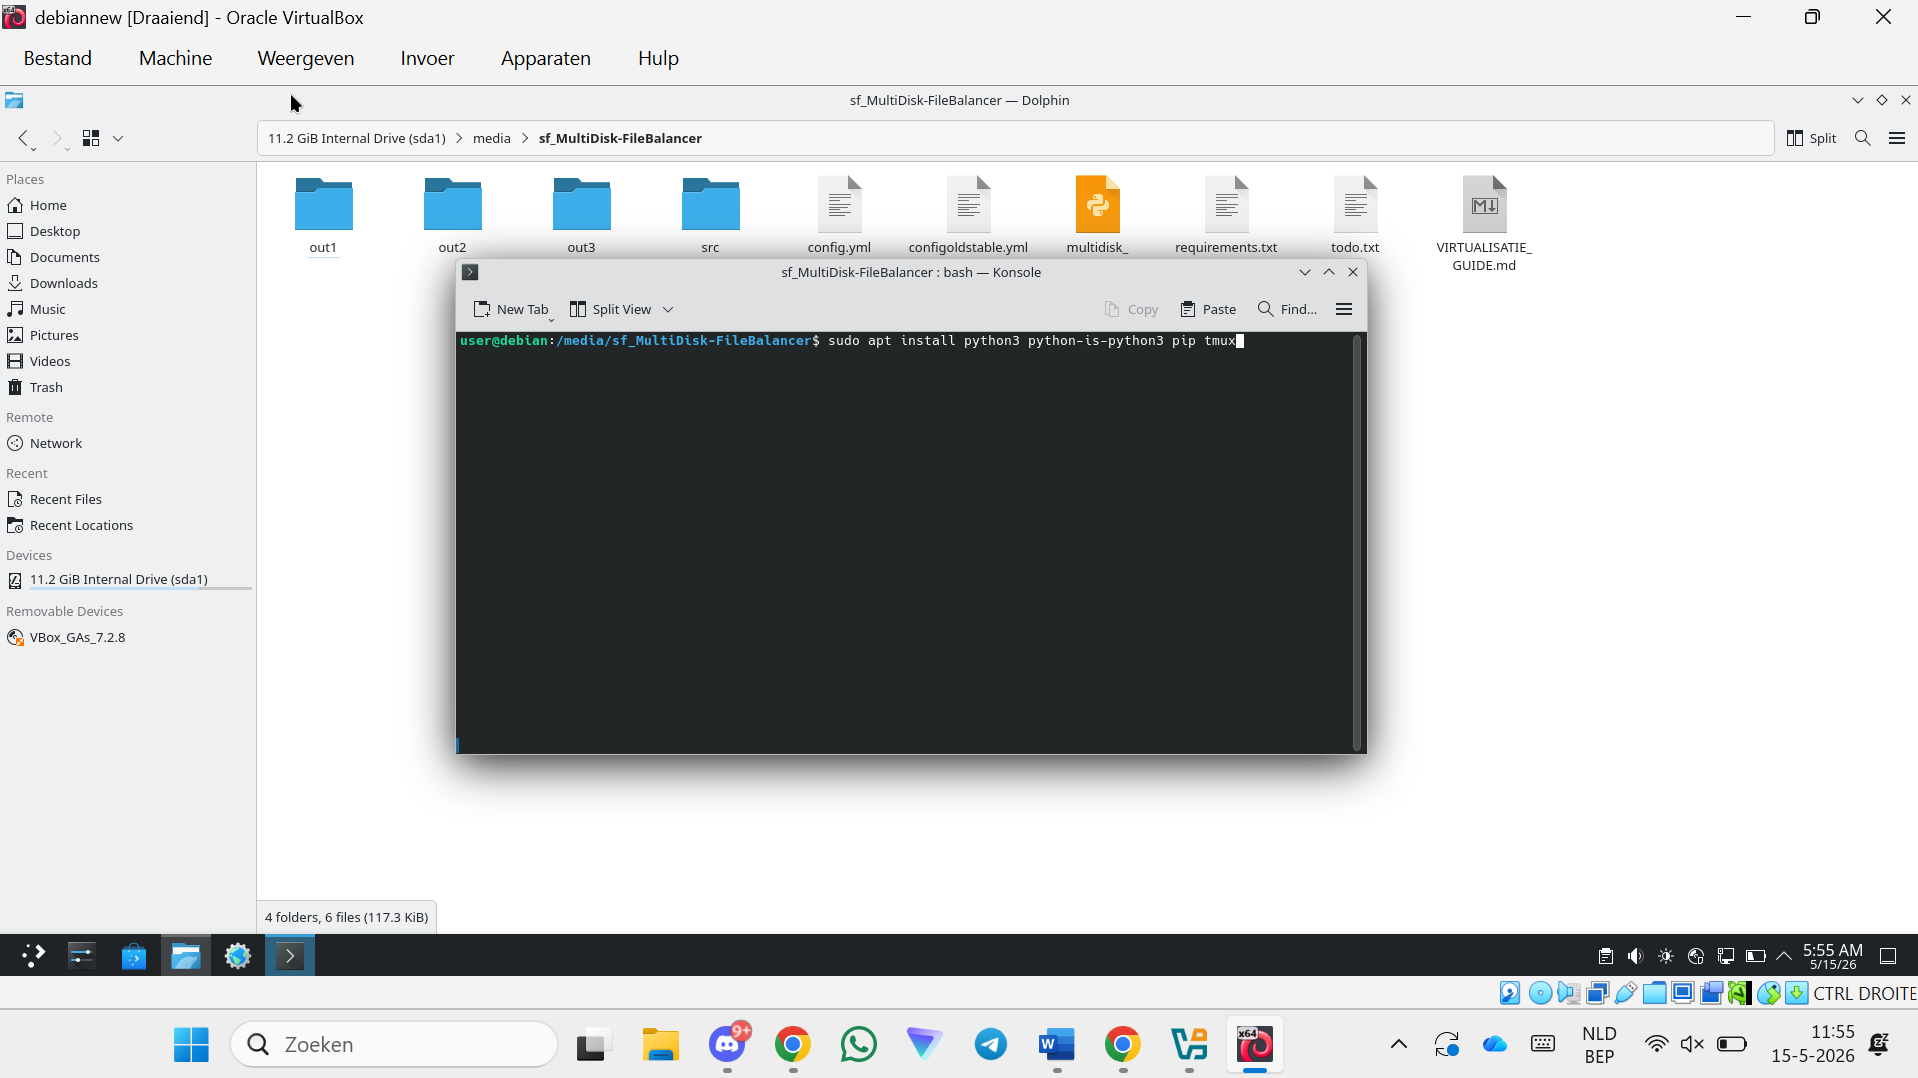
Step 86 — Install Python and tmux
sudo apt install python3 python-is-python3 pip tmux
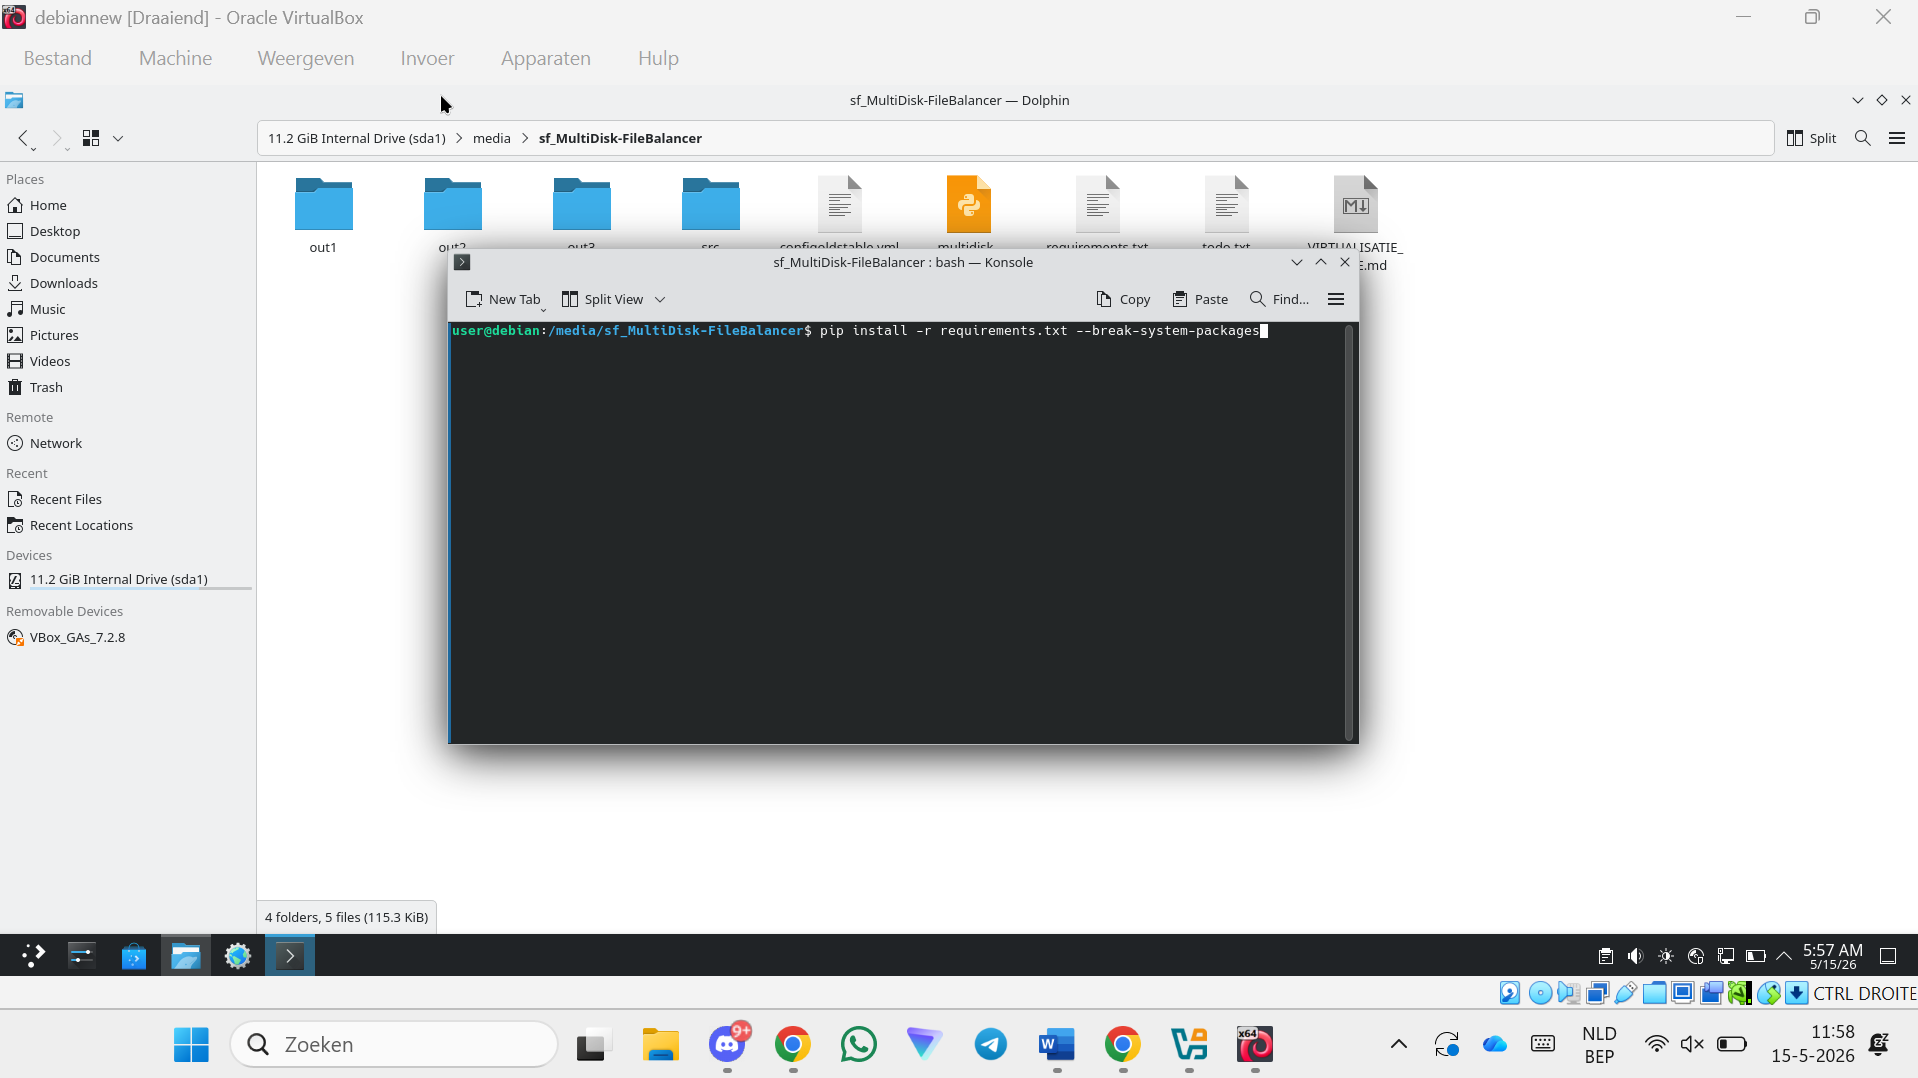
Step 87 — Install Python dependencies
pip install -r requirements.txt --break-system-packages
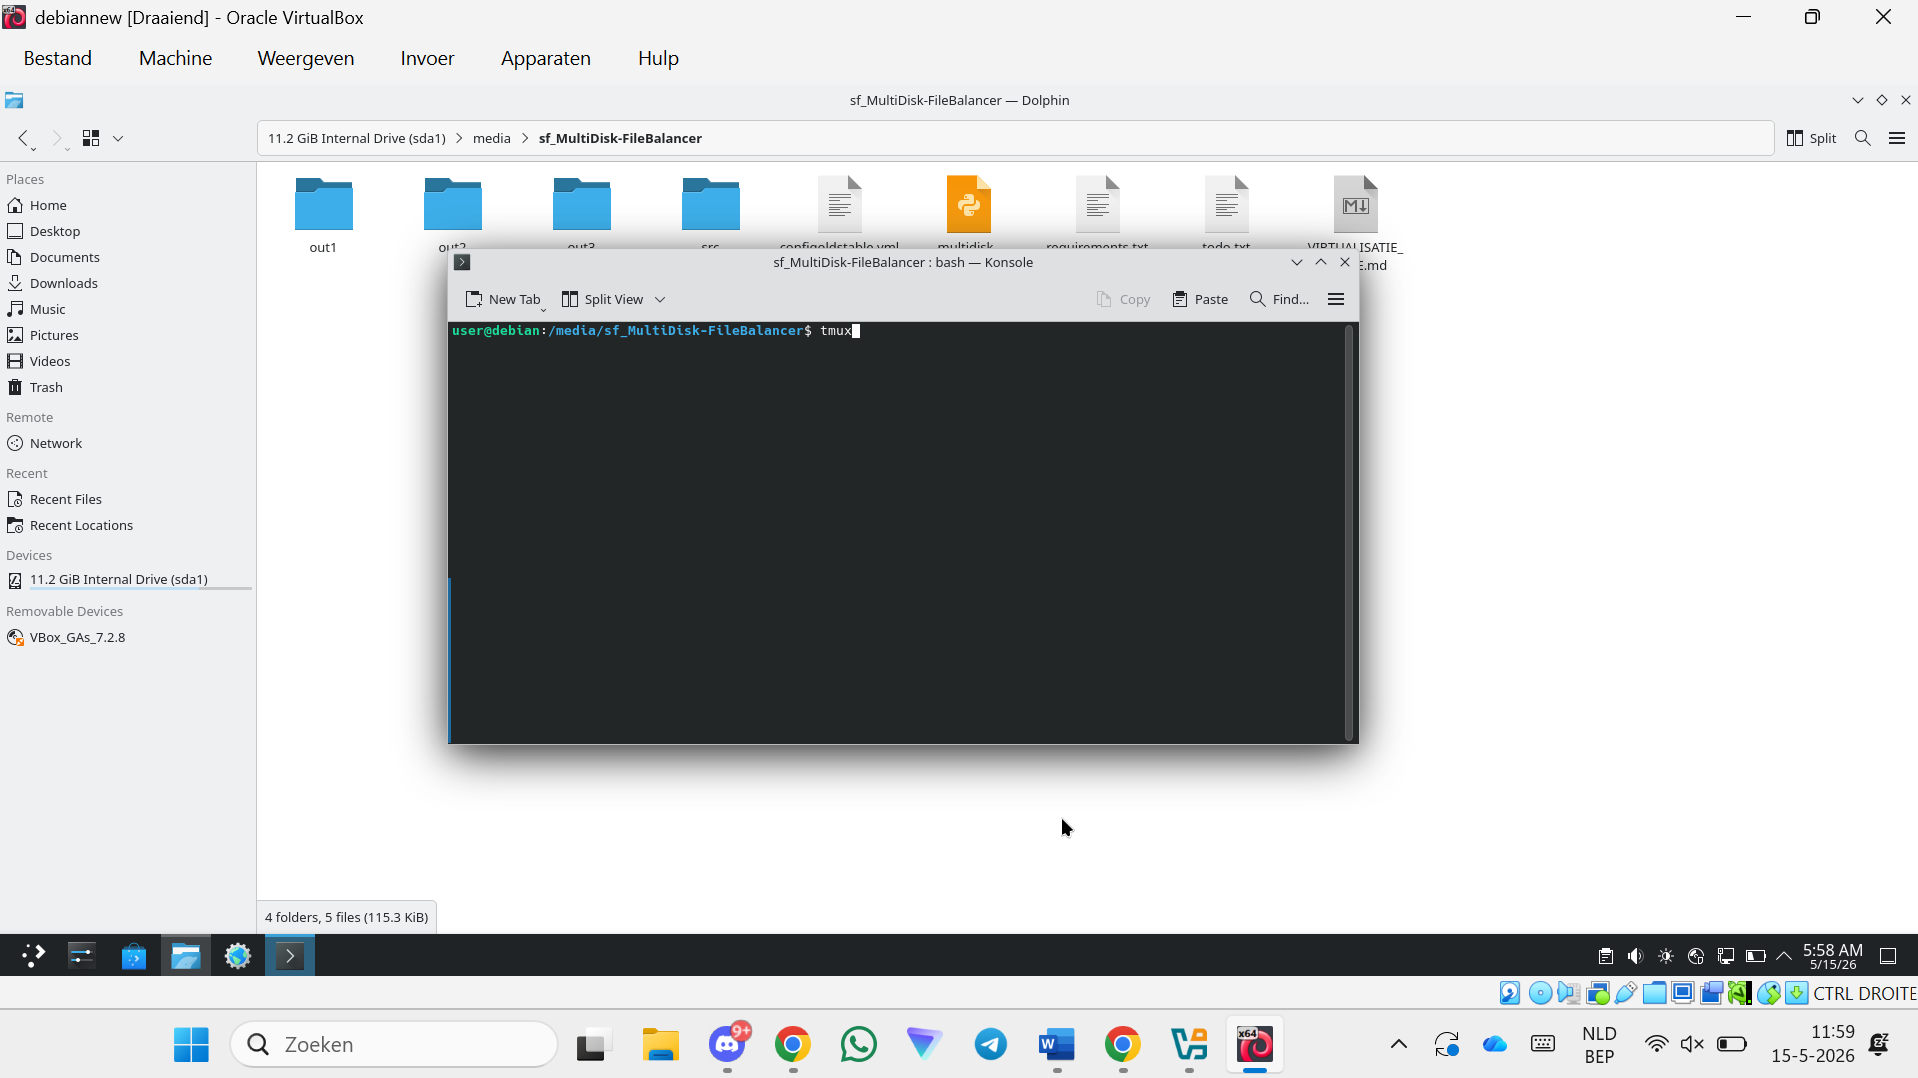
Step 88 — Start a tmux session
tmux
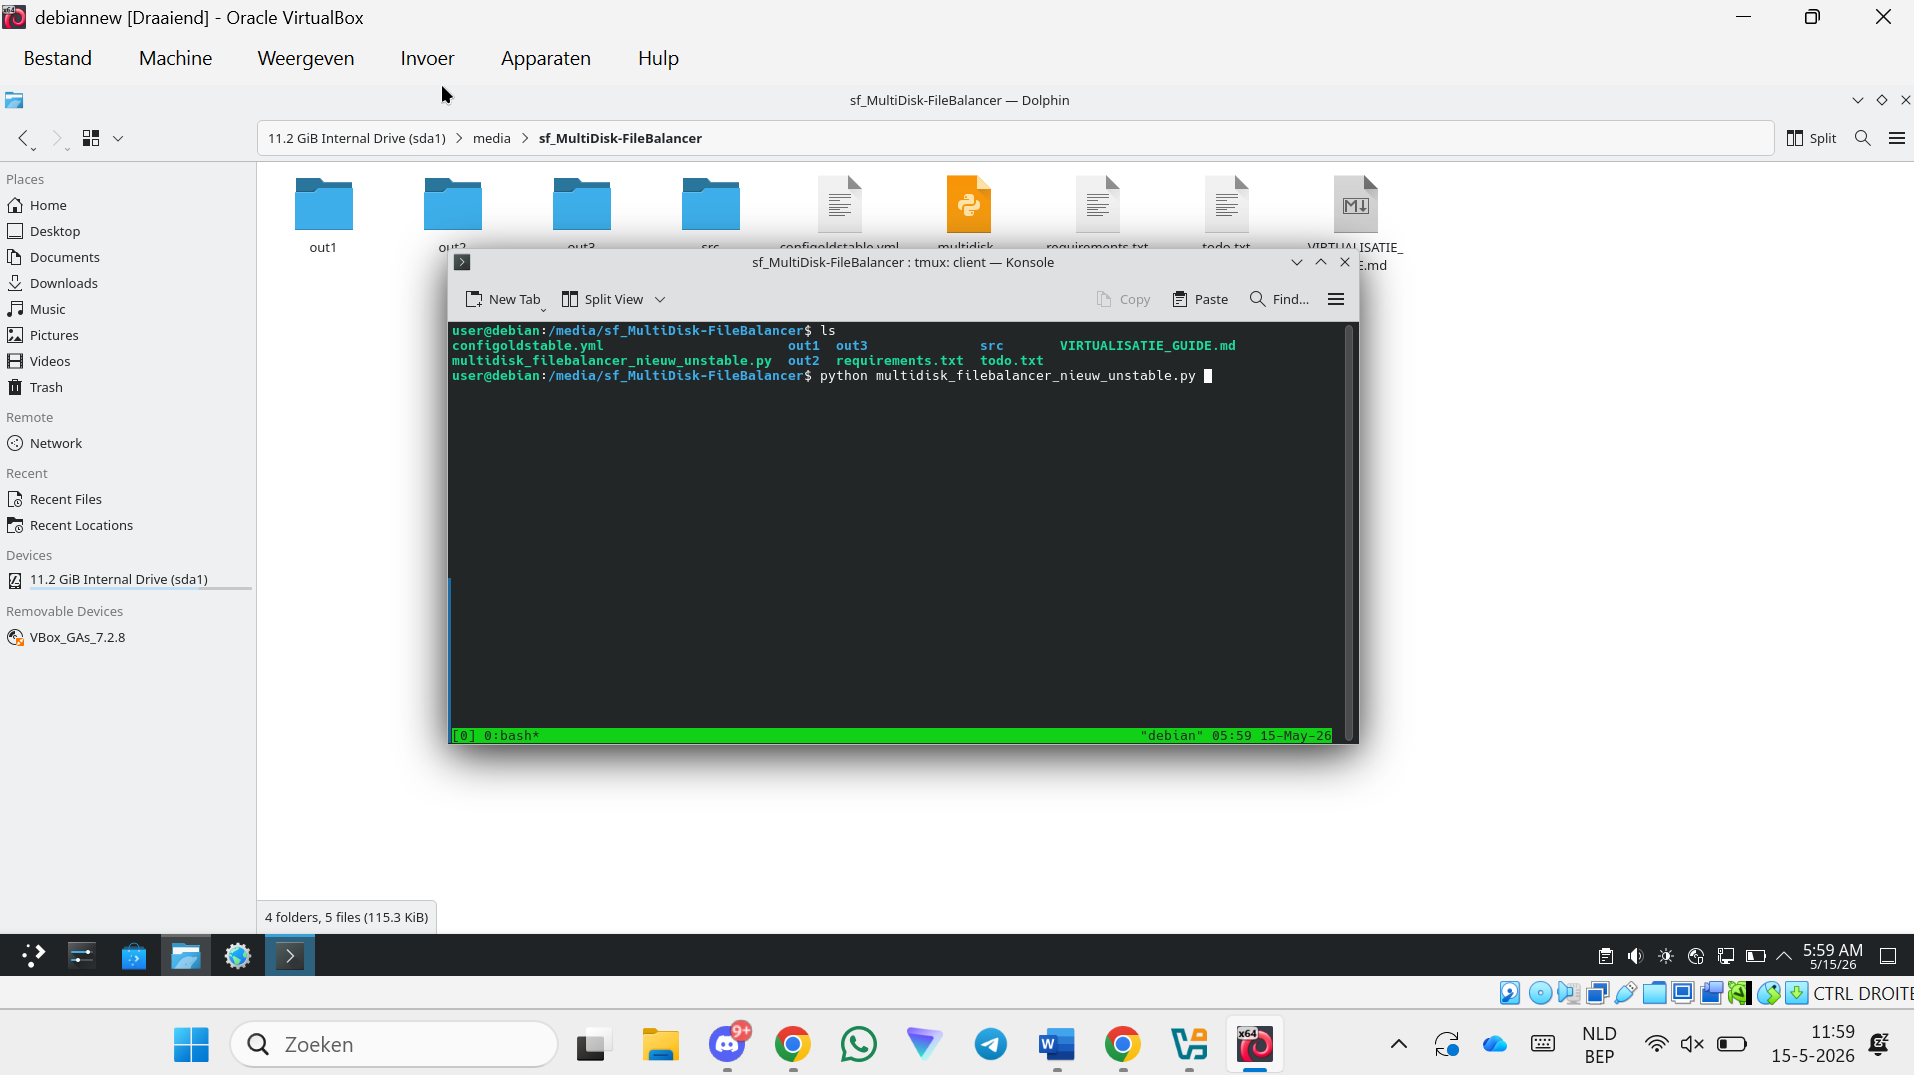
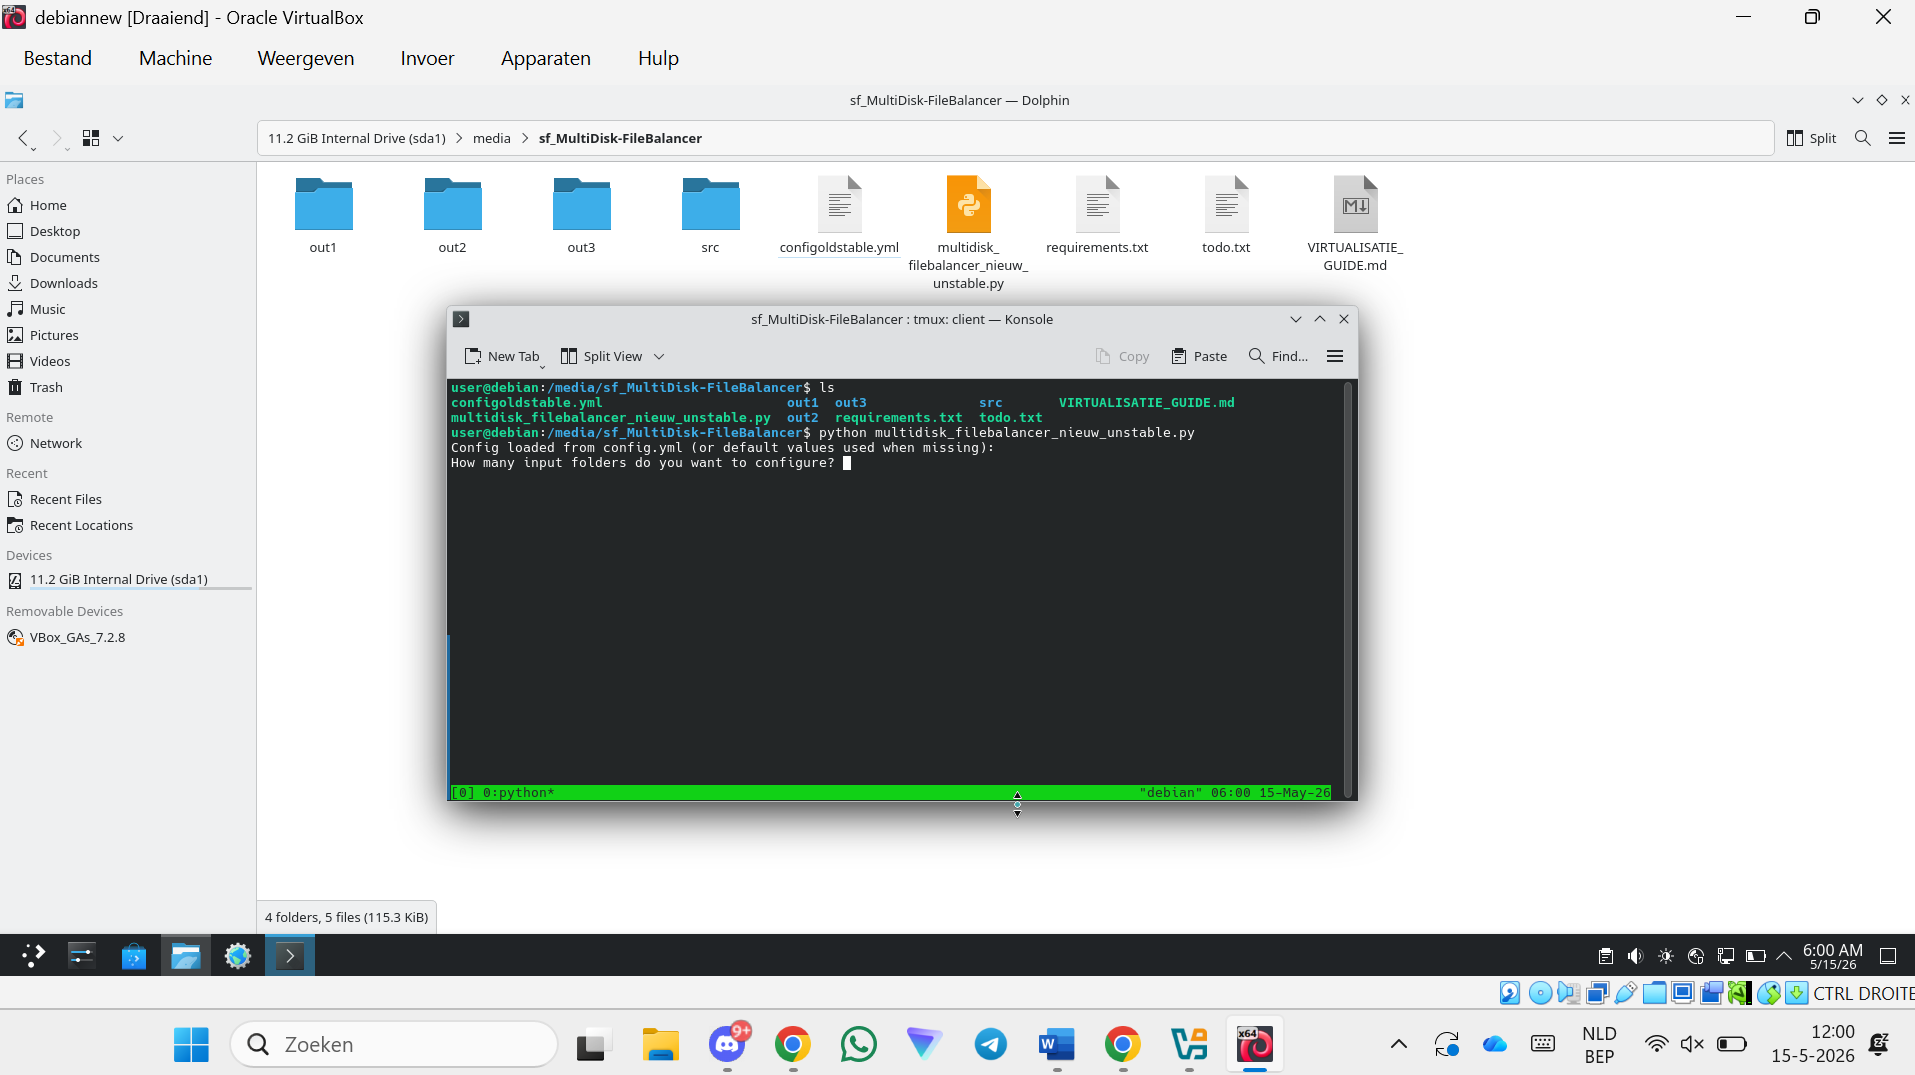
Step 89 — Run the program
python multidisk_filebalancer.py
Step 90 — Done! The program is now running
tmux Tips
Step 91 — Detach from tmux (program keeps running in background)
Press Ctrl+B, then D.
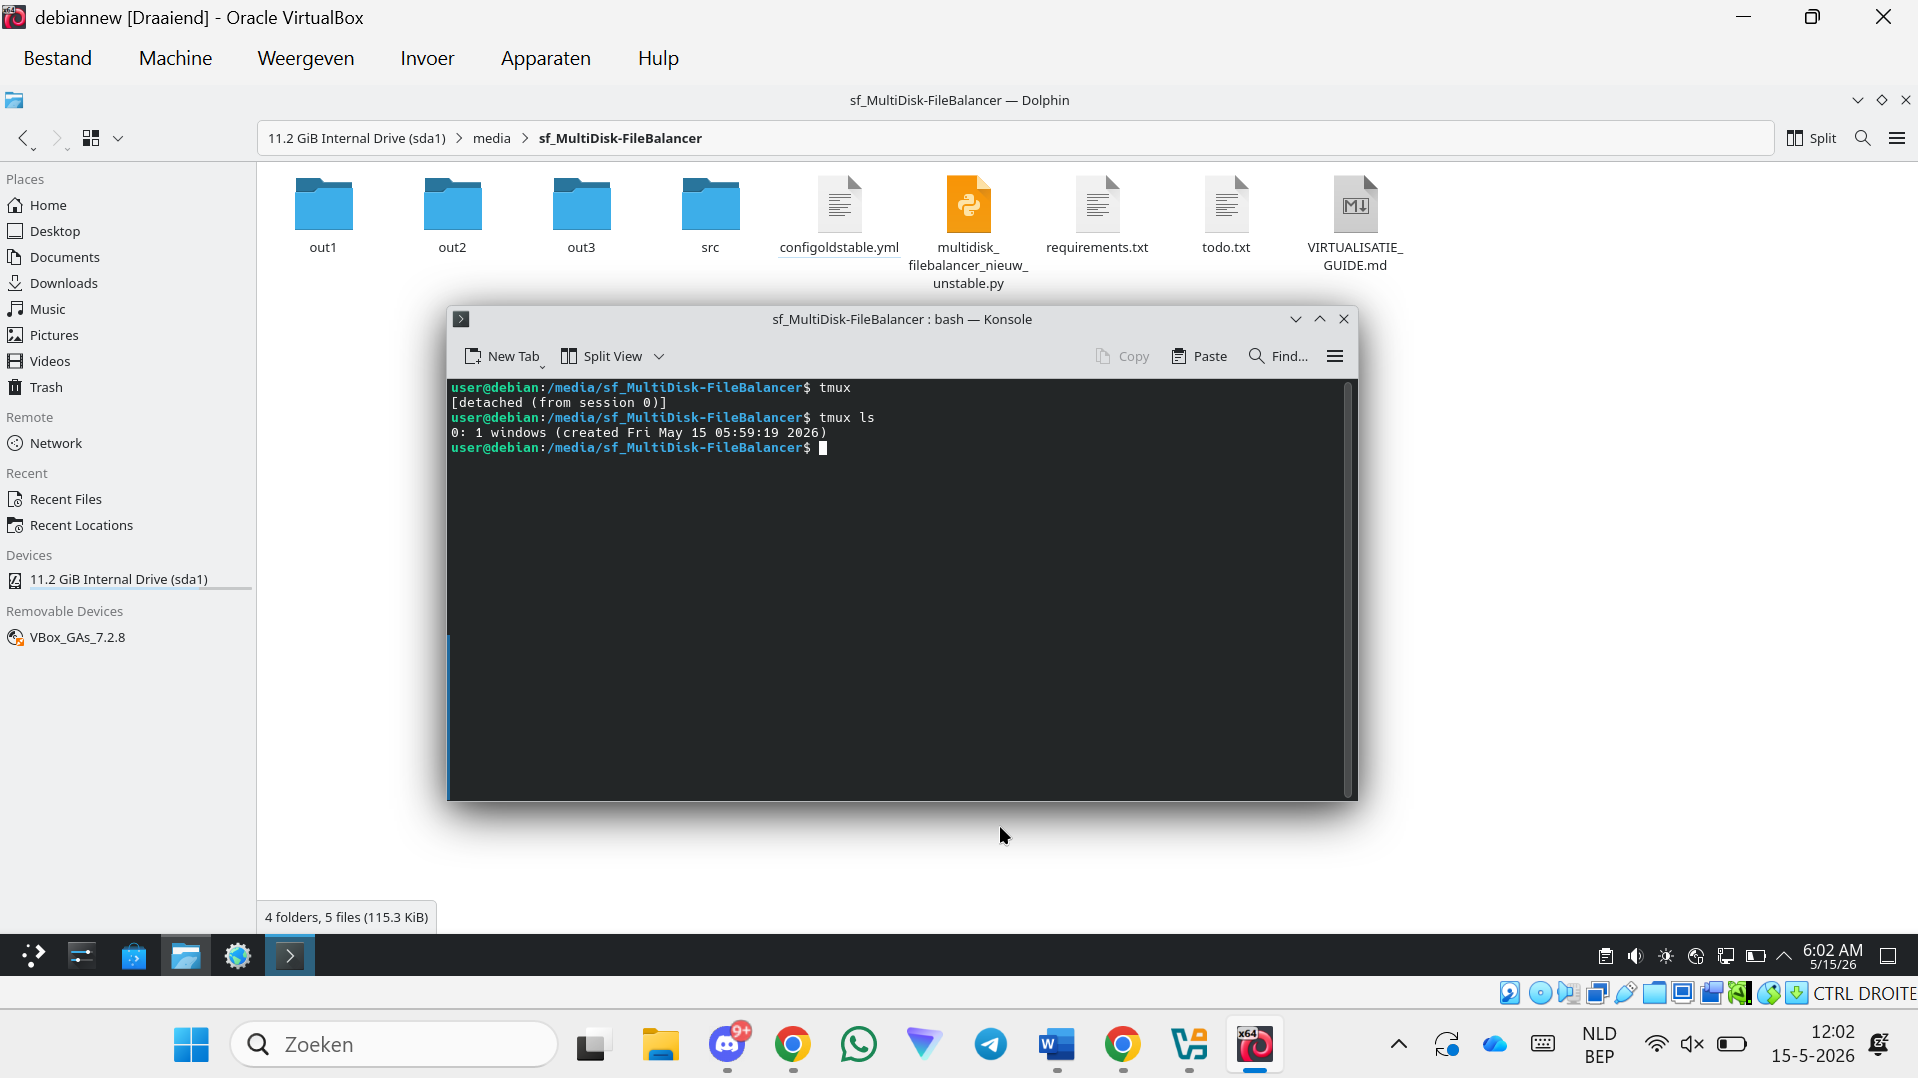
Step 92 — View active tmux sessions
tmux ls
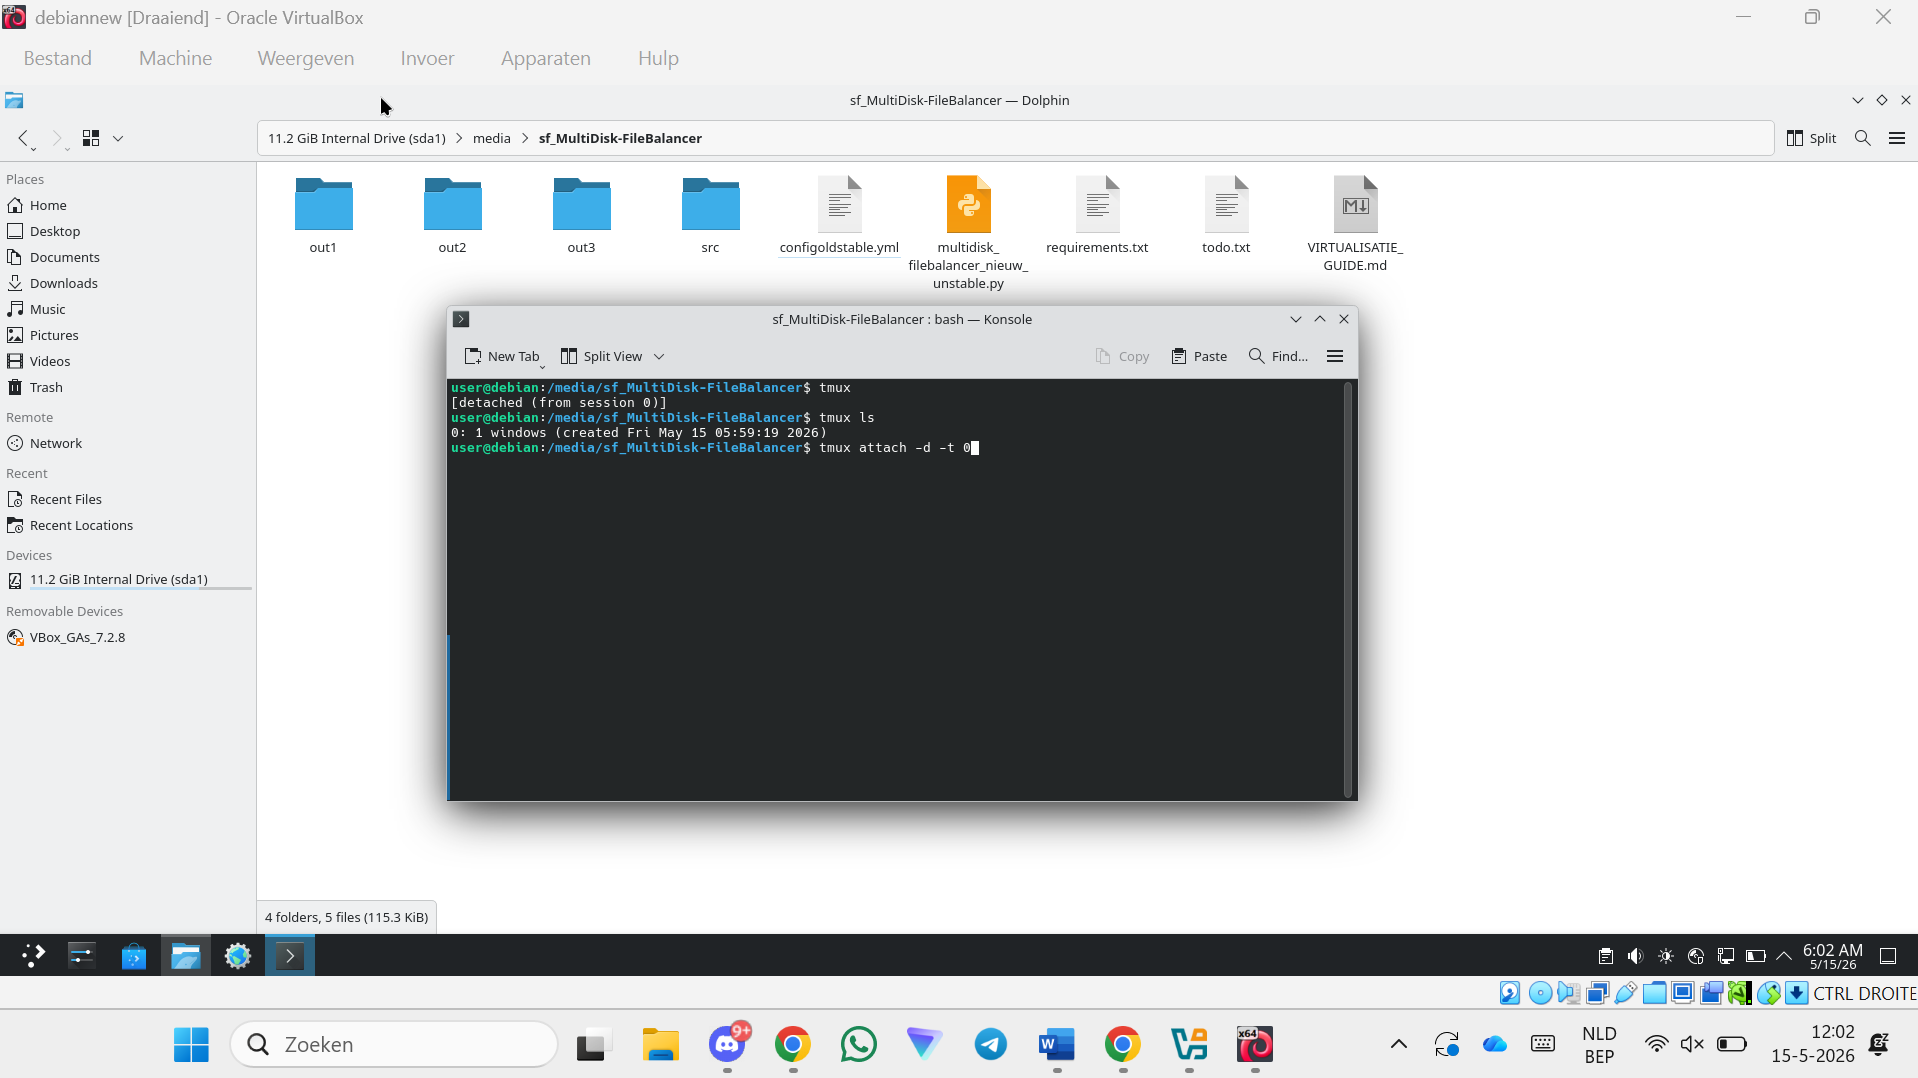
Step 93 — Re-attach to a tmux session
tmux attach -d -t 0
Useful Commands
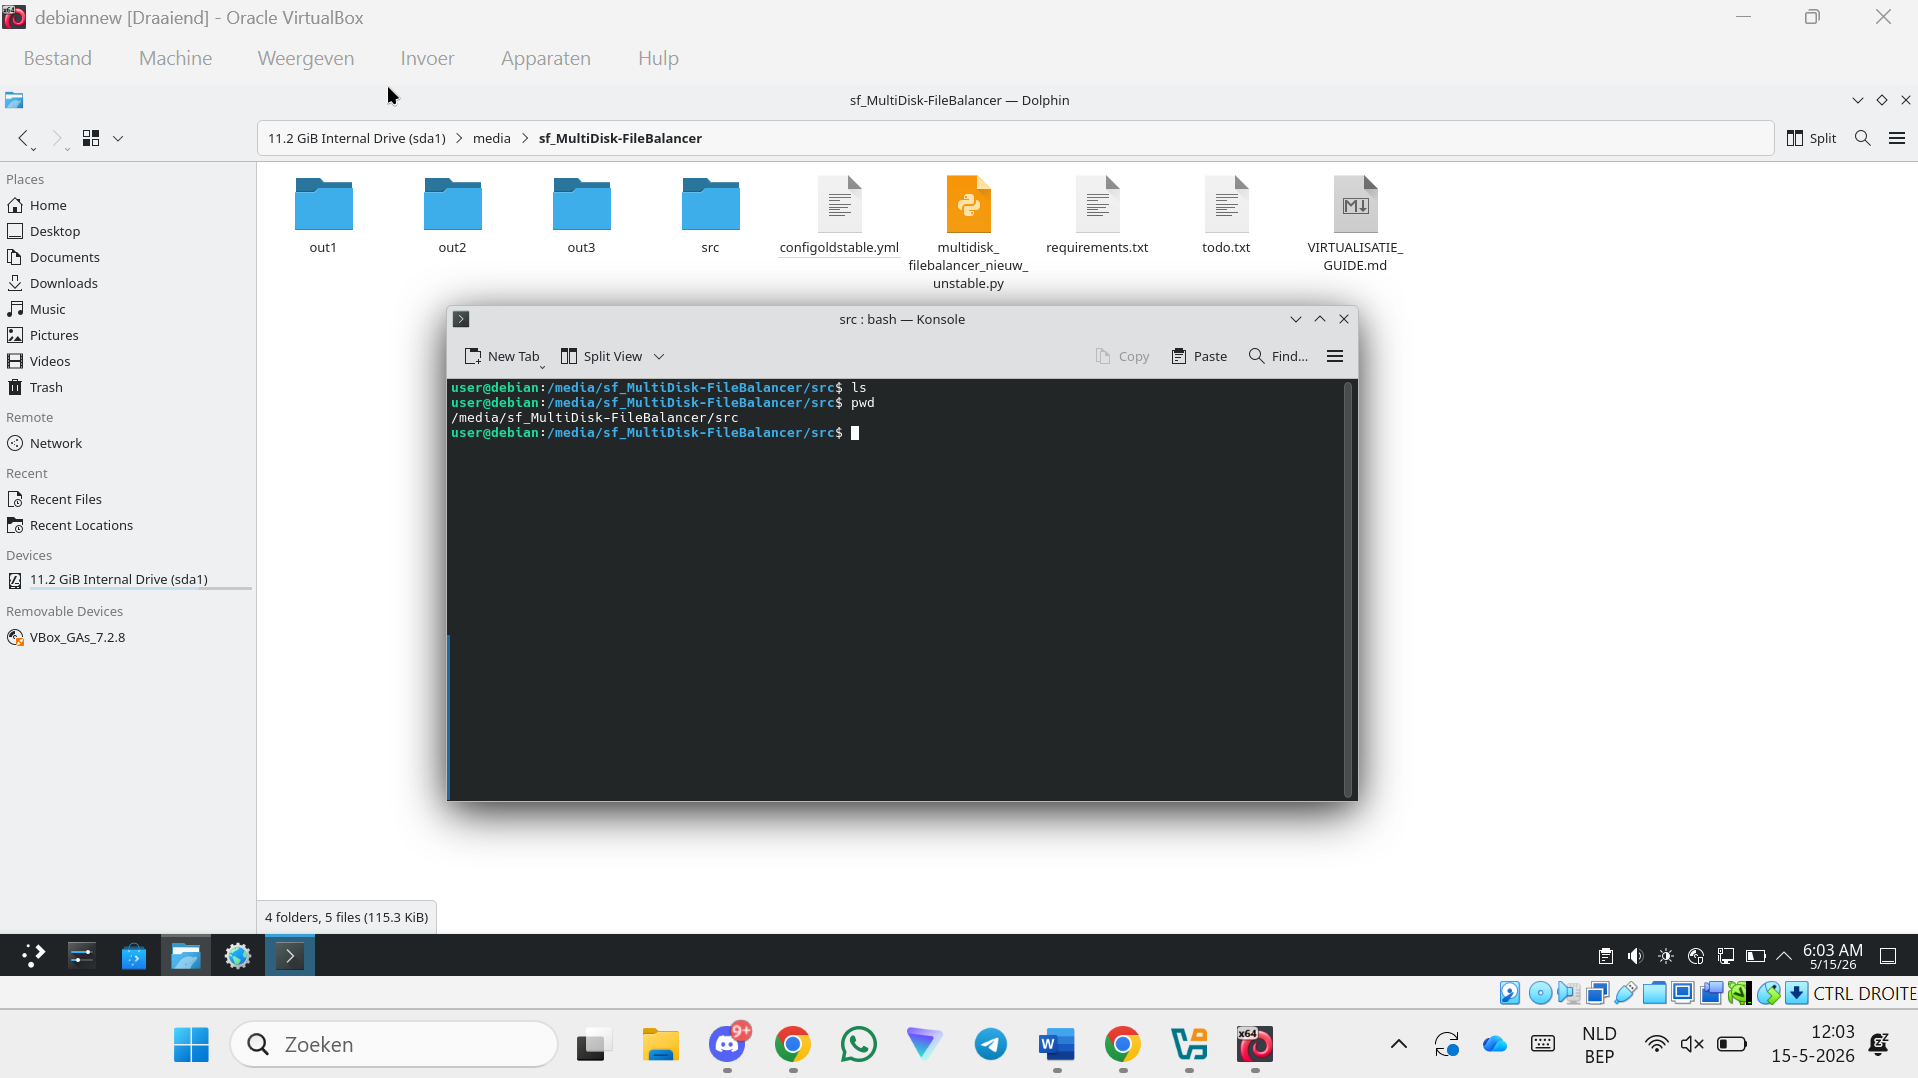
Step 94 — Get the full path of the current directory
pwd
Step 95 — Get the IP address of the VM
ip a
Use this IP address to connect to the SFTP or WebDAV server from other devices on the same network.